Testing Visual State
Reflect's Visual Validation feature is a precise, configurable and intuitive mechanism for asserting on visual state.
What is Visual Testing?
Visual testing within Reflect is nothing more than an image that stores the visual appearance of a particular region or element on the webpage. Reflect calls this type of assertion a Visual Validation. When you are recording a test in Reflect, you have the ability to create a visual validation for any element on the page that is currently in the viewport. When you capture a visual validation, Reflect stores a screenshot image of the element you indicate. This screenshot is called the baseline image for that element. All future executions of the test will attempt to take a screenshot image of the same element and compare that current image to the baseline to see if the element has changed. If the images differ more than your configured threshold, the test is marked failed.
A visual validation allows you to detect unintended visual regressions, where the webpage’s visual state changes as a result of a seemingly-unrelated change. It also allows you to confirm that a previous action was successful by verifying that the resulting visual state is expected.
A visual validation should mimic how you manually test the webpage, which is to say, it doesn’t usually capture the entire webpage’s viewport. Rather, a manual tester often only inspects certain areas of the page (i.e., HTML elements) which are known to change as a result of the test plan’s actions. In this way, a visual validation should verify only the visual state on the page that is known to change (or not change) as a result of the actions in the test. Selecting a “good” element for a visual validation leads to resilient tests.
Handling Dynamic Elements
Dynamic page elements are any content that either differs between subsequent page loads like time-sensitive values, or content that changes based on previous user interactions. The latter encompasses things like account data modified by a previous test. If your test permanently modifies the state of your application’s test account, then the subsequent test run will find the visual appearance different than the recording. Avoid adding a visual validation for dynamic elements whose changes aren’t related to the test’s actions.
Alternatively if the element you’re validating contains dynamic text, you can assert against it by instead choosing the Add a Text Validation option in the recording toolbar, and configuring the Expected Text to be a dynamic assertion.
Select Pre- and Post-condition Elements
Often a test requires some visual state to be present in order to proceed, or the test action causes an update to the page’s visual state. Page elements that display a pre-condition for a test action, or confirm the result of a test action, are ideal candidates for visual validations and/or text validations. These validations serve as pre- and post-conditional barriers that will fail the test if unmet. A visual or text validation failure is easier in many ways to debug than a click action whose pre-condition is unmet because it’s an explicit indicator of where and how the failure manifested. Another benefit of visually observing conditional elements is that it provides a natural pacing to the test executor, as it will retry visual validations multiple times before failing the test. These retries act as an implicit “wait” for the page state to complete loading. For information about using visual validations as implicit waits, see visual checks as smart waits.
Recording Visual Validations
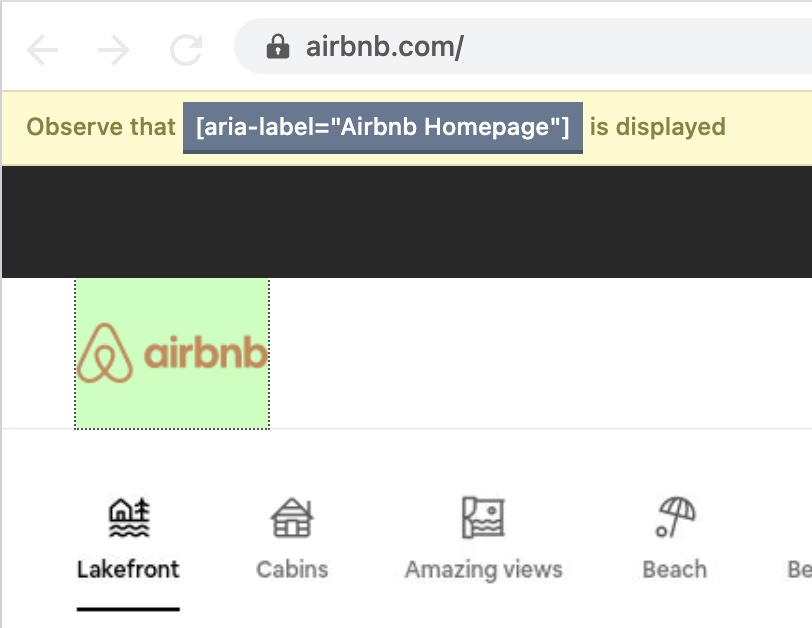
Capturing a visual validation is straightforward. Identify the element on the page that you’d like to visually assert on and click the Add a Visual Validation button at the top of the Reflect browser window. This enables “Observe Mode” and prevents any interaction with the webpage within the browser view. Next, click-and-drag the mouse over the element you identified, and release the mouse once you have drawn a tight bounding rectangle around the element. The Reflect window will highlight the selected element in green. If the green selection matches the element you chose, click “Save” at the top right corner.

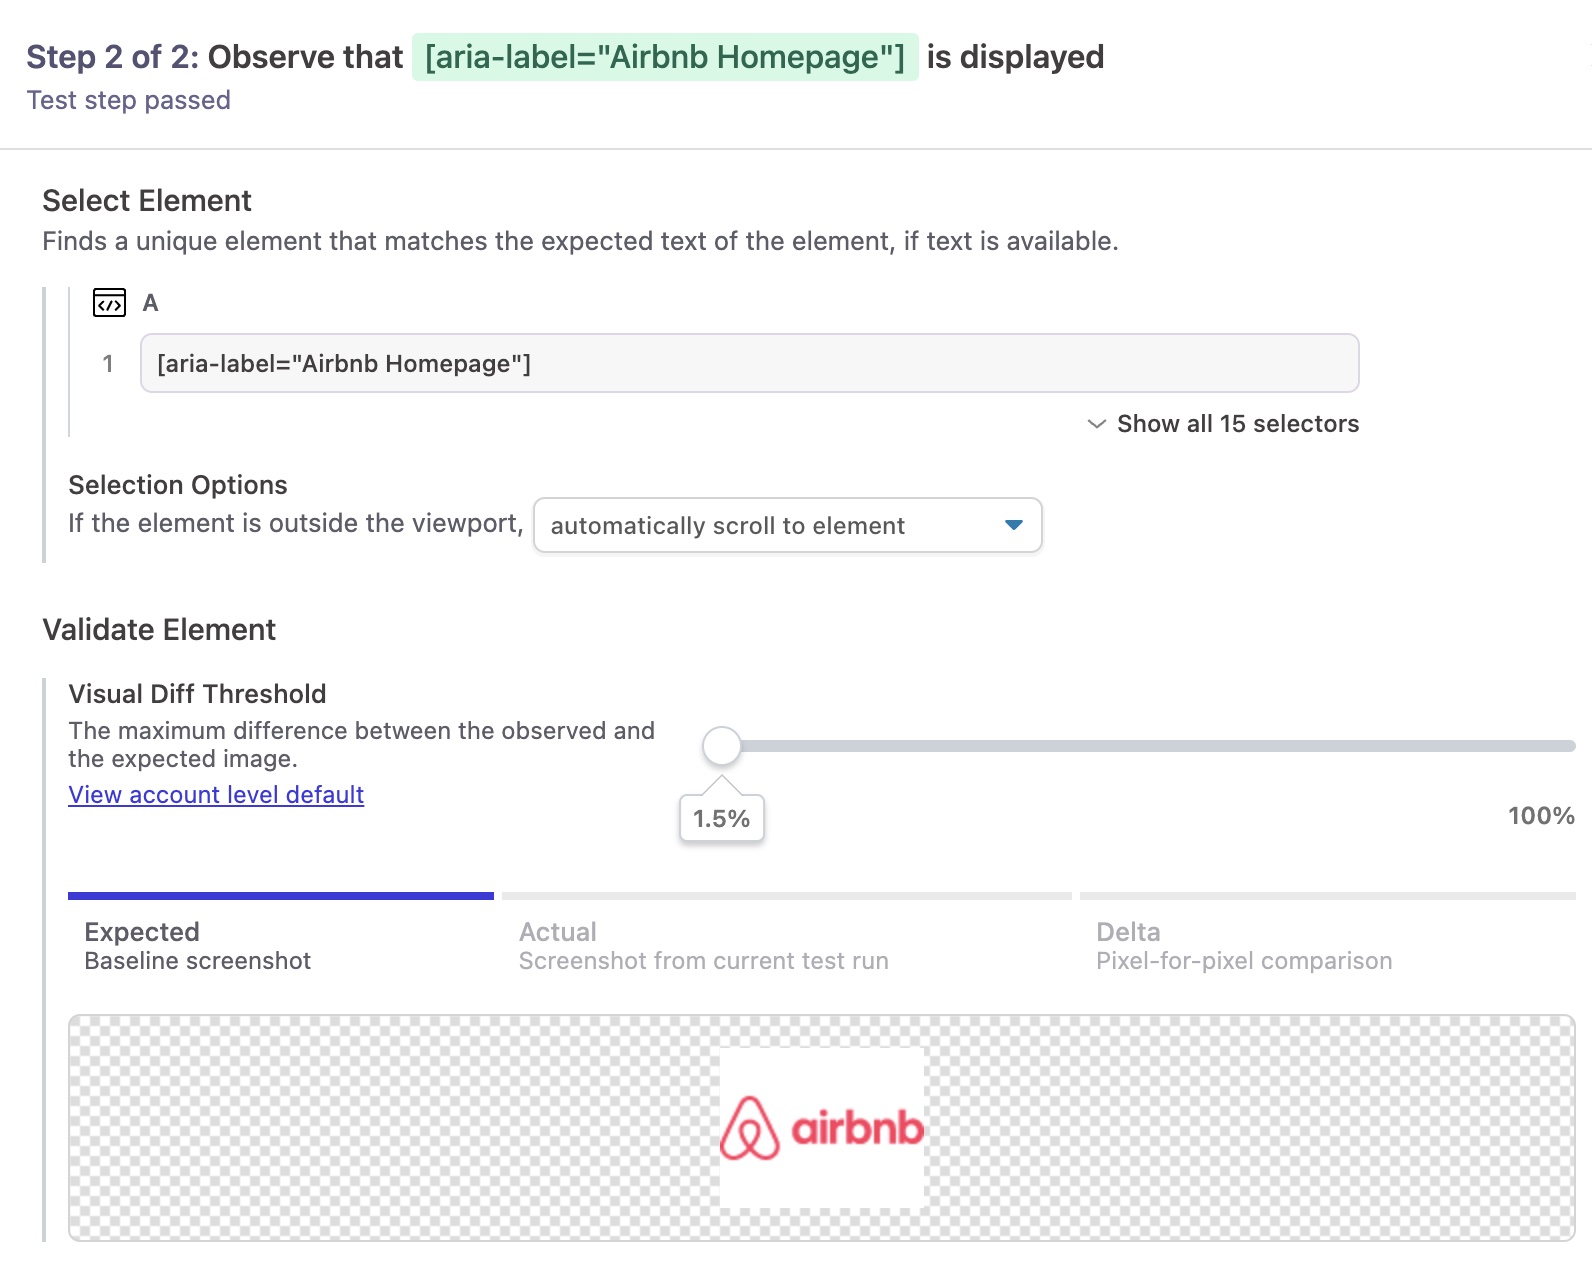
You can inspect the screenshot image that Reflect captured for the selected element by clicking on the test step in the recorded test plan on the left side of the application. This will open a detail view of the recorded test step (Visual Validation) and the element’s screenshot image will be displayed in the middle pane.

You can adjust the slider value above the Expected Image to override the visual validation error threshold for this test step.
Executing a Visual Validation
During test execution, Reflect finds the same element that was observed in the test recording and captures a screenshot of the element’s current appearance. Using the previously-observed element image as a baseline, Reflect compares the current image pixel-by-pixel at each location. (Thus, images of different sizes will always differ at pixel locations that they don’t both have.)
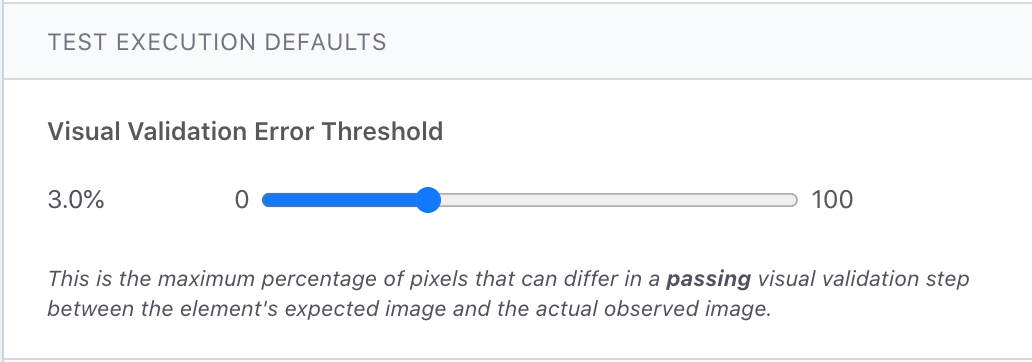
Reflect counts the percentage of pixels that differ between the two images and marks the test step as failed if the percentage is above the visual validation error threshold. Reflect defaults your account’s error threshold to 0.5%, which requires nearly every pixel to match in order for the test step to pass. You can change the account-wide threshold on the Settings page in the webapp, Alternatively, you can override the threshold for a specific test step by clicking on the visual validation and setting the desired value as in the above instructions.

Updating Visual Validations
It’s common for an element’s visual appearance to change legitimately over the course of time as the web application changes and evolves. You can update your test to use the current visual state of an element without re-recording otherwise modifying the test. See the Editing section to learn how to update the baseline image for a visual validation.

