Issue Trackers
Create bug tickets for failing tests directly from Reflect.
Reflect integrates with several popular issue tracking tools to let you create bug tickets directly from Reflect.
Creating an Issue
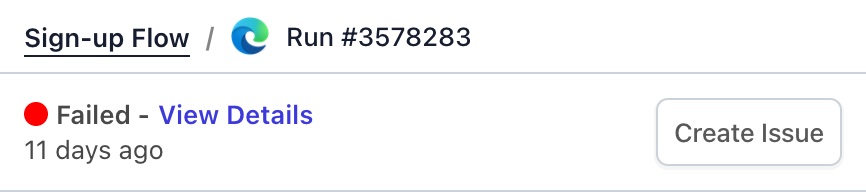
With our issue tracker integrations, any test run in Reflect can be turned into a bug ticket within your bug tracker of choice. When viewing a test run, a ‘Create Issue’ button will be displayed on the left sidebar.
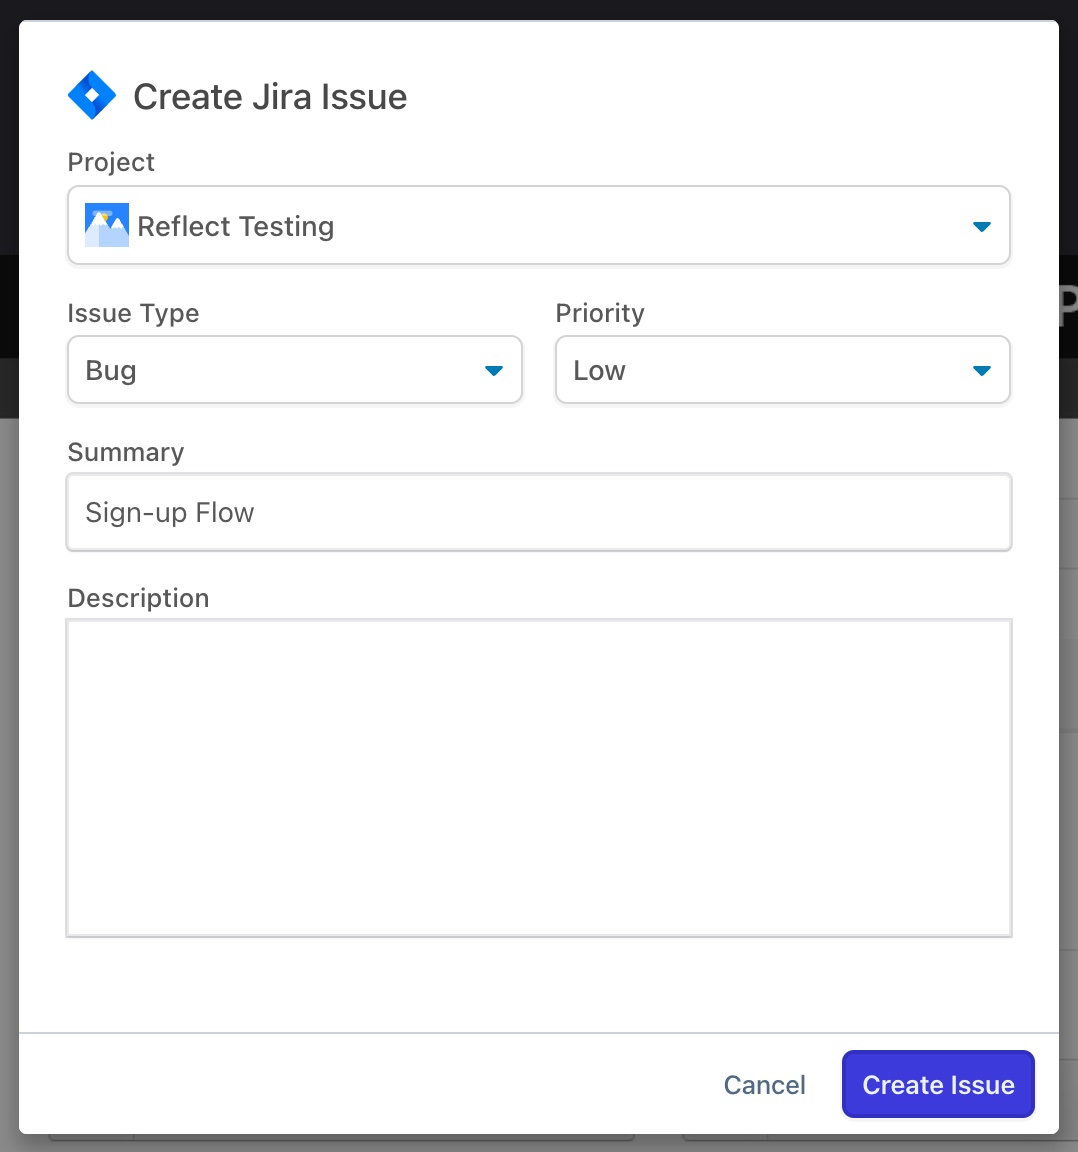
When clicking the ‘Create Issue’ button, you’ll be presented with a confirmation dialog which lets you customize the details of the bug ticket before it’s created.
Clicking ‘Create Issue’ on the confirmation dialog will create the issue in your bug tracking software. A confirmation message with a link to the newly created ticket will be displayed.
Connecting to Jira
Find the ‘Atlassian Jira’ integration within your Reflect settings and click ‘Connect’.
When prompted, review the permissions that Reflect is requesting and click ‘Accept’.
In order to complete the setup of your Jira integration, you’ll need to choose a default Project, Priority, and Issue Type to use for bugs opened within Reflect. Each of these fields can be modified on the confirmation dialog when creating an issue.
After choosing these defaults, click ‘Save Settings’. The integration with Jira is now set up successfully!
Connecting to Azure DevOps
Find the ‘Azure DevOps’ integration within your Reflect settings and click ‘Connect’.
When prompted, review the permissions being requested for your Azure DevOps account and click ‘Accept’.
After clicking ‘Accept’, you’ll be redirected back to Reflect and will be prompted to choose the default project that will be selected when you create an issue.
After choosing your default project, click ‘Save Settings’. You’ve now successfully integrated Reflect with Azure DevOps.
Connecting to Linear
Find the ‘Linear’ integration within your Reflect settings and click ‘Connect’.
You’ll be redirected to Linear and prompted to connect the Reflect Linear app. Review the permissions that are being requested and click the ‘Authorize Reflect’ button.
After clicking the Authorize button, you’ll be redirected back to Reflect and prompted to choose your default Linear project.
Selecting your default project and clicking ‘Save Settings’. Reflect is now successfully integrated with Linear!