


Starting in version 1.16, Playwright introduced the APIRequestContext class which allows users to make API calls and create assertions for various aspects of the HTTP response. API calls in Playwright are flexible: they are made outside of the browser runtime but can optionally share the cookie state of the browser runtime. This means that you can create both standalone API tests in Playwright, as well as make API calls intermingled with UI actions like clicks and inputs. There are two situations in particular where you might want to incorporate API testing as part of an end-to-end test:
- In an end-to-end test, you may want to set up some data prior to the UI being exercised. For instance, if you’re testing a scenario that deletes a record from a web app, you could create that record quickly via a direct API call.
- After executing an end-to-end test, you may want to make some assertions on the state of the data stored inside your application. Perhaps the data you want to assert against is not displayed in the UI anywhere. Issuing an API call and asserting that the desired data is present is an effective way to do this type of assertion, especially if that data is not displayed anywhere in the UI.
Let’s explore Playwright’s API testing capabilities by creating a sample project to test the Go REST API, which contains a set of API endpoints which were developed for testing purposes and are publicly accessible.
Getting Started
To get started, open your terminal application, create a new directory called playwright-api-testing, and within that
directory run the following command::
|
|
After answering a few questions in the subsequent prompts, the command will complete and the following directories and files will be created:
|
|
To run our Playwright tests, we will use the command: npx playwright test. Once the tests have finished, we’ll use the
following command to view the test results: npx playwright show-report. The show-report command generates a full
report of our tests, and includes the ability to filter the test results based on browsers as well as filter on
pass/fail status.
Configuring Playwright for API testing
The playwright.config.js file is where all the configuration for our project can be done. Below is the default config
file that will be created via the npm init playwright command:
|
|
The Go REST API that we’ll be testing against requires an access token to be passed in all HTTP requests. We can
configure Playwright to pass the access token in all requests by defining the baseURL and extraHTTPHeaders
properties in the config file as shown in the code below:
|
|
Making API calls
The examples below use Playwright’s built-in request function, which is an instance of
APIRequestContext, to issue HTTP requests and to access
different parts of the HTTP response. As with most of Playwright’s built-in functions, the request function returns a
Promise which makes it easy to use with JavaScript’s async/await constructs.
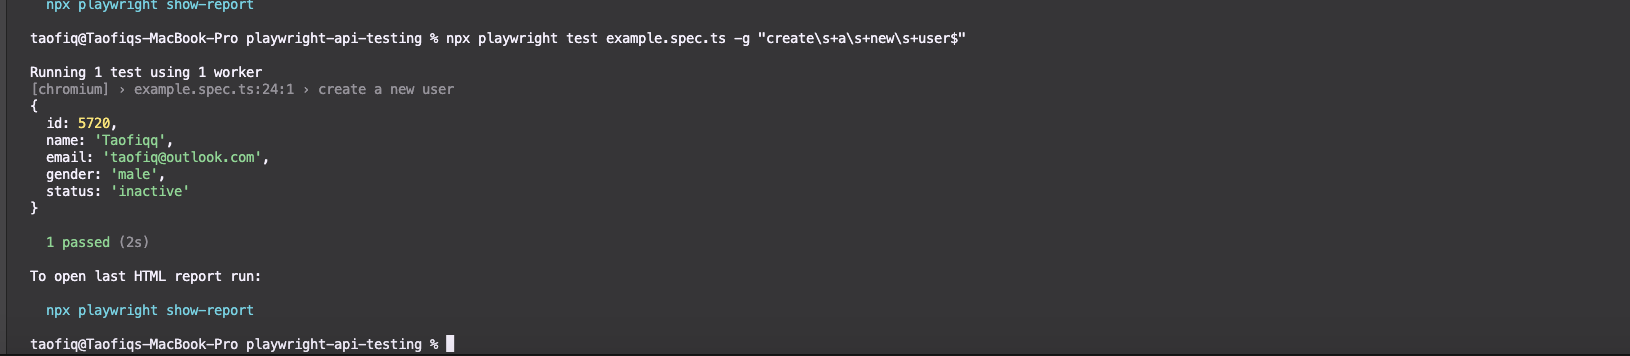
POST example
To create a new user we’ll use a POST request to the /v2/users endpoint, passing all required fields in the request
body. Specifically, the name, gender, status, and email properties are required. Since the status of our
response should be 201, we can set an expected condition by invoking expect and accessing the response code via the
response.status() method. Also, we can check if we are getting an OK response back when the API call is made. Finally,
we can print the response we are getting back to the console (although I would recommend removing this once you’ve
verified your test is working correctly).
|
|
After running the code above, you should see the test run successfully as shown below:
To get the HTML report run we can run the command npx playwright show-report:

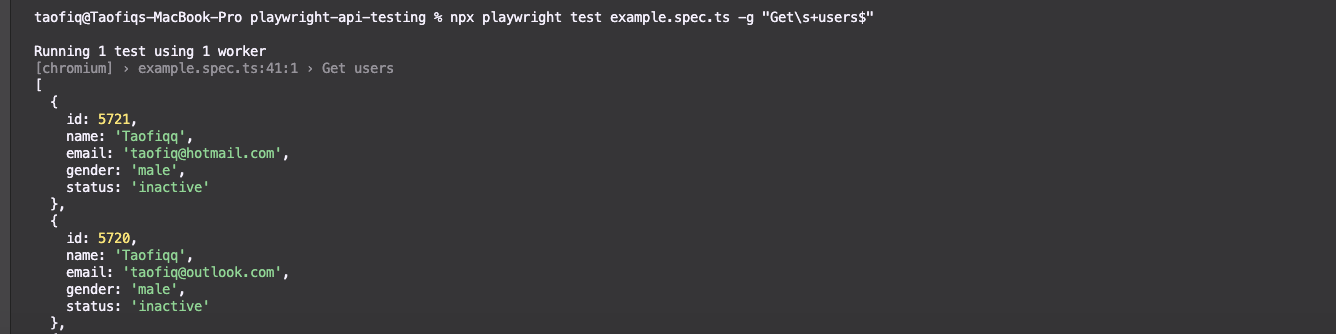
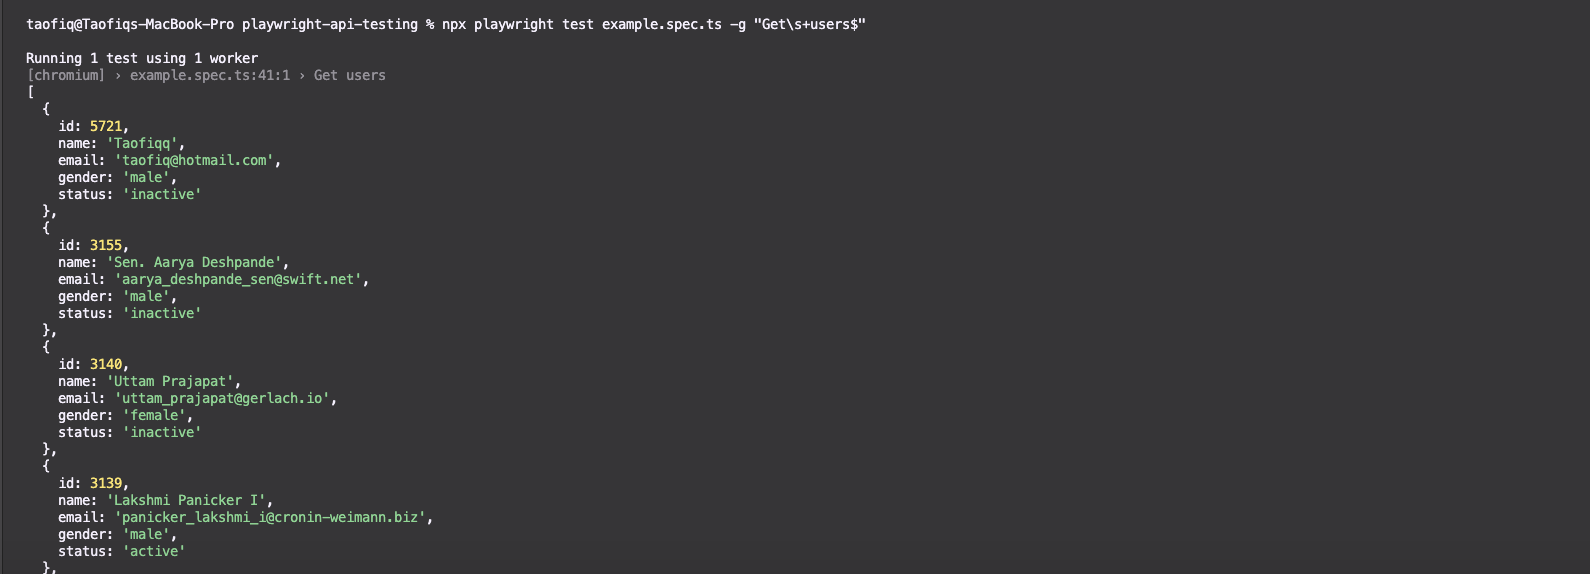
GET example
To get or read the users that have already been created, we’ll call the request.get() method, passing in the endpoint
that returns the collection of users. Similar to the example above, we’ll assert against some of the aspects of the HTTP
response and then log the response in a temporary console.log() statement.
|
|
After running the test, you should see output similar to the screenshot below:
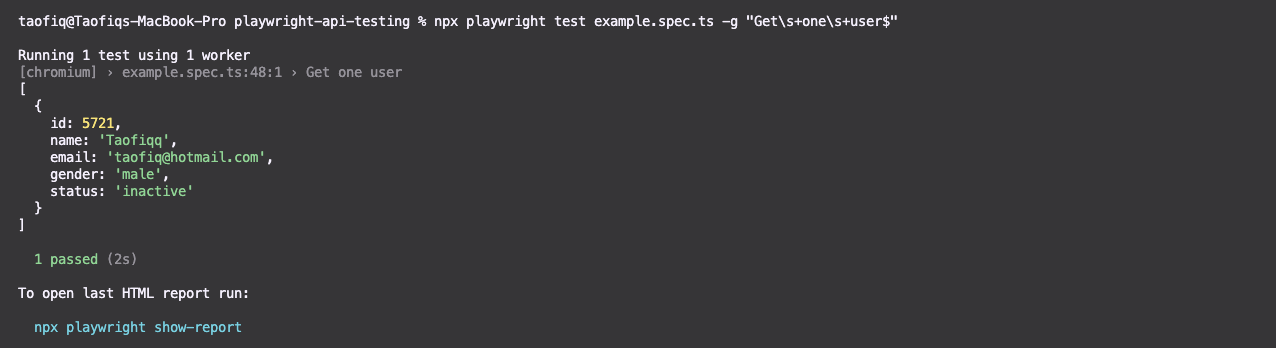
Passing query parameters
We might have cases where we need to pass one or more URL parameters in our API call. In the example below, we call the
same /v2/users/ endpoint as in the previous example, but pass the id query parameter so that only that user’s data
is returned (if it exists).
|
|
The output from running the test is shown below:
Updating a resource (PUT)
In most APIs, PUT will be used in order to update an existing resource. In the example below, we want to change the
user with the name: Taofiqq and email: [email protected] to a name called Zambo. We will pass the name in
the request body via the data property, run the expected checks, and log the response:
|
|
The response:

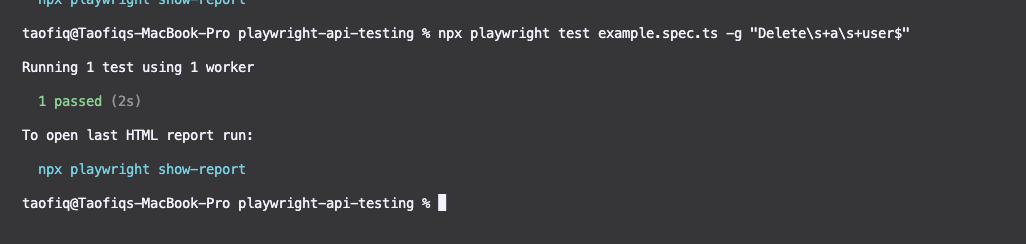
Deleting a resource
In our final example, we’ll invoke a DELETE endpoint to delete a user. Note that in the example below, we’re deleting
a hard-coded user.
A status check is done for the status code returned by the delete method, which is expected to be 204. The 204 “No Content” status code is what is returned by Go REST when the user has been successfully deleted:
|
|
We can query the “get all users” endpoint to check if that user has successfully deleted.
As we can see, the user [email protected] has been deleted and was not returned.
Note that to make this test more resilient, we’d instead recommend creating the user first, grabbing the id of the
newly created user, and then calling the DELETE endpoint to delete the user. This pattern of creating and then
immediately deleting the new resource is a great way to reduce the amount of pre-existing state your tests depend upon,
and thus ensure your tests are less flaky than if you were deleting a pre-existing resource that was created before the
tests ran.
Conclusion
In this article, we covered how to use Playwright’s request function to either create standalone API tests, or to
incorporate API calls and assertions as part of a larger end-to-end test. In the examples provided above, we
demonstrated how to create Playwright tests for the four most popular HTTP verbs: GET, POST, PUT, and DELETE.