


Introduction
Two-factor authentication (2FA) adds an extra layer of security to web applications by verifying a secondary credential beyond the user’s username and password. Common methods for issuing a two-factor challenge include: sending an email, sending an SMS, or requiring the user to enter a “time-based one-time password (TOTP)” via a mobile app like Google Authenticator or Authy.
This article will cover how to automatically test these scenarios using Cypress, with a working code example for testing email-based authentication.
Setting up our demo application
Let’s first have a look at the demo application that we will be testing against. The app is using Next.js as a framework, is written in TypeScript, and uses an email for two-factor authentication. The demo app consists of three routes, which we’ll take a closer look at. The code can be found here.
The first route renders the login page which contains a simple email/password submission form. Here’s the subsequent route that is called after the user clicks the ‘Login’ button.

|
|
When the correct username and password are entered (and in our sample app we are expecting to receive [email protected]
and test, respectively), a 200 response code is returned and an email containing the sender, receiver, subject, text
and the html is being sent via the emailer module. We’ll take a closer look at how the email is sent in the next
section.
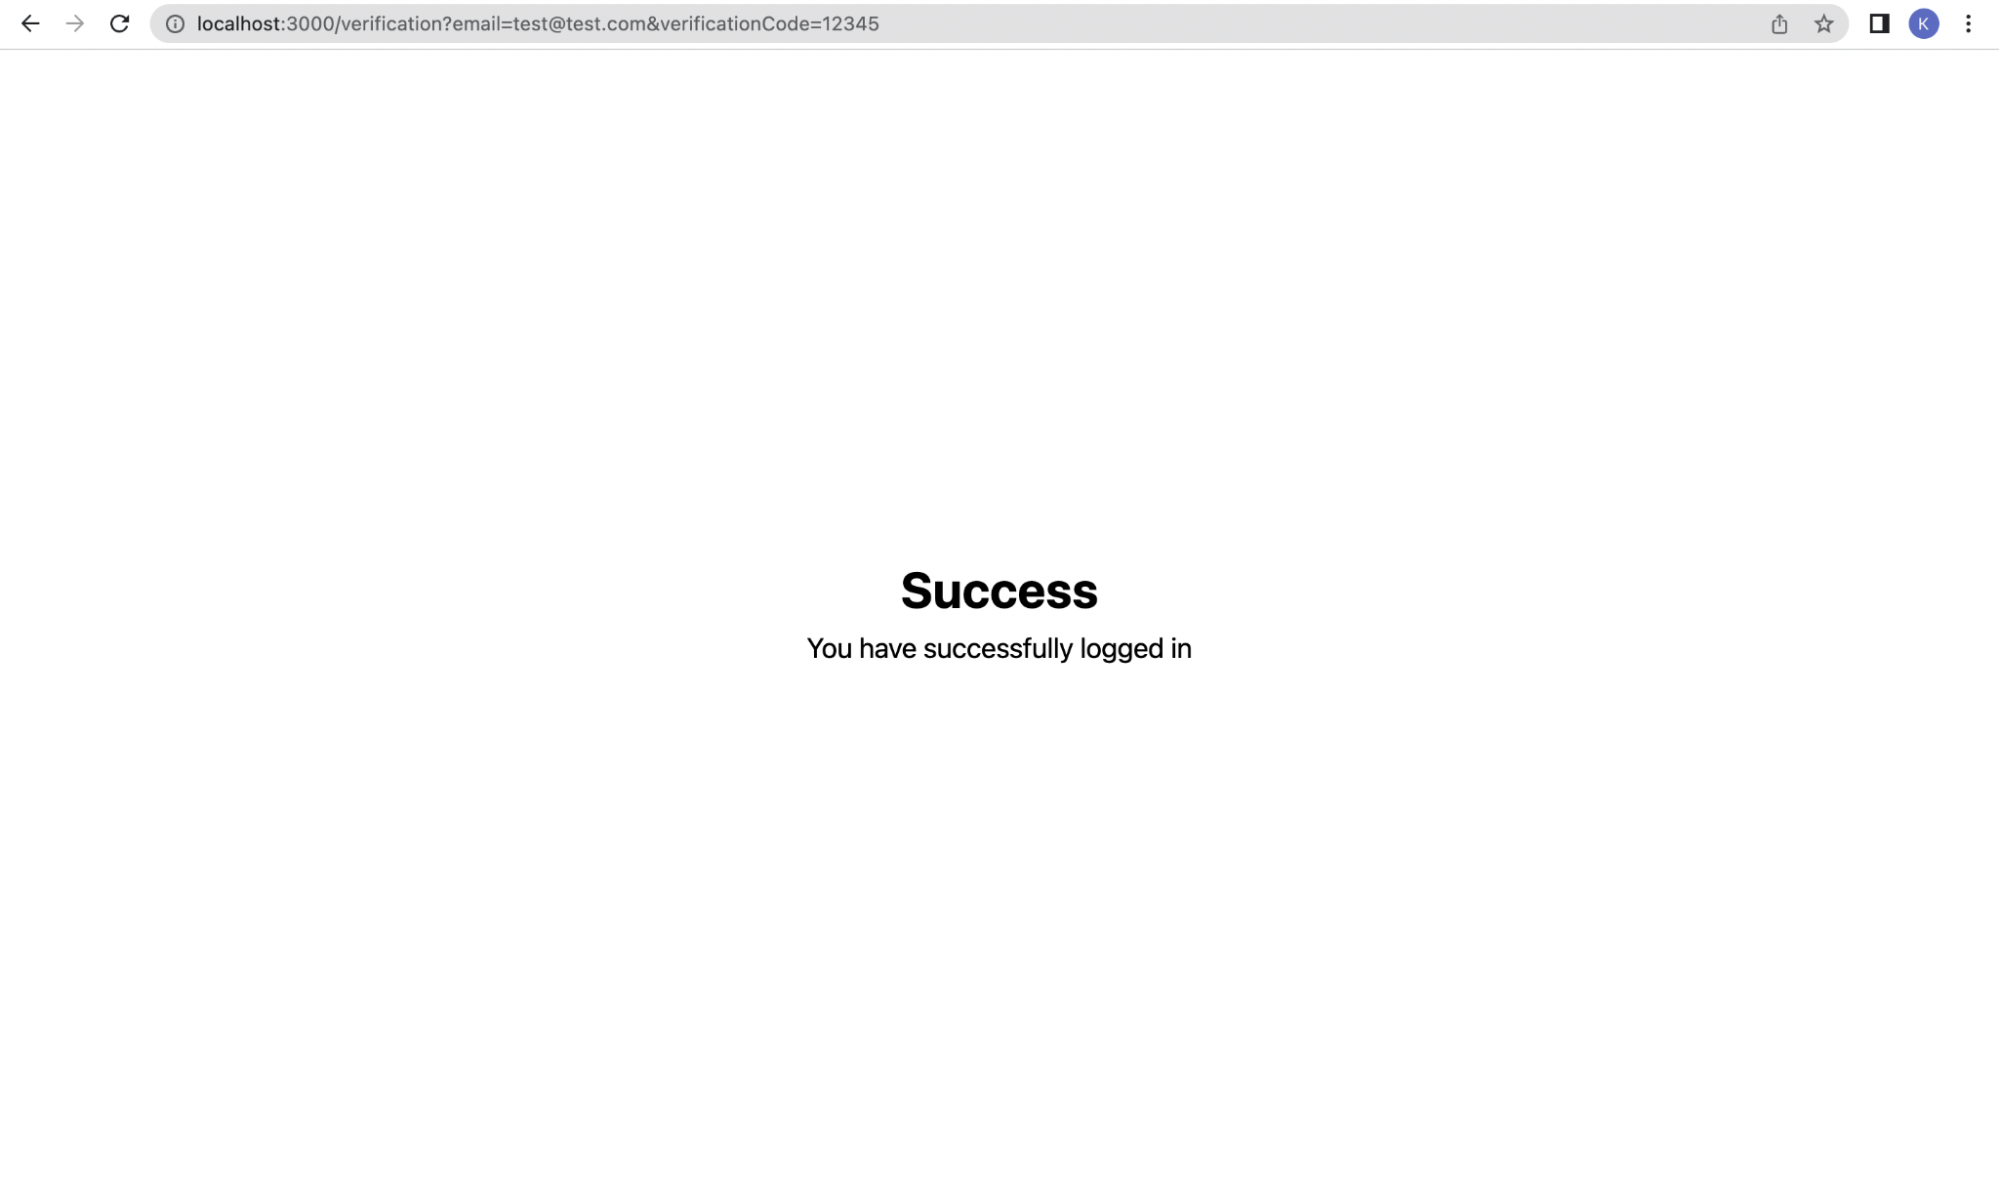
After providing the proper credentials, the user will be redirected to the /confirmation route, where a message is
displayed asking the user to check their email. This email will contain a link which will redirect the user to the
/verification route. After clicking on the link, the user will see the following message:
The code for the corresponding route looks like this:
|
|
Setting up a local SMTP mail server
In order to set up a local SMTP mail server, we will be using the
smtp-tester module, which will allow us to accept connections and to
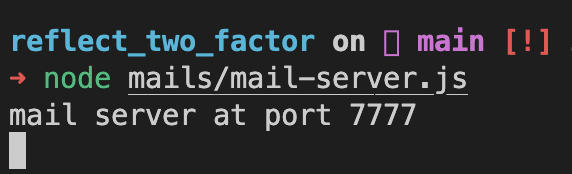
receive emails with only a few lines of code. It can be installed via the command npm install smtp-tester. In order to
start your mail server locally independently from Cypress, run node mails/mail-server.js in your terminal and the
server should log the following output:
This works fine for manually testing this behavior, but for our Cypress tests we’d rather that the SMTP mail server start up automatically before the tests run.
After installing Cypress with npm install cypress --save-dev, a cypress.config.ts file is created on the root level
of your project. Inside this config file, you can modify or extend the behavior of Cypress. In our case, we want to
launch a local SMTP server with the smtp-tester package and define a task which will handle the incoming emails.
|
|
The code inside the setUpNodeEvents() function executes in a separate Node environment that doesn’t have access to
any Cypress or cy commands. After initializing the mail server we store the incoming emails in an object called
recievedEmail and return this object inside the newly created task getMail().
The final step here is to implement the code that actually sends the emails to our local SMTP mail server. If you’re in a Node environment, the nodemailer module provides a good solution for sending emails. Nodemailer can be install by running the following command:
|
|
Below you can find the code for setting up the transport of our emails, which we already used in the login route in order to send an email when the correct credentials are entered:
|
|
In our case, we only need to provide some general options for successfully connecting to the mail server. In the last line, we export the transporter in order to use it in our login api route.
Testing email-based 2FA using Cypress
Now that the set up of the email server, demo app, and nodemailer transport is complete, we can now write our Cypress test for verifying the 2FA workflow end-to-end:
|
|
In this test we use the cy.intercept() command to spy on certain network responses and requests and get access to
their contents. In our case we expect the login request to contain the email and password entered by the user, and
the response to contain an object indicating the request was successful.
Next, we call the getMail task, which we defined earlier in the cypress.config.ts file, to retrieve the email sent
to our SMTP server. After retrieving the email, we parse the email body to extract the verification link that points to
the /verification route in our sample. Next, we navigate to that URL using the cy.visit command which simulates an
end-user clicking on the link within their email client. Finally, we check the subsequent API response to validate that
user successfully validated their email address.
Testing SMS-based 2FA using Twilio and Cypress
Twilio is a service which allows developers to implement a 2FA involving sending a SMS. With
the help of Twilio you can programmatically receive and send calls and text messages. In order to add Twilio to your
project, run npm install twilio in your terminal.
The process of validating SMS is very similar to the email example above. Instead of launching a local SMTP mail server, you would call Twilio’s API from inside your test. After the text message is sent by the application under test, you would invoke Twilio’s API to catch the contents of the text message and use this information for further testing. Check out Twilio’s docs for more details.
Testing TOTP-based 2FA using Cypress with the cypress-otp plugin
There is a plugin called cypress-otp which is suitable for testing 2FA
scenarios using TOTP. You can add it to your project with the command npm install -D cypress-otp. In order to use the
package’s functionality inside your cypress tests, you will again have to register a task inside the cypress.config.ts
file:
|
|
After doing so, you can use this task in your Cypress test with this exemplary code:
|
|
Conclusion
After reading this article, you should have all the information you need to create Cypress tests that have 2FA functionality! You can see the full source code for these examples at this GitHub repository.
Reflect: A testing tool with built-in support for 2FA testing
Reflect is a no-code testing tool that can test virtually any action you can take on a browser, including advanced scenarios like 2FA authentication. With Reflect, you can test workflows that generate and validate emails and SMS messages without having to install any external software or manage your own test infrastructure.
Creating a test in Reflect is easy: the tool records your actions as you use your site and automatically translates those actions into a repeatable test that you can run any time.
Get automated test coverage for your app today — try it for free.