


Postman is a popular tool for API testing, but did you know that you can also use it for UI testing? In this article we’ll cover how to use Postman to create end-to-end tests for a few simple testing scenarios.
What is Postman
Postman is a testing platform for developing, testing, and documenting APIs. You can think of Postman as an alternative to writing automated tests in a library like Python’s Requests HTTP library, or JavaScript’s Axios library. Postman is also a great alternative to writing one-off scripts using command-line tools like curl and jq.
Some key features of Postman are:
- Postman lets you easily maintain and categorize your tests with a concept called Collections.
- For ad-hoc testing of APIs, it’s easy to save tests and test results in Postman so that you can refer back to them in the future.
- It has an integrated debug console to help investigate issues why an API call is failing.
- Postman provides import/export options, so it’s possible to share API tests with colleagues or even save tests in version control.
Why test your UI with Postman
While Postman doesn’t provide many of the features you’d see in dedicated end-to-end testing tools like Selenium or Reflect, it’s still possible to use Postman’s limited feature set to simulate simple end-to-end scenarios. Here are some reasons why you might elect to create UI tests in Postman:
Familiarity
Probably the number one reason to use Postman for UI testing is if you’re already familiar with the tool, and have already created API tests that comprise most of an end-to-end scenario.
Measuring performance
Once you have tests set up in Postman, it’s pretty easy to configure the tests to run multiple times, and to export those test results into a separate tool to plot the results. This in effect is a simple way of performing performance testing, where you’d run a scenario a set number of times, throw out the fastest and slowest runs, and calculate the mean / median / variance in response times of each request in the E2E scenario.
Security
Through Postman’s data-driven testing features, you could construct a Collection Runner which tests various different boundary conditions. Generating these different inputs at random would be equivalent to fuzzing which is a testing technique that attempts to find security vulnerabilities in your application.
Even a non-random set of inputs could be used for testing the security of your app. For example, testing with inputs
like javascript:alert(1) or ; select * from users would be a simple way to test for cross-site scripting and SQL
injection vulnerabilities.
Getting started with Postman UI tests
In this section, we will learn how to run a simple UI test using Postman. After executing the test, we will perform some assertions on the results, like verifying the status code of the response, checking the size of the response, and measuring performance. To make these assertions, we’ll be using the Chai Assertion Library which is a popular assertion library that’s available in Postman by default.
A typical assertion using Chai would look something like this:
|
|
To follow along, you can either download the Postman app, or use the web version of Postman for testing. We will be using the web version in our examples.
Example: Verifying a page loads successfully
Start by logging into Postman, opening your workspace, and navigating to the Tests tab. You should see a blank text area as shown below:
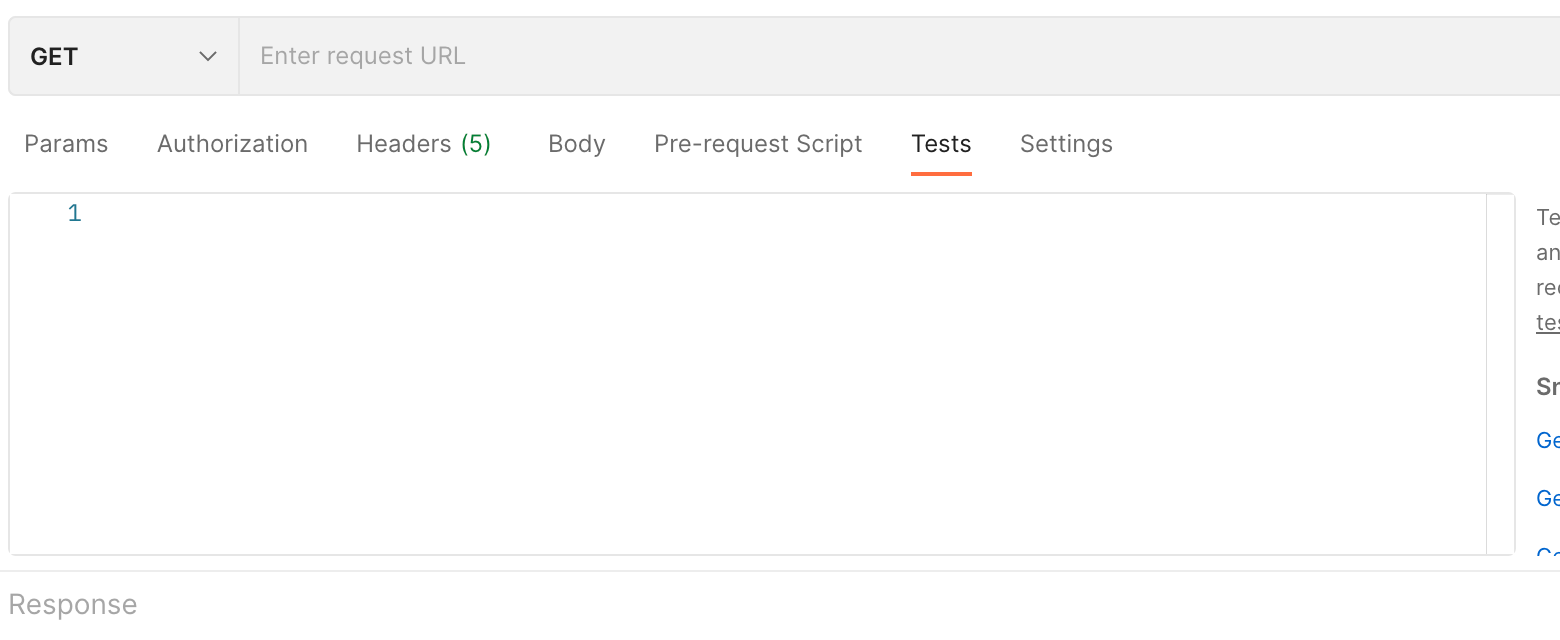
The Tests tab is where we will be writing the code for this test. In this first example, we will be testing that homepage of Stack Overflow loads successfully.
Enter the URL https://www.stackoverflow.com into request URL and ensure the HTTP method is set to GET.
Next, enter the code below into the text area of the Tests tab:
|
|
First, we created some variables which we will use in our tests: SECONDS_TAKEN_TO_LOAD in seconds, STATUS_CODE and
RESPONSE_SIZE in kilobytes. The first test was to check the time taken to load the page, and that it was below the
SECONDS_TAKEN_TO_LOAD variable. The second test was to check the status code and we passed in our STATUS_CODE
variable. The third test checked that the cache control header was set to private. The fourth test checked the response
size of the page and compared it to the RESPONSE_SIZE while the fifth test checked that the content encoding header
was set to gzip.
With that done, make the request to StackOverflow, navigate to the test results tab and you should see something that looks like the image below:
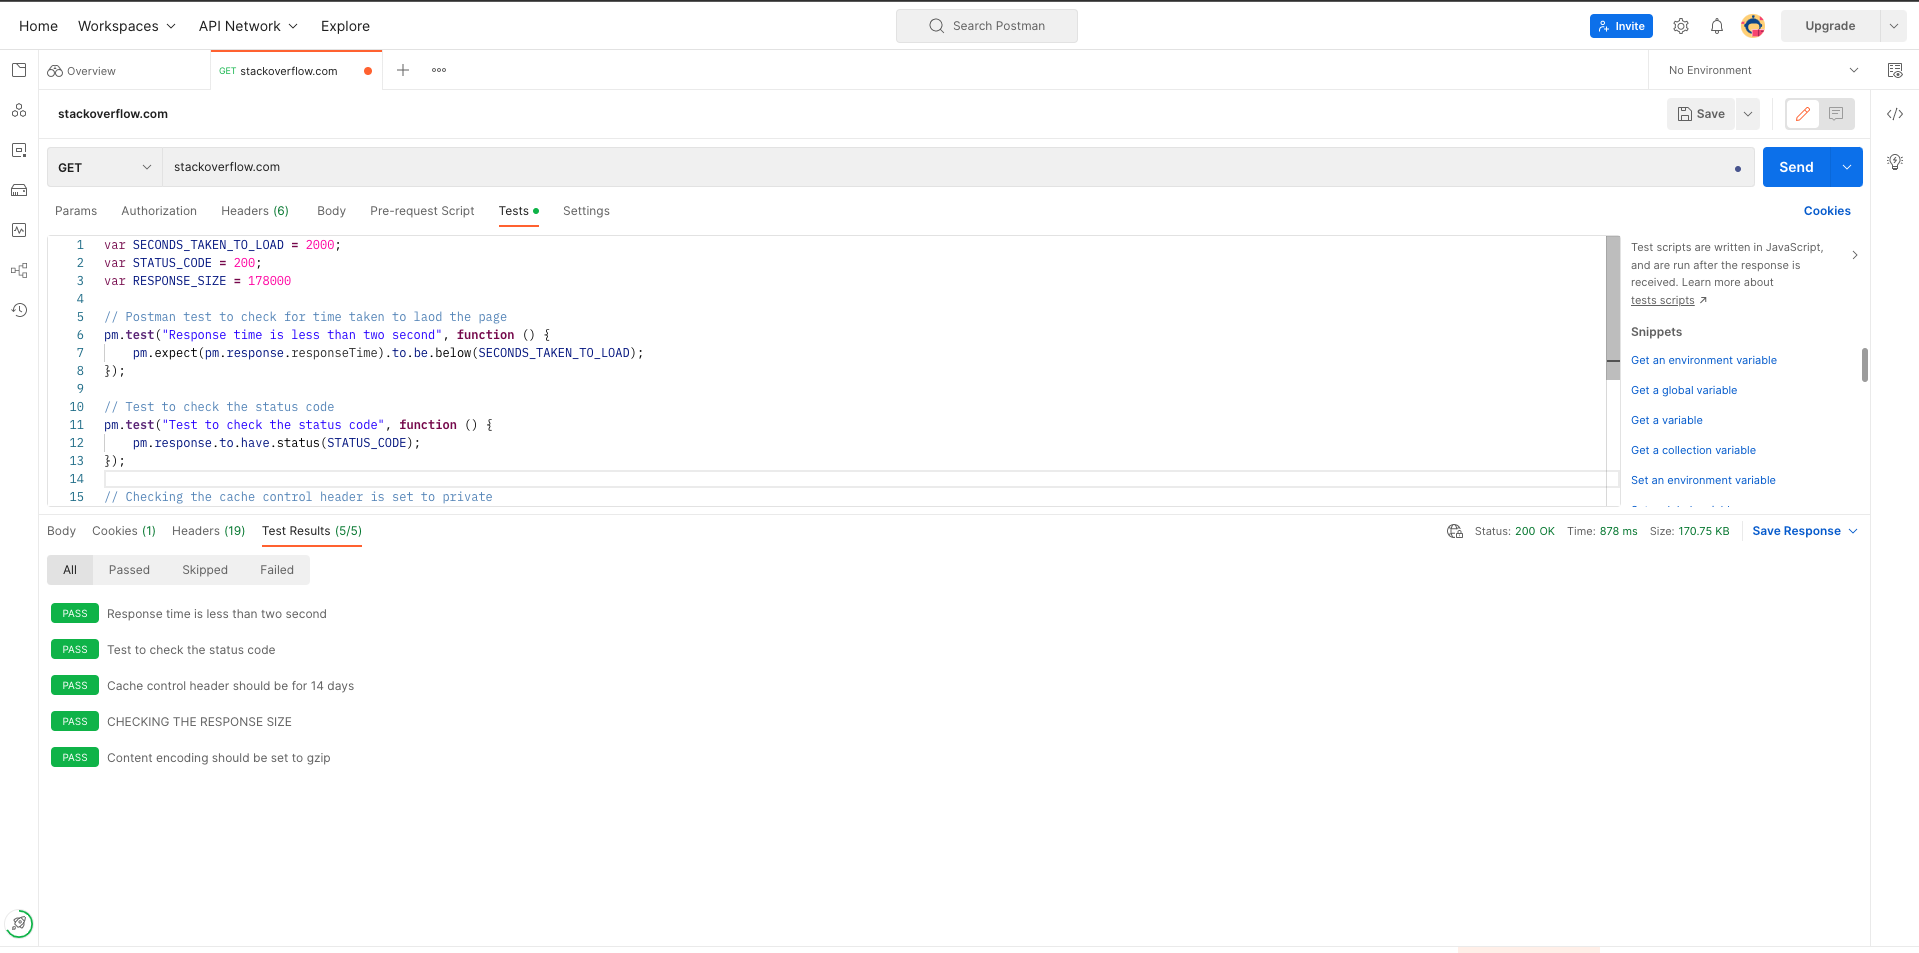
You can see from the image above that our tests passed and we got the results that we wanted. You can intentionally fail your tests to be sure that Postman really tested what you wanted.
Example: Submitting a form
While Postman cannot interact with the browser UI directly. It can simulate those actions by submitting requests directly to web app’s backend server. In this example, we’ll be making a POST request that simulates what would happen when a user submits a form on a web page.
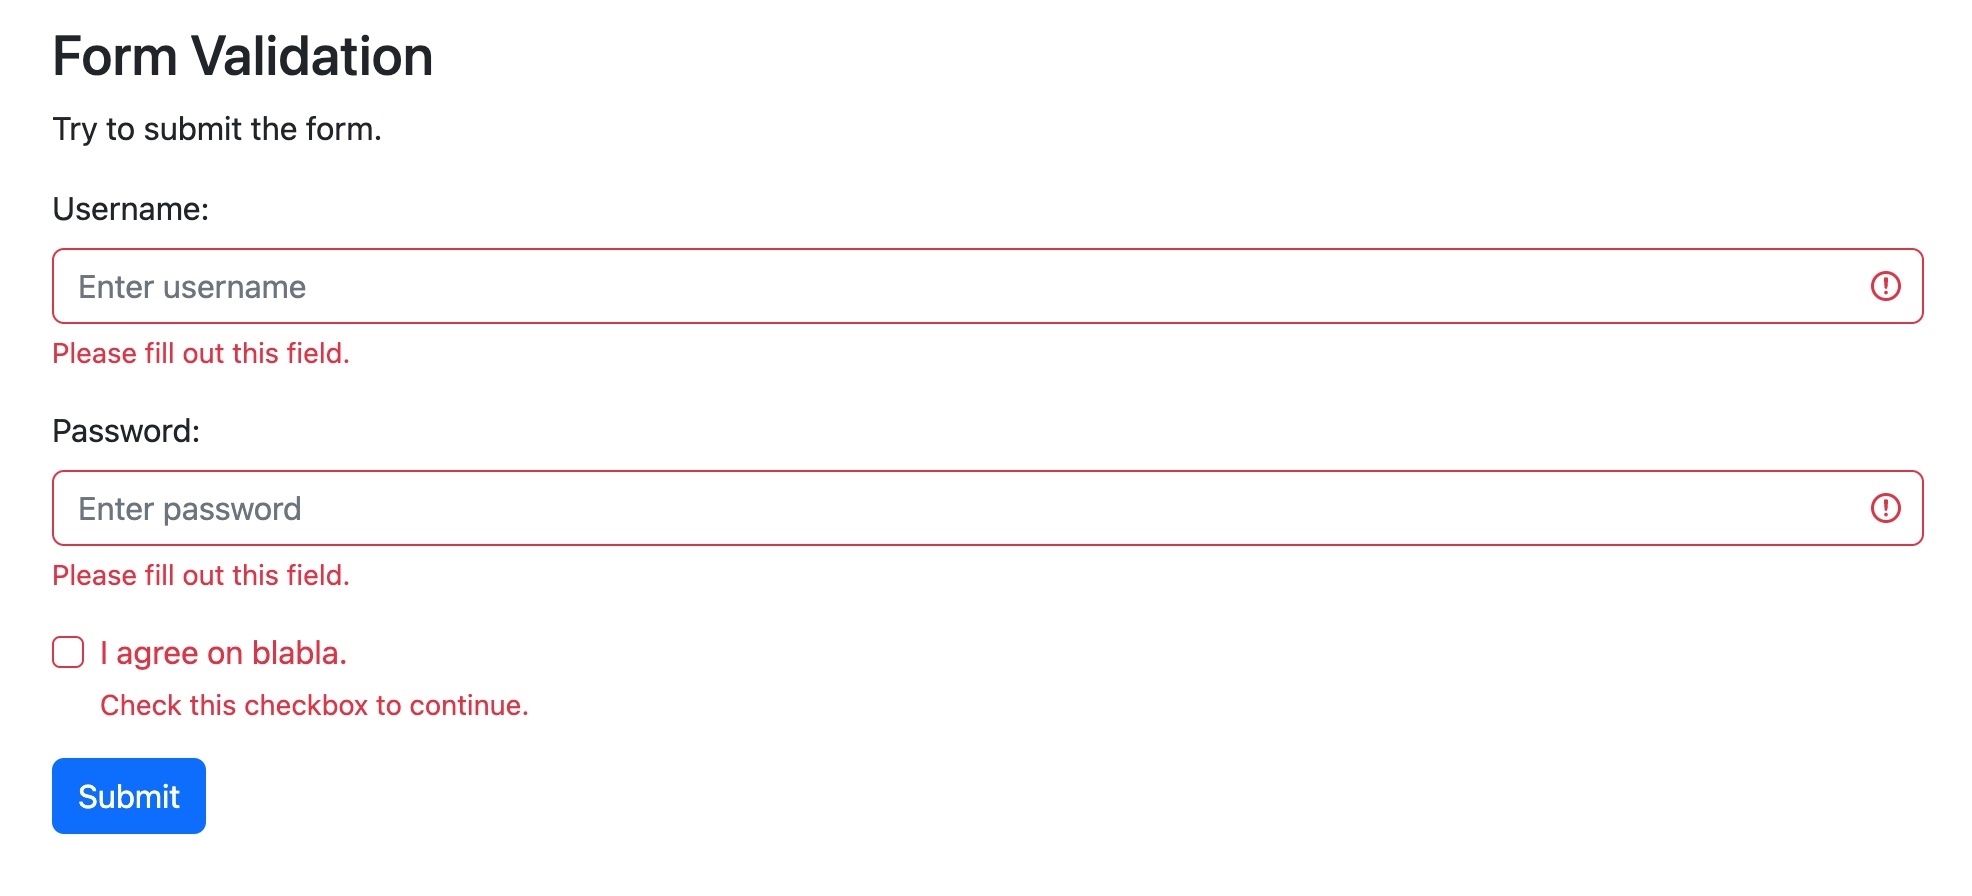
First, we’ll simulate loading the page by initiating a GET request of the site we’re testing. For this example we’ll be
using the W3Schools Bootstrap Form example located
here, so the GET URL should
be https://www.w3schools.com/bootstrap5/tryit.asp?filename=trybs_form_validation&stacked=h
Note that you could get closed to simulating actual user traffic by having separate GET requests for different assets on this page, like the CSS, JavaScript and image assets used to render the UI.
With the initial GET request complete, we will not submit another request that simulates what happens when the ‘Submit’ button is clicked:
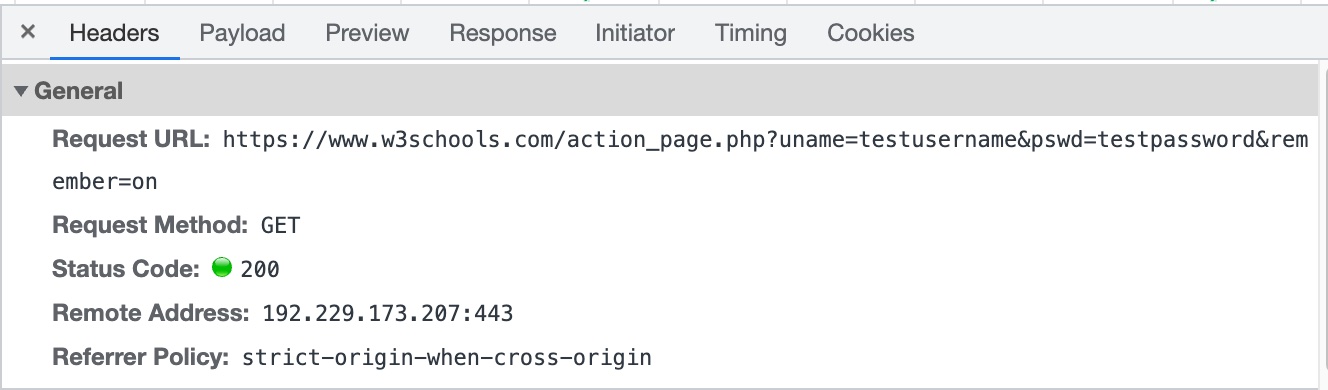
To simulate this request, add a new request that uses the GET method and has a URL of
https://www.w3schools.com/action_page.php?uname=testusername&pswd=testpassword&remember=on. I was able to figure out
what to enter here by using Chrome Developer Tools to inspect the network request that’s made when the form is
submitted. Here you can see an example of what that looks like in Chrome Developer Tools:
One thing to note is that normally a form submission is done through a POST request. When that’s the case, you would want to use the POST method in Postman and enter the form fields in the Request Body. Depending on how the site is implemented, the request will likely be submitted in JSON format, or in plain text.
As with the first example, you can add various Chai assertions for things like the status code, or data that should appear in the HTTP response body.
Conclusion
While Postman is limited when it comes to UI testing, there are certain simple scenarios where you might elect to use Postman instead of a more purpose built end-to-end testing tool.
Happy testing!