


Introduction
From the introduction of the mouse to the ubiquity of touchscreens in modern computing, the way we interact with devices keeps evolving. One key user interaction that is found throughout these evolutions is the drag-and-drop action. Within web applications, there’s two main reasons for the popularity of drag-and-drop:
- Web applications are now more popular than traditional desktop apps, taking on more of the interactive features of their predecessors, including drag-and-drop functionality.
- The Web is now mobile-first, which means you are supposed to support mobile-native interactions such as swiping.
In this article, you will learn how to test drag-and-drop workflows with Cypress. Specifically, you will see how to test
drag and drop in a Cypress script, both with the cypress-drag-drop plugin and custom JavaScript logic.
What is Cypress?
Cypress is a JavaScript-based frontend testing tool built for the modern web. This open-source technology supports Chromium-based browsers, Firefox, and has experimental support for WebKit. Cypress comes with a wide range of cross-browser testing features and supports both JavaScript and TypeScript.
What is a drag and drop interaction?
A “drag and drop” is any type of interaction in which a user drags a source element on the screen and releases it onto another element (usually called “drop target” or “target”). By definition, drag and drop needs a touchscreen or mouse interaction. However, keyboard shortcuts can usually be used to achieve the same result for accessibility reasons.
Examples of drag-and-drop components
There are several scenarios where drag-and-drop interactions are considered the best user interaction. Note that drag-and-drop interaction can be implemented using the native Drag-and-Drop API (from now on, “Dnd API”) or with custom JS logic.
Let’s now see the top five web components based on drag-and-drop interaction.
Sliders With sliders, you can select a value from a predefined range via drag-and-drop interaction, as follows:

Range Sliders Range sliders are a special type of slider. These components allow you to specify a range of values through drag-and-drop interaction, as below:

Toggles With toggles, you enable users to select one of a given set of states. Typically, they are used to select a
boolean “on” / “off” state. These simplified versions of the native <input type="checkbox"> HTML element can generally
be activated with a single click. You may also be able to toggle them with a slide-right or slide-left action.

Canvases A canvas gives you the ability to draw something with your finger or mouse with drag-and-drop interaction. Canvases components have become popular for e-signatures, allowing you to sign documents online.

Other drag-and-drop elements This category of elements refers to all custom web components that are based on drag-and-drop interaction. Specifically, this includes components within a game where you can move an item from point X to point Y like in chess, components for moving an item from one list to another, or sorting components where you can manually sort elements of a list.
How to test drag-and-drop interactions with Cypress
Let’s learn how you can test drag-and-drop workflows with Cypress with a JavaScript script. Since Cypress does not have built-in support for drag and drop, you will have to rely on native DnD API or write custom JavaScript logic.
Prerequisites
Cypress only requires the following prerequisite:
- Node.js
If you do not have Node.js, download and install the latest LTS version.
Setting up a Cypress project
Create a cypress-dnd-example folder and enter it in the terminal with the following commands:
|
|
Then, initialize an npm project with this command:
|
|
Follow the instructions and answer all the questions. At the end of the process, you will have a blank npm project
containing a valid package.json file.
Now, install Cypress with the command below:
|
|
As stated in the official documentation, this will install Cypress locally as a new “dev” dependency for your project. Wait for a few minutes for the installation process to end. You should now be seeing the following messages in the terminal:
|
|
You can now launch Cypress with the command below:
|
|
If you do not have npx installed or this command does not work, launch the command with the entire path as suggested in the installation logs:
|
|
This is a bit cumbersome. So, as recommended in the
official guide, add a Cypress command to the scripts
section of your package.json file.
|
|
This way, you can launch Cypress with the simple command below:
|
|
You will now be asked to select between E2E Testing and Component Testing.
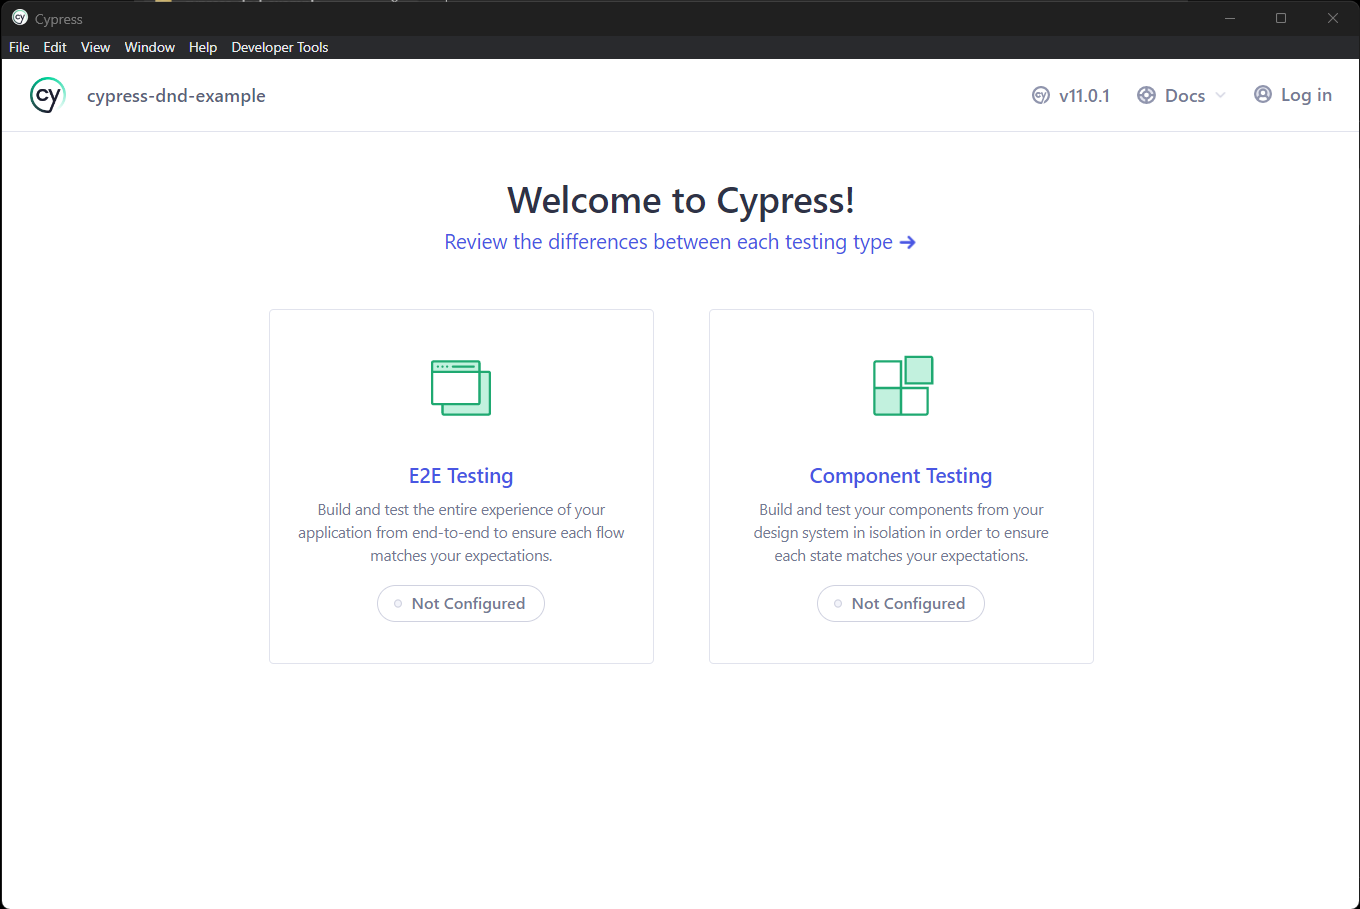
The Cypress project initialization view
Choose E2E Testing, which allows you to test your application as a whole from the web browser.

The Cypress configuration file screen
Click “Continue” and wait for the process to complete. Now, select your browser. In this tutorial, you will see how to perform your test in Chrome v107.
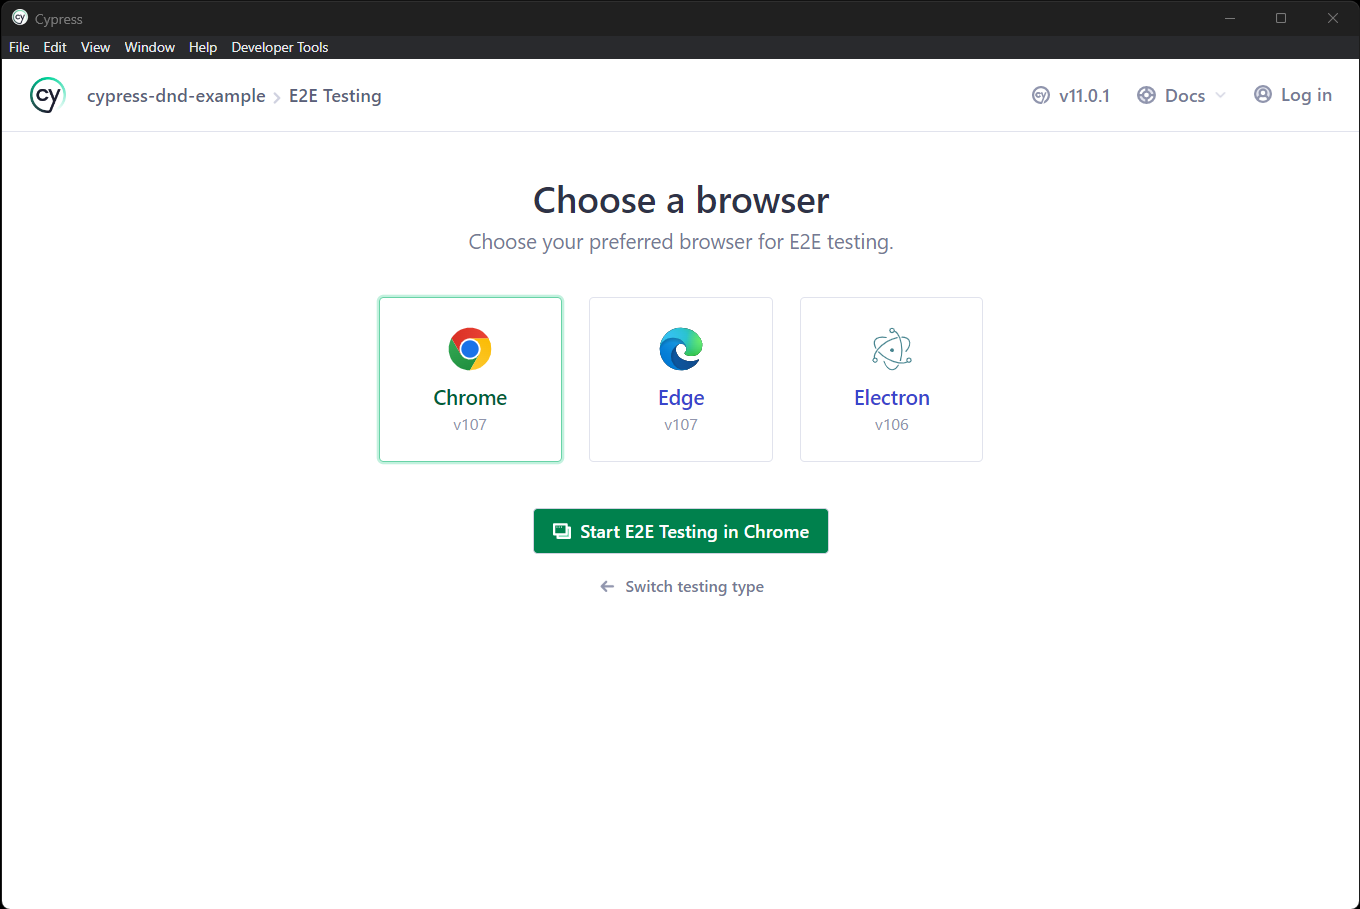
The Cypress browser selection screen
Click on the “Start E2E Testing in Chrome” button to start the Cypress testing functionality.
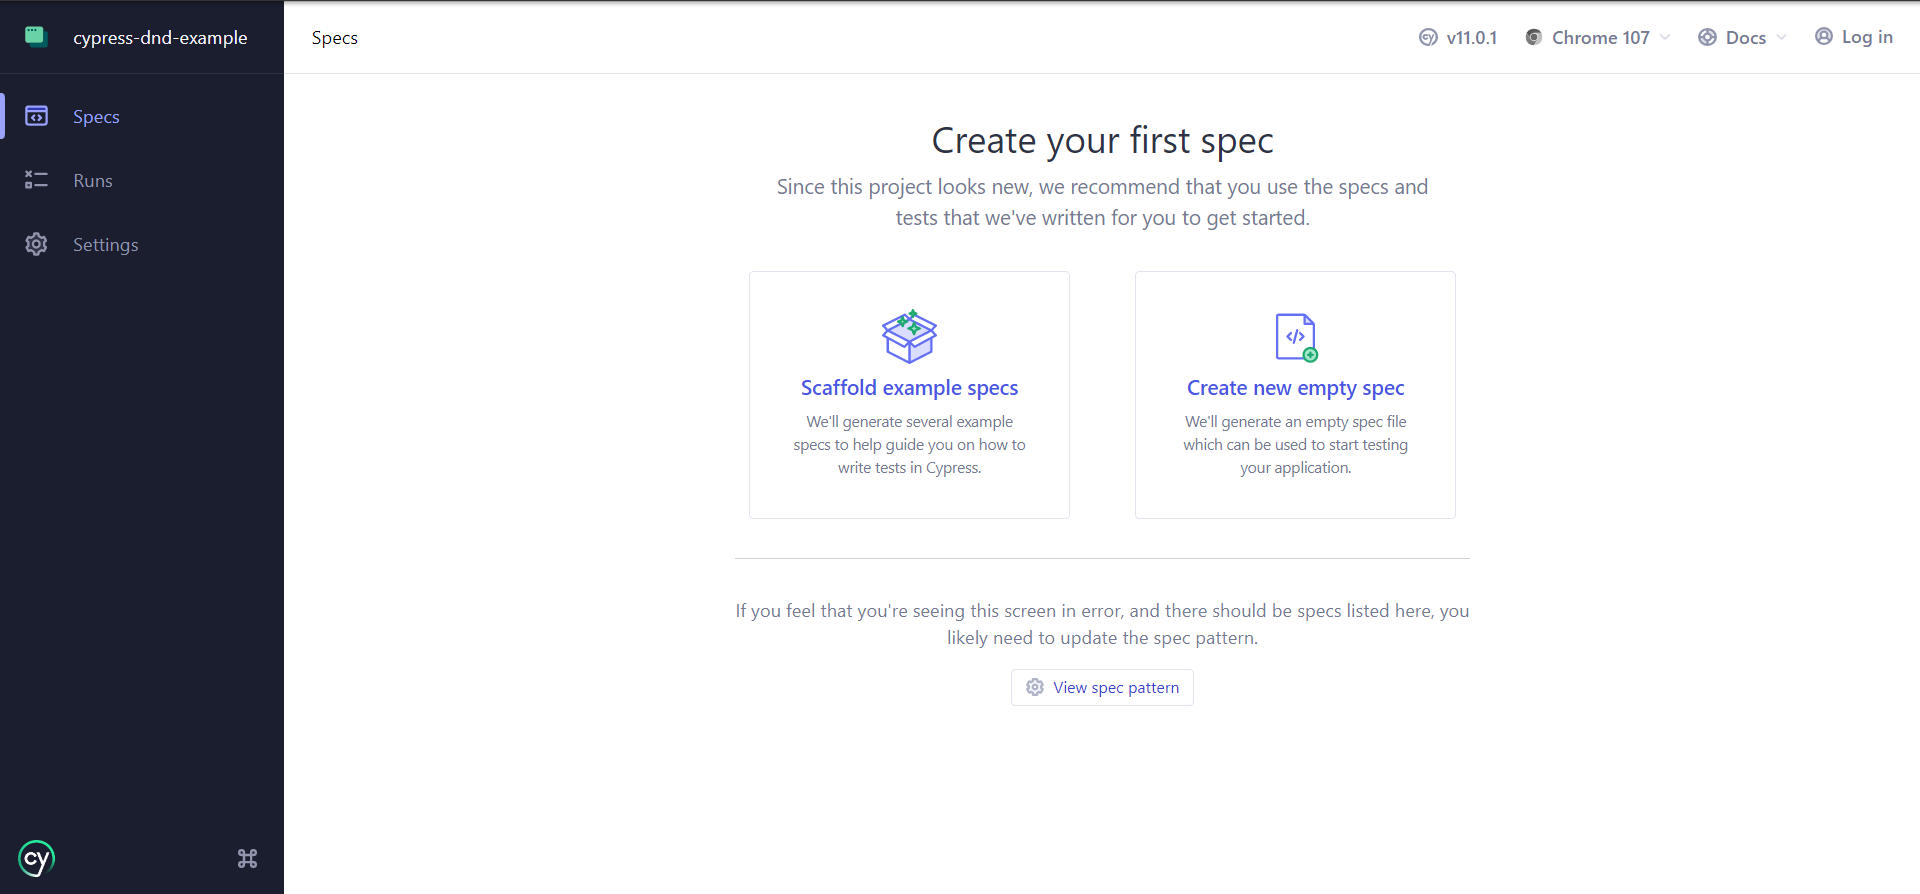
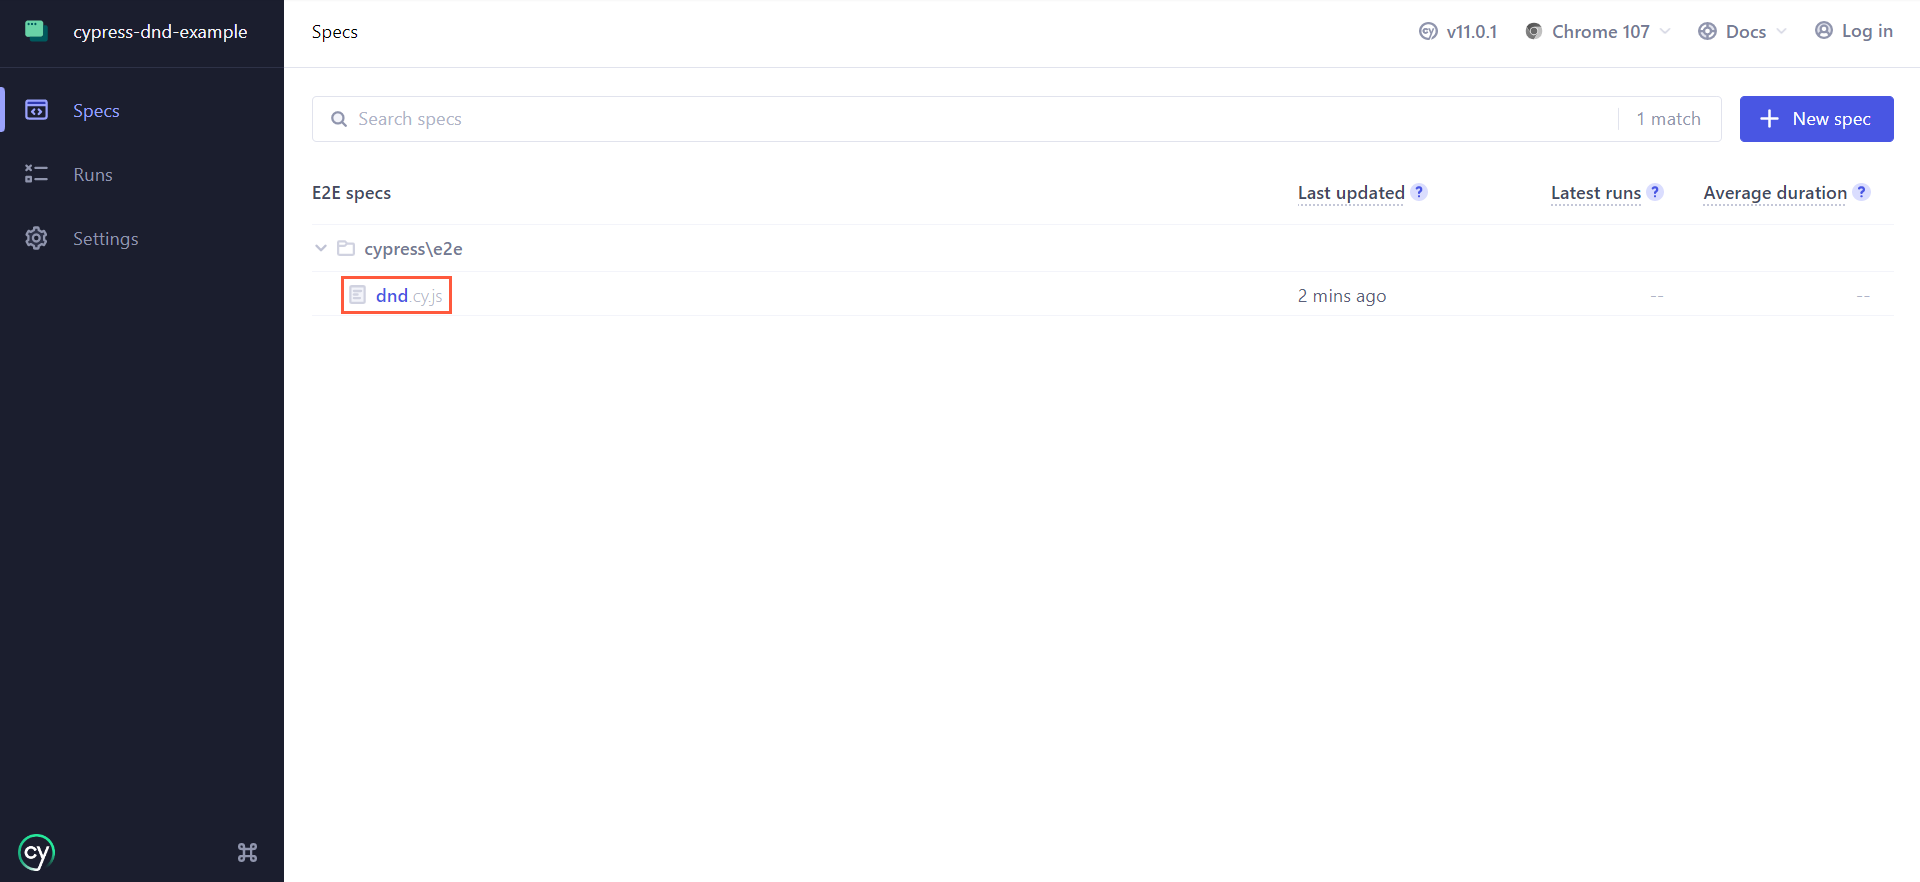
Select “Create new empty spec” and initialize a dnd.cy.js spec, as below:
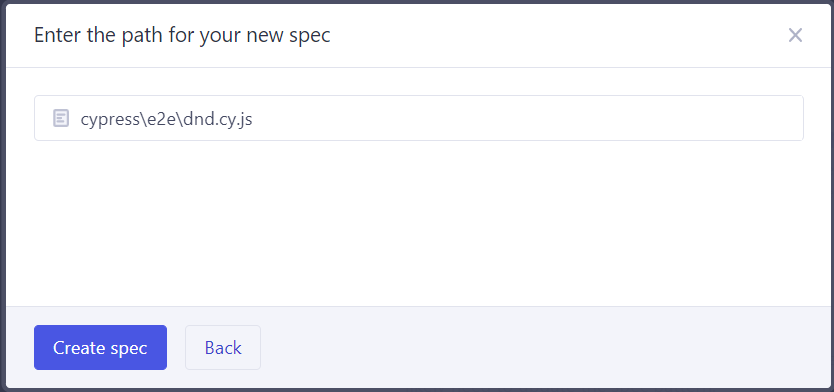
Creating a dnd.cy.js spec file
Note that Cypress spec files are the test file and contain the testing logic.
At the end of the process, your cypress-dnd-example directory should contain the following file structure:
|
|
You can now write your first Cypress testing script. For example, initialize the e2e.cy.js spec file as below:
|
|
The describe() and it() functions come from the
Mocha test interface. describe() provides a way
to keep tests organized and easier to read, while it() specifies each individual test. Note that both functions take a
title string parameter to describe their context or goal.
By default, you can access the cy object in any Cypress test file. cy gives you access to all Cypress commands. In
this example, you saw the visit() function in action, which allows you to
connect to a remote URL.
Now, launch npm run cypress:open, select “E2E Testing” and click on the dnd.spec.js element to run the test:
Running the dnd.cy.js spec file
Wait for the test to complete, and you should be able to see the following result:
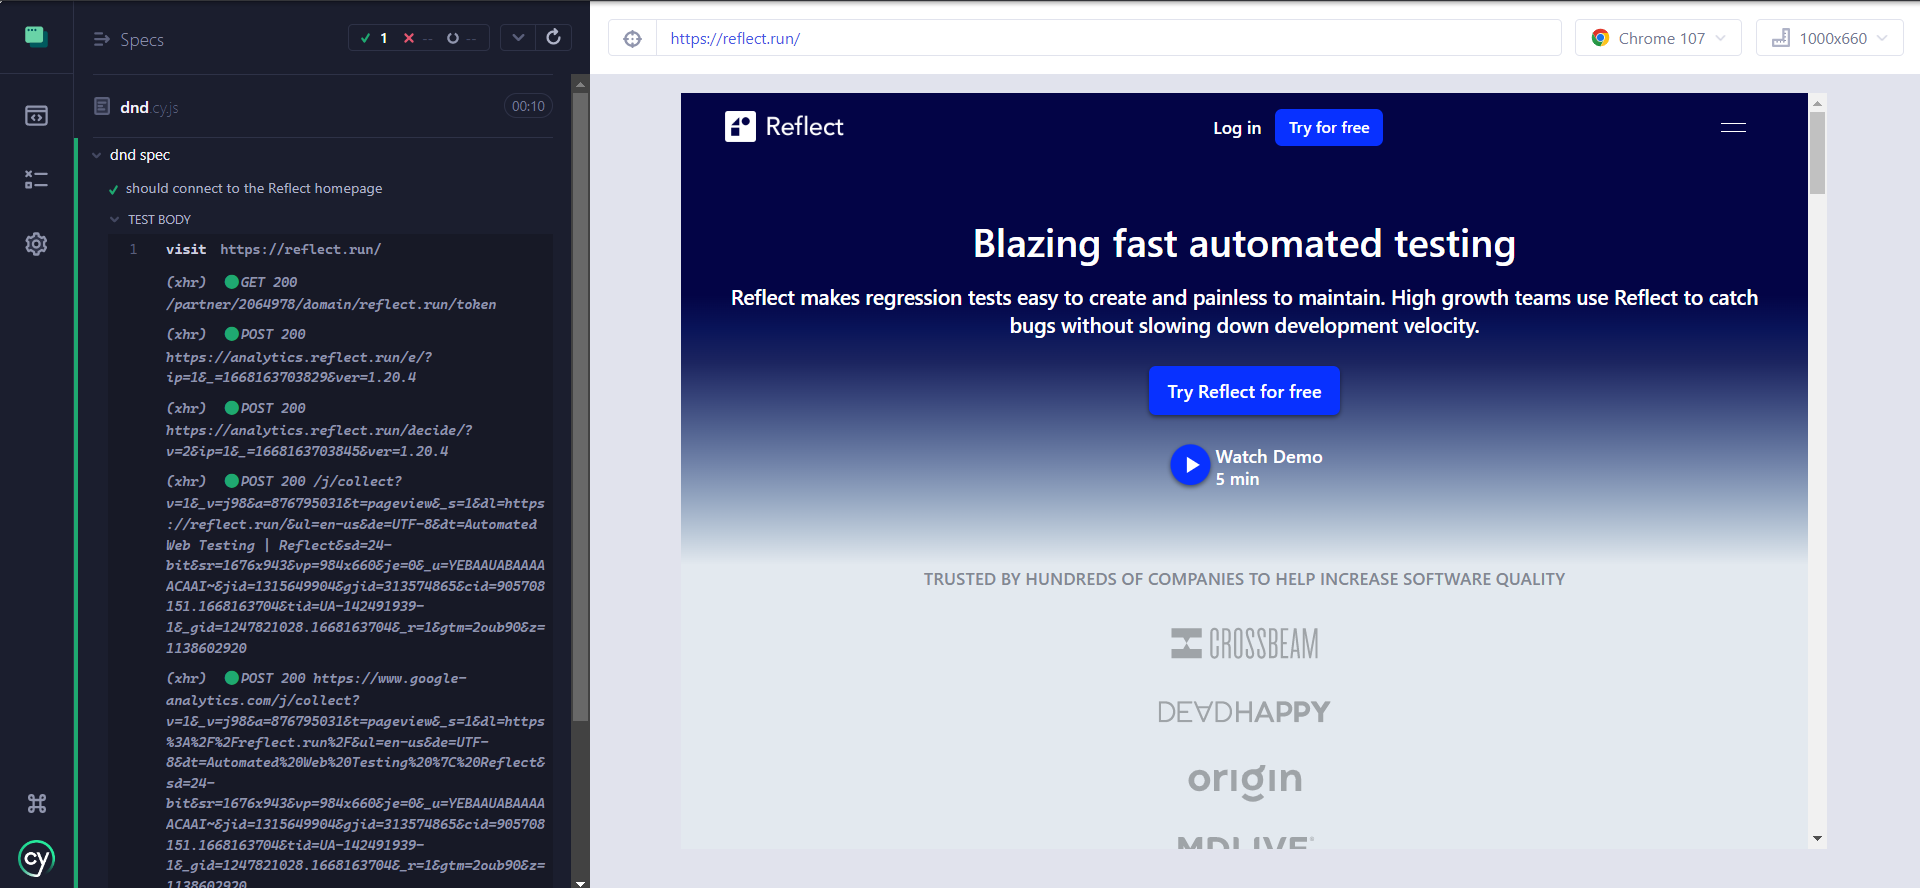
The dnd.cy.js test results
In this tutorial, you will see learn how to test JS-based custom drag-and-drop components from the
https://x2f9rh.csb.app/ sandbox webpage below:
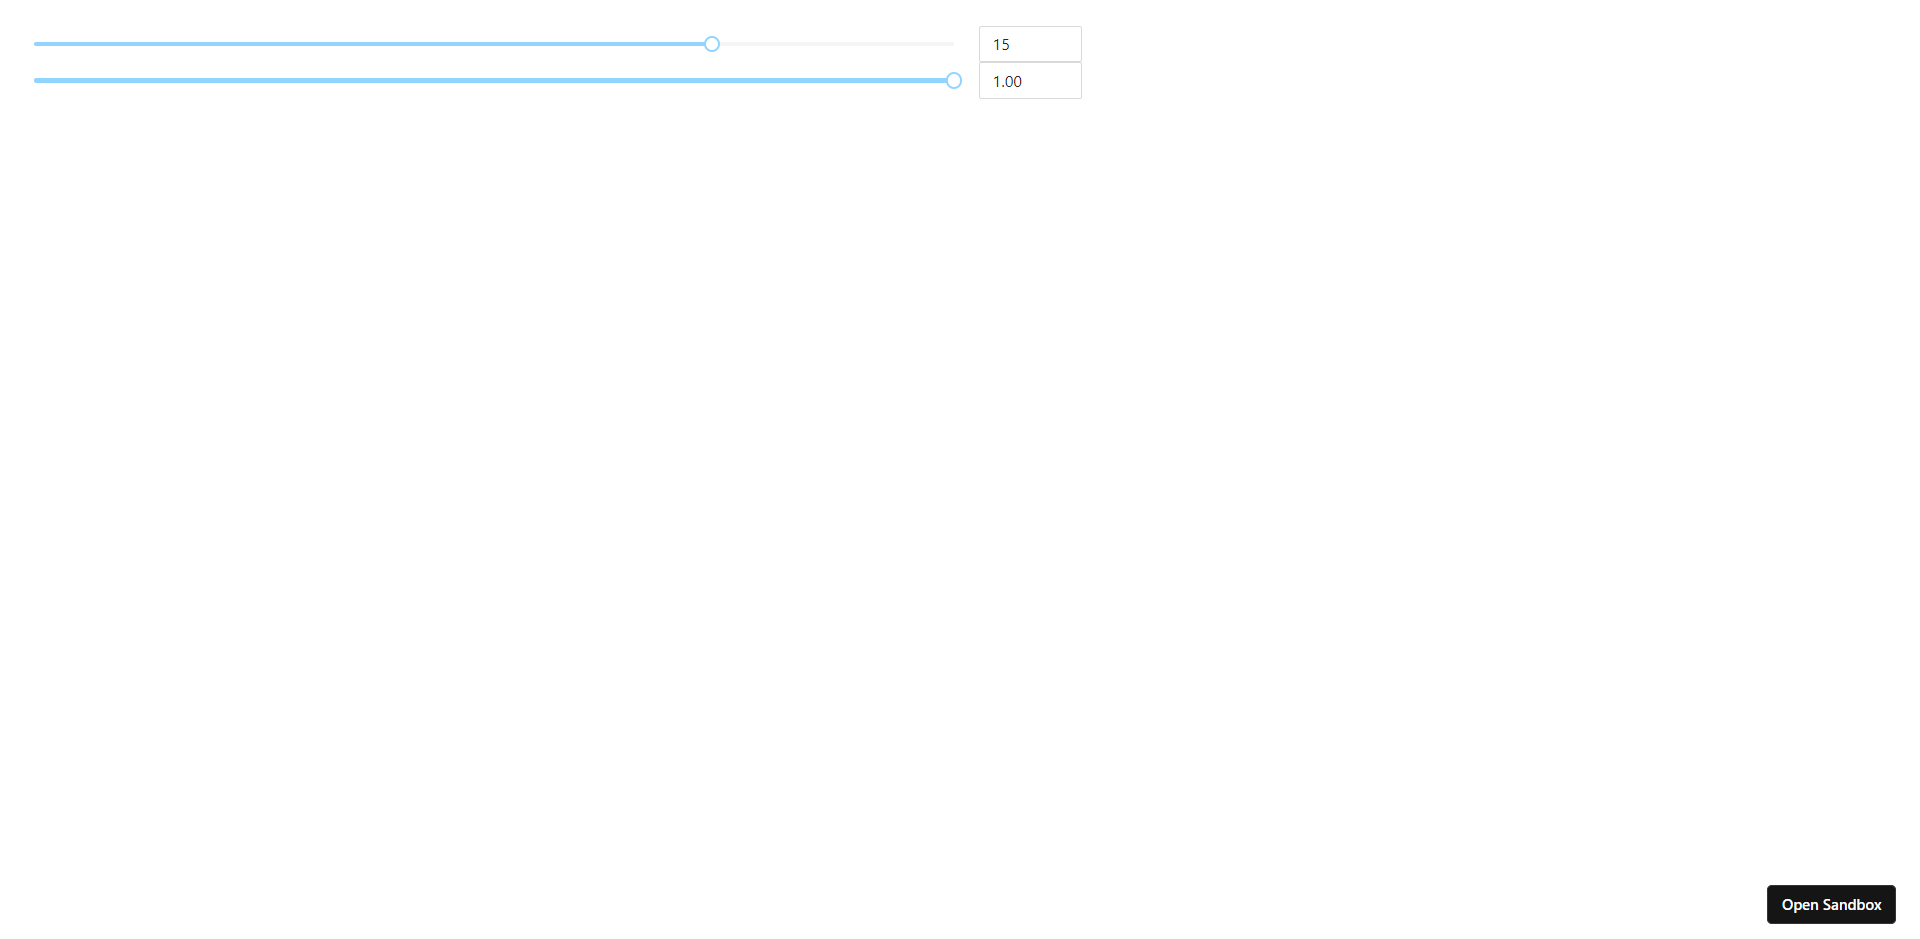
The x2f9rh.csb.app sandbox webpage
As you can see, the https://x2f9rh.csb.app/ page contains only two sliders. Both rely on custom JS-based drag-and-drop
logic and do not use the native DnD API.
Since that webpage is created by CodeSandbox on the fly, it may take a while to generate the DOM. To avoid timeout
errors, extend the defaultCommandTimeout config value to 40000 milliseconds by adding the following line on top of
your dnd.cy.js spec file:
|
|
This config specifies the time in milliseconds to wait until DOM-based Cypress commands are considered timed out. To make CodeSandbox preview pages work in Cypress you have to add the “standalone” query parameter to the URL, as below:
|
|
You are now ready to start testing drag-and-drop interactions in Cypress. Let’s see the different approaches you can follow.
Approach #1: Using the cypress-drag-drop plugin drag function
You can add drag-and-drop testing functionality to Cypress with the cypress-drag-drop plugin.
Install cypress-drag-drop as a dev dependency with the command below:
|
|
Then, add the following line to the support/commands.js file to make Cypress load the plugin:
|
|
You now have access to the drag() function. Note that the
cypress-drag-drop drag() function works both on elements based on the native DnD API and custom JS-based
drag-and-drop elements.
You can use the drag() function to test the drag-and-drop interaction as follows:
|
|
This script selects the first slider, drag-and-drops its moving element to 40% of the slider global width, and checks
that the adjacent input has the expected value. To implement this logic, you need to call the drag() function on the
same source and target .ant-slider-handle element. Note that the force flag to disable the
Cypress actionability check must be true.
The script uses the dimensions of the slider HTML element retrieved with the native
getBoundingClientRect() function to
calculate the position where to move the sliding element to. Since the webpage contains only x-based sliders, the y
coordinate should be left at 0.
Approach #2: Using custom JavaScript to simulate mouse events
You can achieve the same result offered by the cypress-drag-drop drag() function with the following custom
JavaScript logic:
|
|
This Cypress test works exactly like the one seen before. What changes is that the drag-and-drop logic is implemented by
triggering the mousedown, mousemove, mouseup events on sliderHandle, which is the moving element of the slider.
Approach #3: Using custom JavaScript to trigger drag events
This approach is based on drag events and works only with drag-and-drop elements that rely on the native DnD API. Keep in mind that JS-based drag-and-drop elements generally do not use drag events. So, this approach may not work with custom elements.
Let’s test a drag-and-drop element based on the native DnD API from the https://simple-drag-drop.glitch.me/ webpage:
The drag and drop example in action
You can test drag-and-drop workflows based on native DnD API with Cypress as follow:
|
|
First, the script creates a DataTransfer object, which
holds the data that is being dragged during the drag-and-drop operation. Then, it triggers the dragstart event on “A”.
dataTransfer now contains the data required to drop “C” into “A”. This is done by triggering the drop event on “C”
with the dataTransfer data.
Note that when you move “C” HTML element into “A”, you need to retrieve “C” again. In other words, after triggering the
drop event, cy.get("div[draggable=true]").eq(2) will point to “A”, not “C”.
Conclusion
In this article, you learned what Cypress is, what drag-and-drop interaction is, and where it is used on web components.
You learned everything you need to know to use the Cypress testing framework to create a script that tests a website
containing components based on drag-and-drop interaction, including both the cypress-drag-drop plugin and custom
JavaScript logic.
Reflect: A testing tool with built-in support for drag-and-drop
Reflect is a no-code testing tool that can test virtually any action you can take on a browser. In addition to testing workflows that require drag-and-drop, you can also test actions like clicks, taps, hovers, and file uploads. Creating a test in Reflect is easy: the tool records your actions as you use your site and automatically translates those actions into a repeatable test that you can run any time.
Get automated test coverage for your app today — try it for free.