


RedwoodJS is one of several new full-stack web frameworks in the JavaScript ecosystem. It’s designed to be easy to pick up, but equally easy to scale from a small side project to a fully-fledged startup.
RedwoodJS combines several popular libraries into a single all-in-one framework, as well as implements its own features to make the process of building and maintaining applications easier. This includes the RedwoodJS CLI, as well as helpful features like route-based code-splitting.
Background
RedwoodJS was created by Tom Preston-Werner. Preston-Werner is the co-founder of GitHub, creator of Jekyll and Gravatar, author of the Semantic Versioning specification, and the inventor of TOML.
RedwoodJS is named after the redwood trees that are native to Northern California , where Tom Preston-Werner lives. Preston-Warner sees the framework as sharing characteristics with the redwood tree, specifically its ability to start as a small sapling but grow to a robust and mature tree.
Analogies aside, let’s explore the details of RedwoodJS and demonstrate how to create your first RedwoodJS application.
How is RedwoodJS different from other popular full-stack frameworks?
A RedwoodJS application consists of both front-end and backend components. In this respect it is probably most closely associated with Next.js, which is currently the most popular full-stack framework for JavaScript applications. In RedwoodJS, the backend implements a GraphQL API, and the front-end is built with React. The front-end contains Cells, which allow you to declaratively manage the lifecycle of a component that fetches and displays data and regular React components. Put simply, a RedwoodJS app is a React front-end that communicates with a custom GraphQL API.
Some key features include:
- Simple yet powerful routing enabling you to map URL paths to React “Page” components easily. It defines all the routes in one file with dynamic (typed) parameters, custom types, and named route functions for generating correct URLs.
- Redwood’s GraphQL API implementation allows you to develop internal “services” that represent their own internal APIs and connect them automatically with Apollo. The API uses Prisma’s ORM to interact with a database, and Prisma’s migration tooling helps simplify database schema changes.
- A tight integration with the Jest testing framework as well as Storybook which makes unit-testing and component-testing pretty easy to set up.
- RedwoodJS includes automatic code splitting that splits up code by each route boundary. Moreover, the other critical functionalities like setting up authentication or CSS frameworks are very easy with RedwoodJS since it is just a single command line invocation away.
What libraries and technologies is RedwoodJS using?
Redwood’s philosophy is to utilize popular libraries wherever possible, and provide a shim layer that makes for a more cohesive development experience. RedwoodJS is comprised of the following JavaScript libraries:
- React
- GraphQL (GraphQL Yoga + Envelop + Apollo Client)
- Prisma
- Jest
- Storybook
- Babel
- Webpack
- Fastify
- Pino
Code example: Creating a simple app using RedwoodJS
Make sure you have installed the following prerequisites before starting the development of a RedwoodJS application.
- Node.js
- npm
- Yarn
Next, we will see how to create a simple application using the RedwoodJS full-stack framework.
Creating an instant RedwoodJS application using ‘create redwood-app.’
If you are using Windows, run the following commands in the terminal to install the LTS version of Node.
|
|
Then, install the latest LTS and npm, for example, 16.13.1, for the following examples.
|
|
RedwoodJS uses Yarn as its package manager, so you’ll need to install that via the following command:
|
|
Now you are ready to create your first application with Redwood. Use the following command to create a skeleton Redwood project.
|
|
If you prefer to use TypeScript, you can create a TypeScript application with a single command:
|
|
Once the command has completed, navigate to the created app directory using the following command.
|
|
Finally, start the development server:
|
|
A new browser window will open up the local development server at http://localhost:8910. You should see the following
application displayed in your browser:
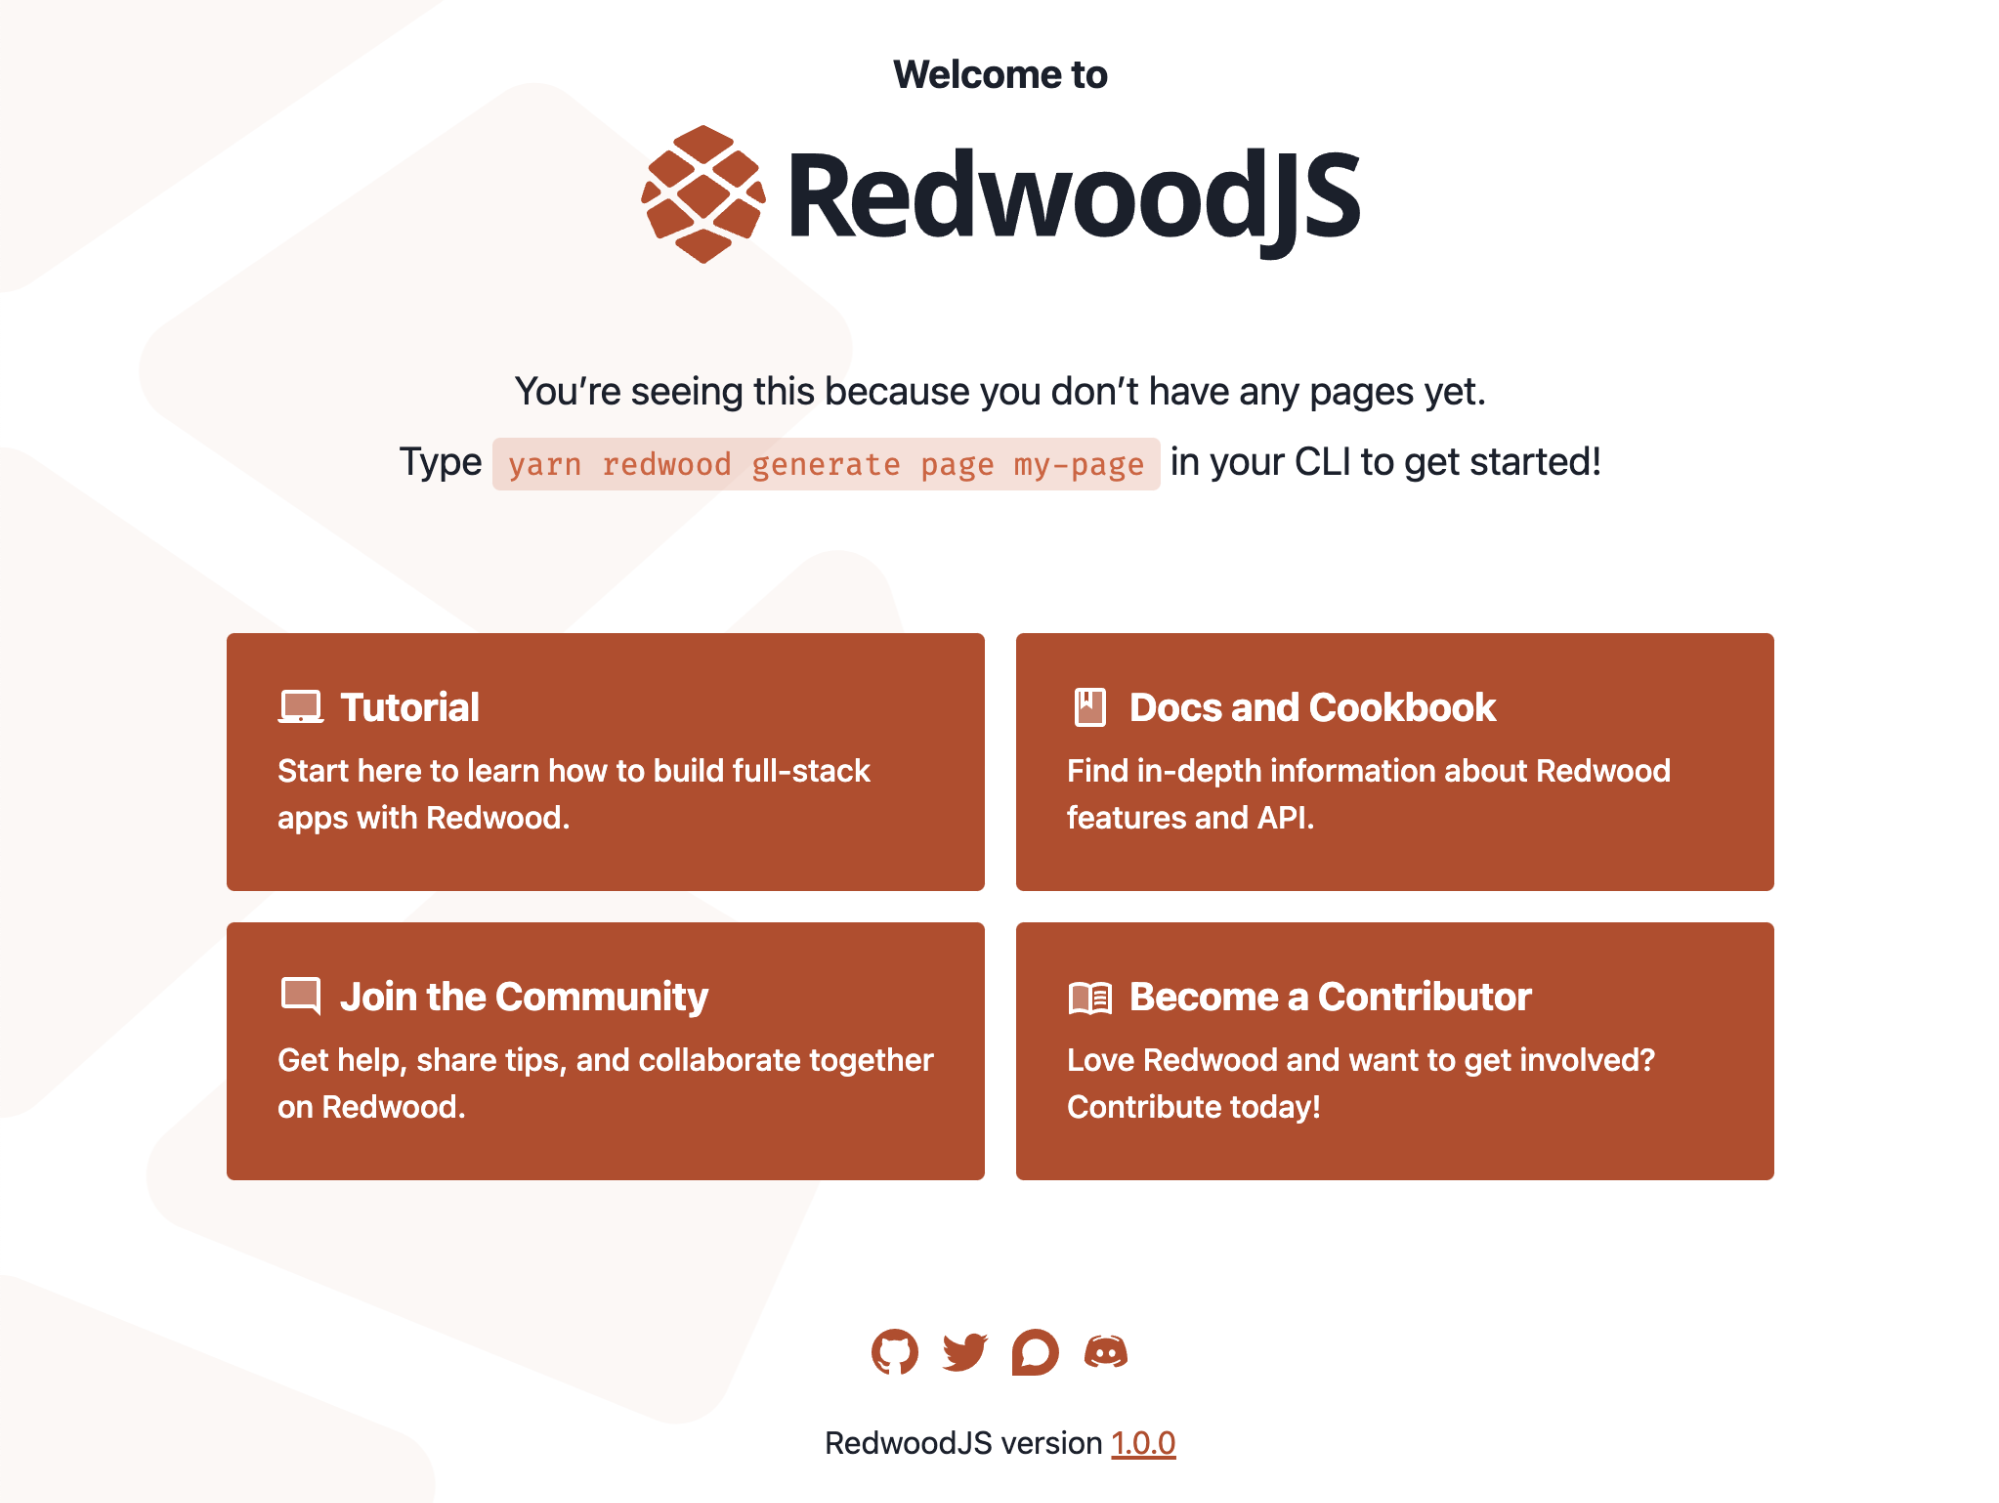
Congratulations, you now have a working RedwoodJS app! The RedwoodJS CLI has a lot of features that can help speed up development even after the initial app is created. You can explore this functionality either via the online docs or through the CLI help by running either the ‘redwood’ or ‘redwood-tools’ commands.
Defining the Schema
It is very easy to create an instant application with Redwood. Usually, the data is the core part of the CRUD operations of an application. You need to start with the database schema or the tables you want to include in your application. Open the “schema.prisma” file in the api/db folder and define the schema for your application. RedwoodJS uses Prisma, a popular JavaScript/TypeScript ORM, to communicate with the database. This schema file is what defines the data model of your application.
Suppose we’re creating an application that lets you manage your book collection, and we want to create a page that lets you input book details and save them to the database. Additionally, we may also want to list the existing books in the database and perform CRUD operations like create, delete, edit, etc. Define the schema for your book table in the “schema.prisma” file as in the following example.
|
|
Creating the migrations
Once you have defined the model, you need to apply the changes you have done to your development database. For that, use Prisma Migrate to migrate your database easily without any issue. Type the following command to create migrations and apply them to the development DB.
|
|
Provide the name for your migration in the prompt. For this example, let’s specify the name as ‘Creating books.’ Then, use the following command to generate everything required to perform all the CRUD (Create, Read, Update, Delete) actions on our Book model.
|
|
Go to the URL http://localhost:8910/posts/new. You will get a small application based on the Book schema that you
defined as follows.
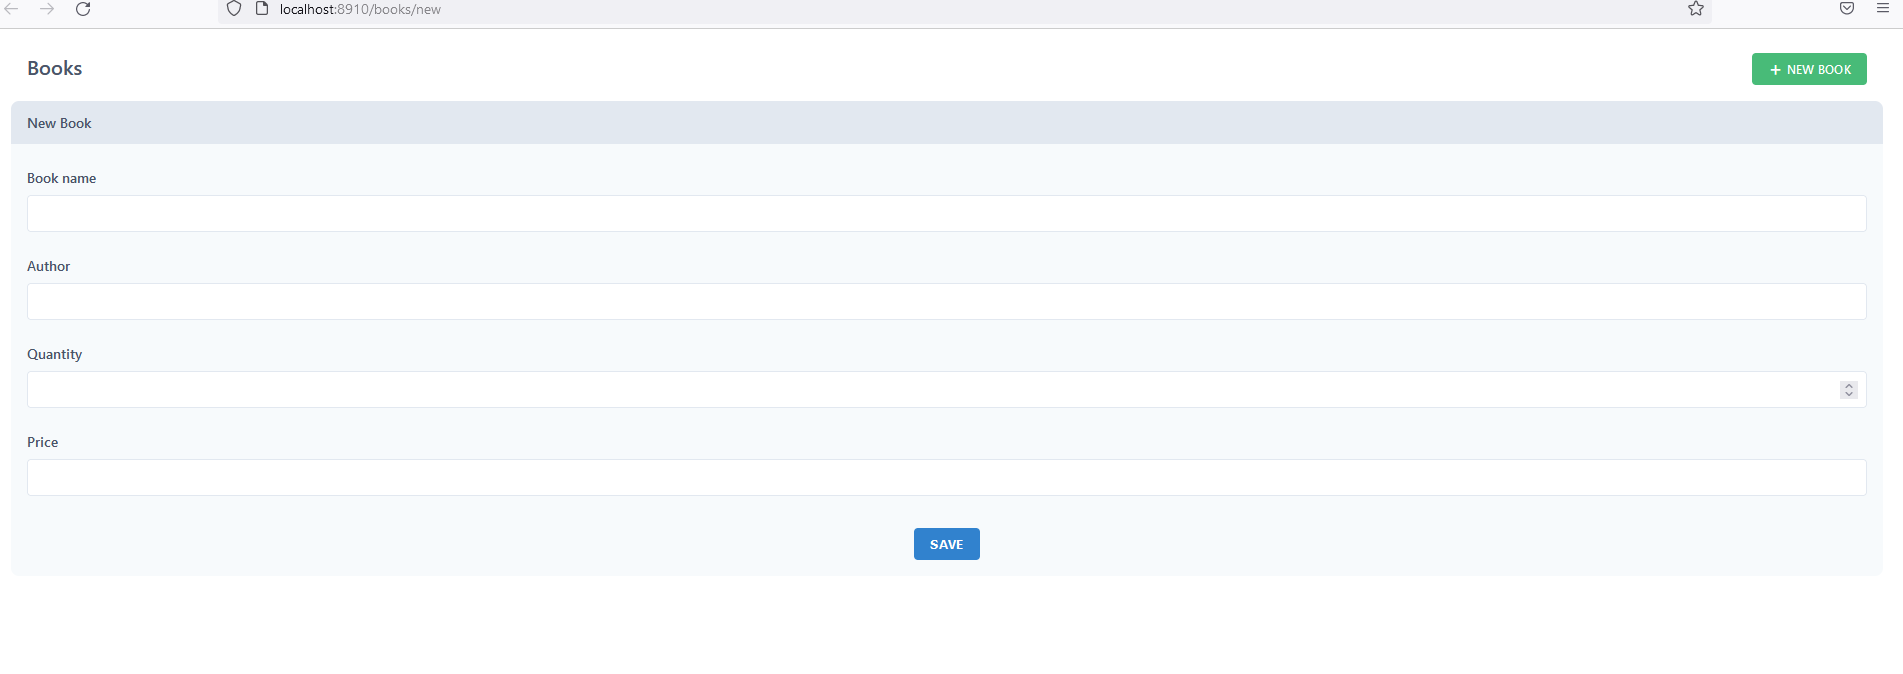
Enter the book name, author, quantity, and price details, and hit the ‘save’ button. It will create a new record in the book table, and you will see the output of the created data. Click on the ‘Create Book’ button to create new data.

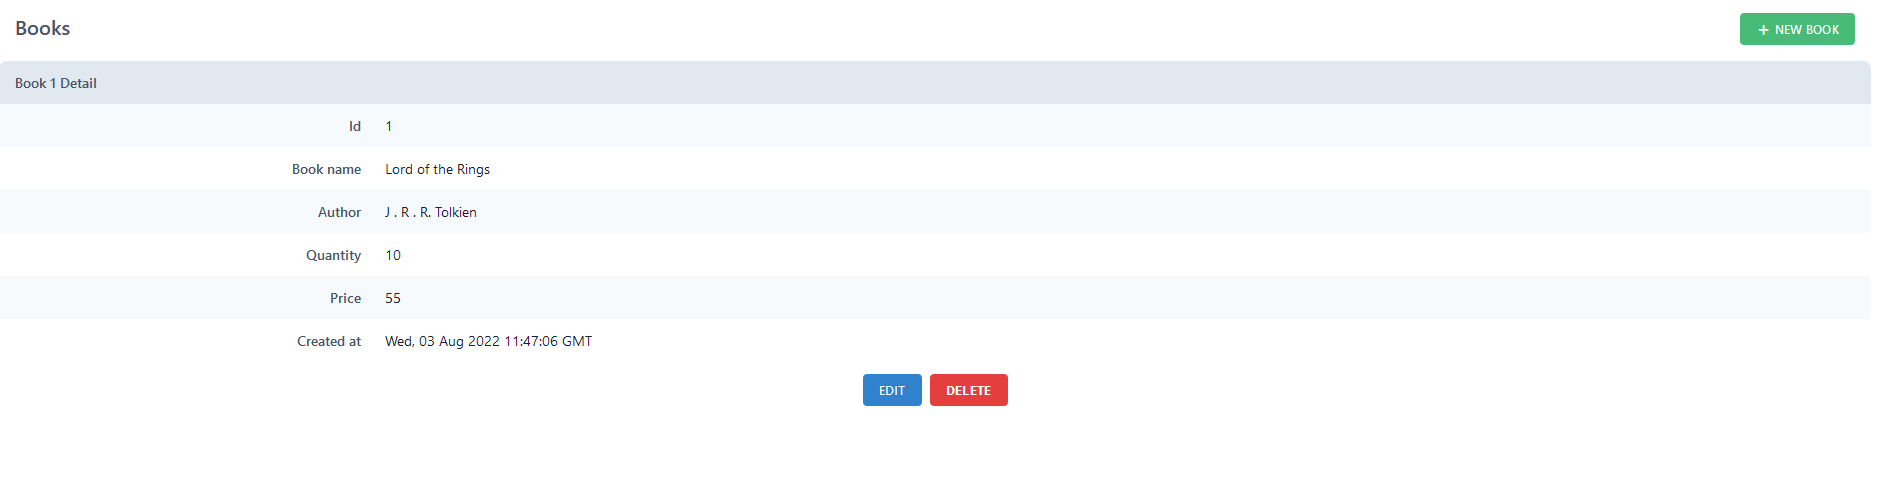
You can see a detailed view of the data by clicking the “show’ button. You can also edit and delete operations from the corresponding button.
The app has automatically created the list of pages for the following path.
- newBook ->
/books/new - editBook ->
/books/{id:Int}/edit - book ->
/books/{id:Int} - books ->
/books
You must have noticed that you did not write a single code for any of these CRUD operations. You only declared the modal for your schema, and the framework automatically generated the front-end layout and backend functionality required for these operations. It means that even a simple application like this can provide significant functionality with less code. It shows how easy this framework is for even a novice to grasp and expand to a more sophisticated application faster.
Deployment Options
Another thing that makes RedwoodJS stand out from the crowd is its available options for deployment. We can deploy a RedwoodJS application to a serverless or traditional server and container providers without code changes between each other. That means it provides first-class Jamstack-style deployment to serverless and traditional infrastructure: Netlify, Vercel, Serverless, Render, or Docker containers (for AWS, Google Cloud, Azure, etc.).
Conclusion
RedwoodJS is a full-stack web framework that lets you develop simple to sophisticated applications with less code. This article describes the unique features that distinguish it from other popular frameworks and what libraries and technologies it uses. The article also explained creating a simple application with this framework. Overall, RedwoodJS is a great framework for startup companies to build applications faster. It enables faster time to market for your applications.