


Astro is a new static site builder that allows you to build static sites with your favorite frameworks like React, Svelte, Vue, Preact, and Solid. Static site builders or generators are frameworks that make web applications on top of UI frameworks into full static HTML content.
Most of them ship JavaScript to the client-side for further client-side interaction on a web page, but Astro, by default, renders directly to HTML and CSS, shipping as little JavaScript as possible to the client, which can result in faster load time.
It’s also compatible with CSS libraries like Tailwind and styling tools like Sass and Less. Additionally, Astro has built-in support for Typescript.
How is Astro different from other frameworks?
Astro differs from most other frameworks mainly because it uses partial hydration and flexibility with any and multiple UI libraries. With partial hydration, client-side components are not interactive until it is explicitly defined using a directive. We will check it out in action later in the guide.
NextJS
Astro results in a smaller bundle size as compared to Next.js. For perspective, an application in Next.js, having a bundle size of 138kb, might only weigh 7.5kb in Astro. Astro will ship JavaScript to the client only when you explicitly instruct it to do so.
Also, Next.js uses React under the hood as its primary framework for building web applications. On the other hand, Astro supports other UI frameworks like Vue, Svelte, Preact, .etc.
Remix
Just like Next.js, Remix is a tool used with React. However, its main difference is that it enables the full server-side rendering of code.
Unlike Astro and even Next.JS, Remix does not do static site generation. The Remix framework is ideal for server-side rendering that can improve SEO on sites with a lot of dynamic content.
For more details, you can see the in-depth comparisons on this official documentation page.
Astro with JavaScript UI frameworks
Astro is compatible with many UI frameworks like the ones we mentioned earlier. In addition, you can also use more than one of the above frameworks in a single Astro application.
Adding a UI framework to an Astro application is pretty straightforward. For example, to add React to an Astro application, run the following command from the root directory of your Astro application:
npx astro add react
Check out the official documentation here to learn more about using Astro with other Javascript UI frameworks.
Astro has built-in support for Typescript; you can import .ts or ..tsx files directly into your Astro project. By
default, a tsconfig.json is created any time you make a new Astro application.
Building an application with Astro
Let’s use Astro to create a Kanye Quotes application. A button in the application pulls a random quotation from an API endpoint. You will discover how to build an Astro application and incorporate a front-end framework by the end of this tutorial.
Project setup
First, create a directory with the name astro-kanye-quotes or whatever you prefer to call your application. Then, open
a terminal and set your working directory to the new folder.
Next, run the following command in the terminal:
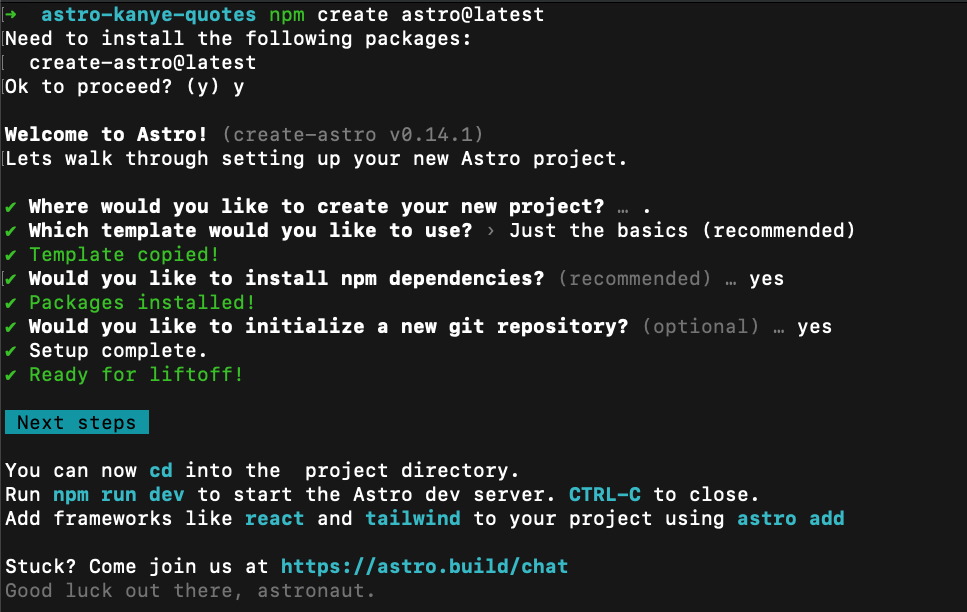
npm create astro@latest
A list of templates will appear for you; you can choose the first option that says Just the basics (recommended). On the following prompt about dependencies, reply with “y” to install the dependencies.
After a successful installation, your terminal should look like this:
Now, run the following command on the terminal to start a development server:
npm run dev
Once the server is ready, Astro will expose a URL that you can use to preview your application in the browser; this is
usually http://localhost:3000.
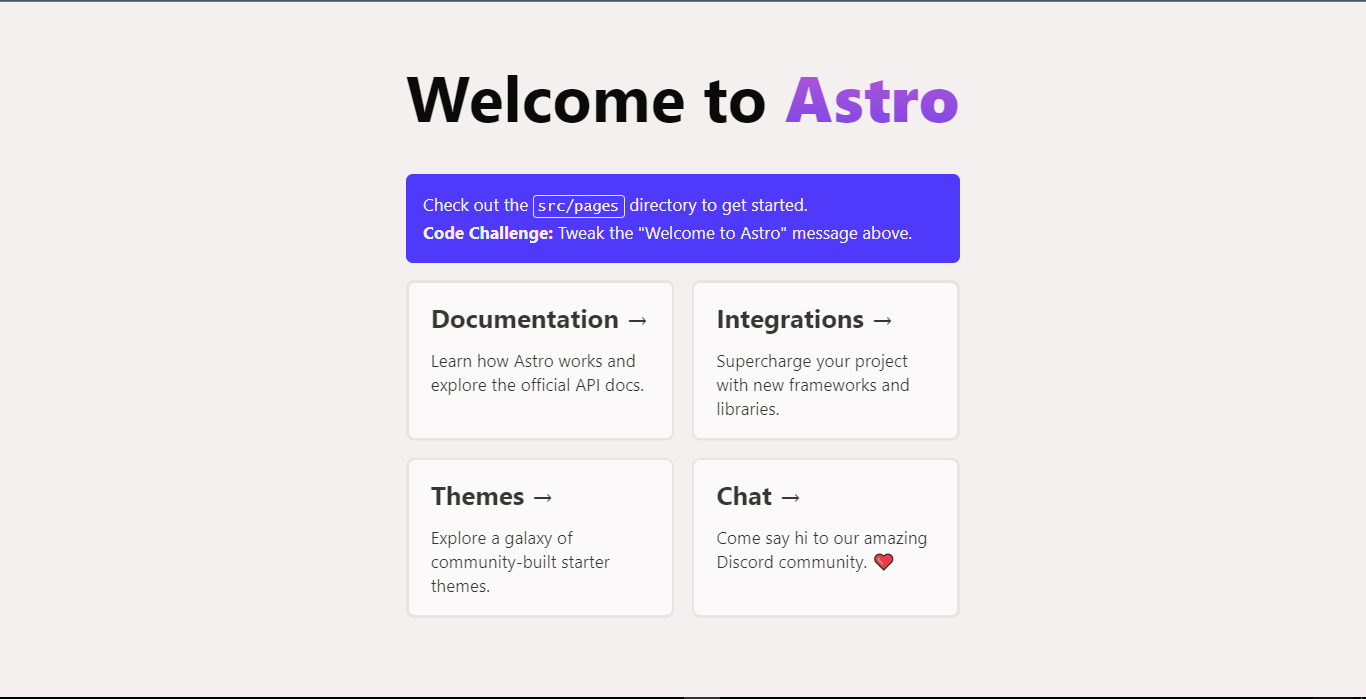
When you visit the URL on the browser, you should see Astro default page like this:
Astro Application Structure
Now, let’s discuss the application structure in Astro. Astro comes with the following folder structure:
- /src
- /src/pages
- /src/components/
- /src/layouts
- /public
- /node_modules
The src directory contains all your project source code, which includes the pages in your application, the reusable
components, and layouts.
Inside the src directory, you have other subdirectories like:
- /pages: contain all the pages in your application.
- /components: include all the reusable components in your application, like Buttons, Headers, Navbar, Cards, and the rest.
- /layouts: contains components that wrap content and are typically used within a page component.
Using Astro to build a basic webpage
In this example, we’ll be building a simple webpage without any JavaScript framework like React.
To get started, open the /src/pages directory, and look for a file with the name index.astro. This is the index page
of our application, and it’s an Astro file.
Astro files consist of two main parts. The first part is the Component Script (JavaScript), which contains all the JavaScript code that needs to be executed first. The Component Script must always be between the six dashes, three at the top and three at the bottom.
The Component Template is the second section (HTML and JS Expressions). A JavaScript variable may be declared in the Component script section and afterward referenced in the Component Template section.
Update the content of index.astro to the following:
|
|
In the Component Script section, we made an HTTP request to the kanye quote API endpoint; then, we declared a variable,
quote, and set its value to the data of the HTTP response.
Now, if you preview the changes in the browser by going to http://localhost:3000, you’ll see something similar to
this:

Hitting the Refresh button fires the JavaScript window.location.reload() function, forcing the page to reload and
display a new quote.
Next, let’s use a UI library like React to make this example application more reactive.
Using Astro with React
To explain how Astro works further, let’s walk through the process of using Astro with the React library.
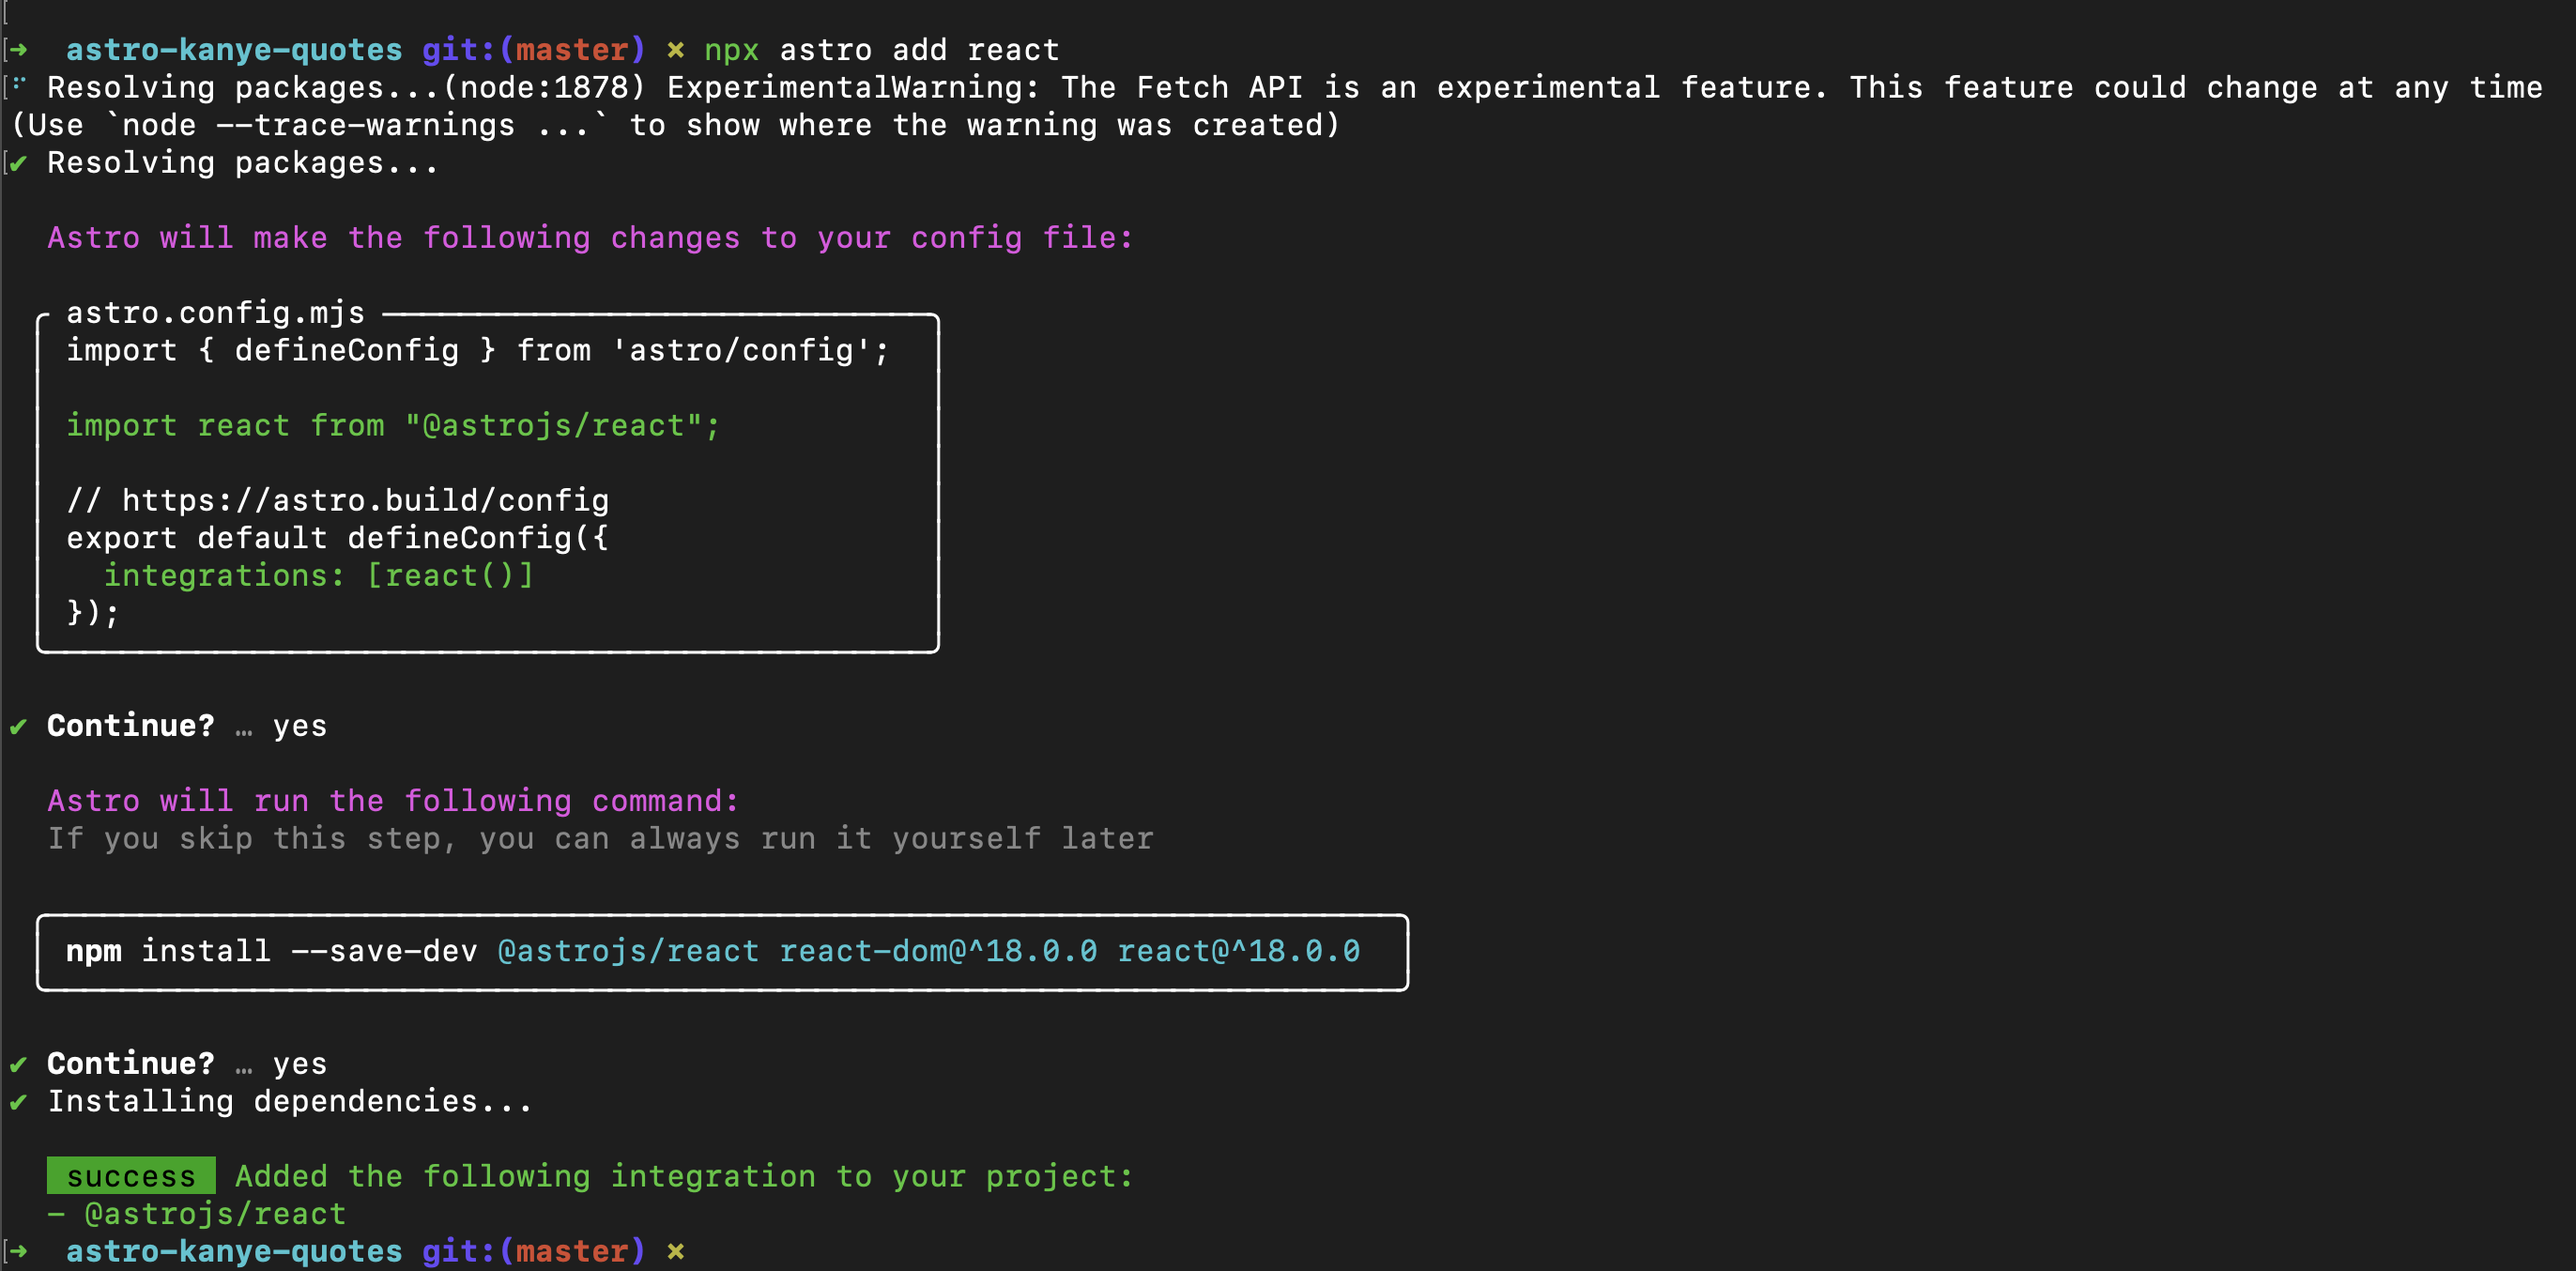
First, go back to your terminal; while still having your project root folder as the current working directory, run the following command:
npx astro add react
Astro will ask you for permission to make changes to your config file and also to install React and its dependencies.
Next, create the style.css file inside the src folder, and add the following content.
|
|
Let’s create a QuoteGenerator React component that will get the quote from the API and render it on the page.
|
|
Add the QuoteGenerator.jsx file in the src/components directory.
To render the component directly as HTML, you need to add the component in a QuoteGenerator.astro component file.
|
|
Finally in the index.astro file, load the QuoteGenerator astro component as shown below.
|
|
Layouts are components that wrap content and are typically used within a page component. The Layout.astro file was
created by Astro while creating the project files. You can read more about Astro layouts in the
official documentation.
If you run the application, you will notice that this time, clicking the refresh button does nothing at all. As I
already explained, Astro ships as little JavaScript as possible to the client and occasionally none. Because of this,
even after clicking the button, no new quote is displayed. So how do we instruct Astro to make an exception for the
QuoteGenerator component?
Astro provides you with Client directives, which hydrates components on the client side. A few of the hydration
directives available for UI frameworks are - client:load, client:idle, and client:visible
client:loadloads and hydrates the component immediately on a page load.client:idleloads and hydrates components after the initial page load.client:visibleonly hydrates a component when the component is visible on the viewport.
You can check the official documentation for an in-depth overview of available directives.
To make the QuoteGenerator component interactive on the client side, you must add the client:load directive to the
React component.
|
|
Now, if you check out the application on the browser, you will see the quotes changing when you click the refresh button.
Conclusion
If you’re looking for a robust web framework to help you build fast and content-rich web applications, you should check out Astro. With its component-based architecture and support for multiple UI libraries, Astro is perfect for developers who want the flexibility to build applications their way.
Plus, with its large community of developers, you’ll always have resources available to help you when you need them.