


Introduction
From the user’s point of view, cookies and the related cookie banners can sometimes be annoying. However from the developer’s perspective, cookies are a convenient way to easily store session and user related information. Just imagine a scenario where users login to a web page and the login state wouldn’t be stored. Everytime the web page would be reloaded, the users would have to log in again. The same problem also occurs when you’re testing your web app automatically using Selenium WebDriver. The coding effort and the test execution time would unnecessarily increase if cookies couldn’t be stored/loaded automatically.
Aside from being used for user authentication, cookies are also commonly used in certain scenarios which are inherently difficult to automate, such as testing web apps that are running A/B tests or have implemented a captcha to block bot traffic. Using the approaches described in this article, alongside guidance in our regression testing guide will help you handle these more advanced scenarios.
To demonstrate how to interact with cookeis in Seleinum, we’ll be testing against a simple React App that creates and
deletes cookies based on user interactions. The source code references in this article can be found
here. The app directory contains the React App written in
TypeScript and the selenium-scripts directory includes the Python-based Selenium tests.
What are cookies?
A cookie is a small piece of data (in the form of a string) which is stored by the user’s browser. Cookies are set
either in HTTP responses via the Set-Cookie response header, or via JavaScript code running on the client-side. When
cookies are set, the browser will send the cookie values (via the Cookie request header) in any subsequent HTTP
requests to the host application. For most web applications, cookies are used to determine whether a user is
authenticated or not.
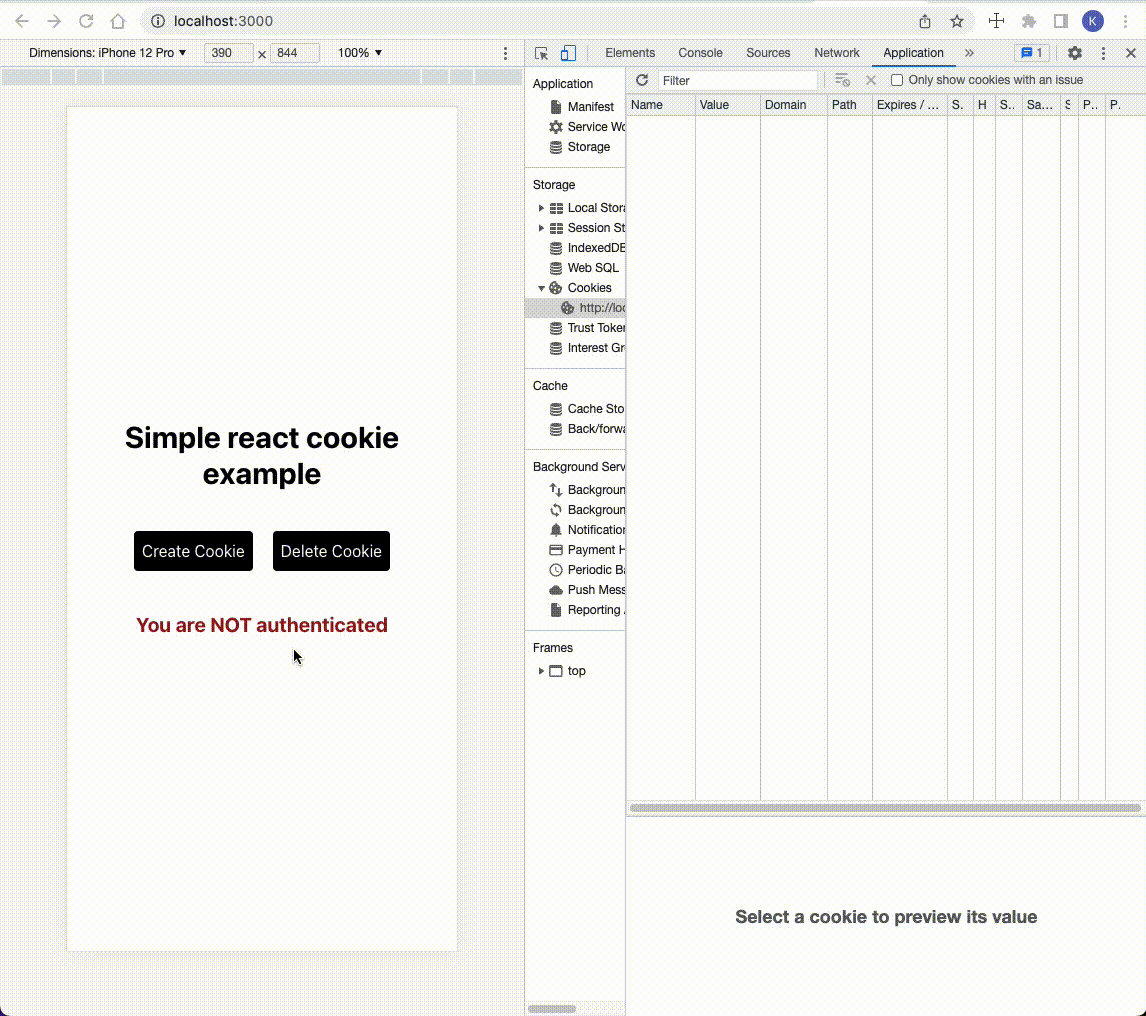
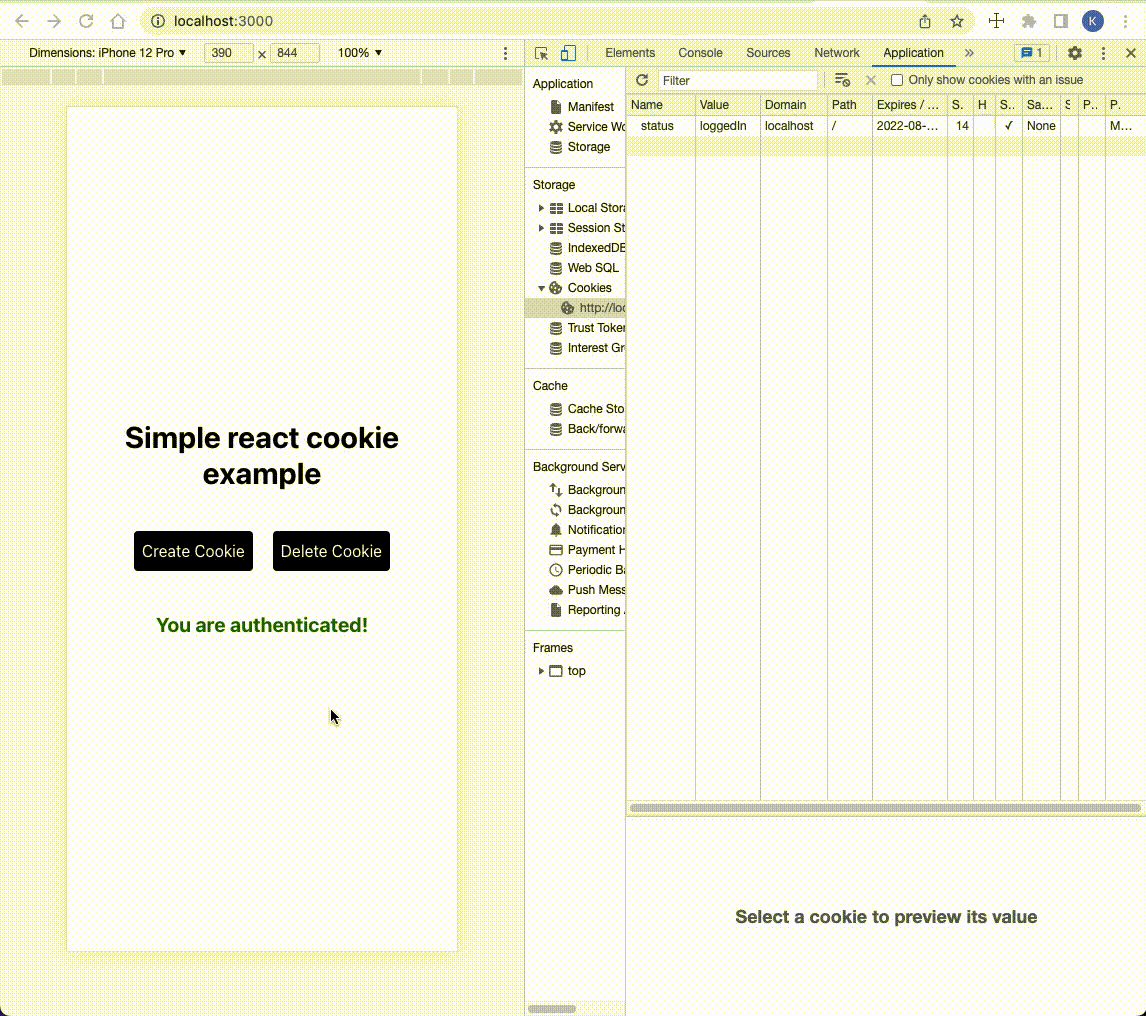
Modern browsers such as Google Chrome provide utilities to make it easy to view, create, and edit cookies. As you can see in the video below, we can use the Chrome Developer Tools tookit within Chrome to inspect existing cookies and also create new cookies. Here we create a new cookie named “status” which is used by our simple web app to determine whether or not you’re authenticated.
On the client side, cookies can be easily accessed by calling the document.cookie property. In the code snippet below
from the demo-app (App.tsx), we first check whether the status cookie exists or not. In the next step, the
createCookie function is implemented, which will add a cookie if none exists yet.
|
|
A cookie can have several options which can influence its behavior. In the example above, we are setting a cookie named
status and assigning it the value loggedIn. The path option determines on which pages/paths the corresponding
cookie will be accessible. By setting path=/ the cookie is available on all pages of the domain. The expires
option defines the time range for which the cookie is valid. In our case we set it to be valid for one hour (360000ms).
There are many other options for cookies, including some important options related to security. This
MDN article provides comprehensive information about
cookies, including the different options available when setting and modifying cookies.
Of course, cookies can also be deleted. Below, you can see the demonstration of this behavior.
Taking a look at the code snippet below, you’ll notice that the expiration date is set to a date in the past. Whenever this is the case, the browser will automatically delete the cookie.
|
|
As mentioned earlier, cookies are passed to the server via the Cookie HTTP request header. The following screenshot was taken from Chrome’s developer tools inside the demo app after the Create Cookie button was clicked and the cookie is available in the current browser context:
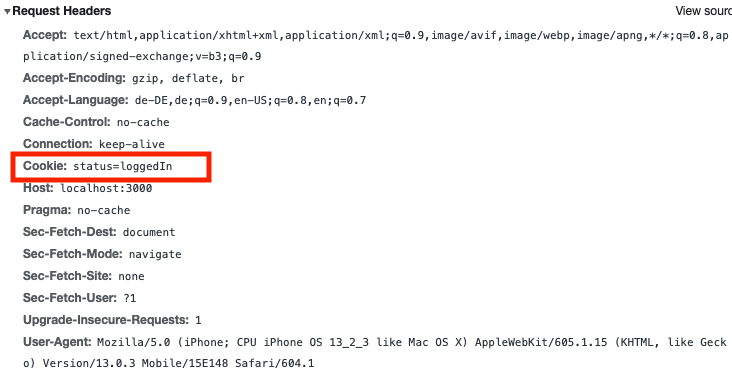
As you can see, our cookie called status was included in the request headers.
Saving cookies in Selenium WebDriver
Next, let’s cover how we can build tests in Selenium that can save and load cookies. The following examples are located
in the selenium-scripts directory in our example repo. The code
snippets for saving and loading the cookies with the Selenium WebDriver, as well as the code to initiate ChromeDriver,
are inside the utils.py file.
In order to save the cookie, we first need to get Selenium to visit our demo app and click the “Create Cookie” button. Of particular interest is the second-to-last line of this code snippet. Here we’re using Python’s pickle module for storing and loading the cookies. Pickling means that we’re converting an object to a byte stream which can be used for storing or sending the converted object. This process is also called serializing.
|
|
The pickle.dump function used in the example above takes two arguments. The first argument is the object that you wish
to pickle (the cookie). I’ll explain in a moment what exactly driver.get_cookies() will return. The second argument
defines which file you want to store your object to. To pass in the appropriate file, we simply use the open()
function and pass in the argument wb to indicate that we want to write to the file in binary mode.
driver.get_cookies() is a built-in method in Selenium WebDriver which allows us to retrieve all cookies from the
current browsing context. Since we only have one cookie in our demo app, this method works totally fine. In other cases
you might want to use driver.get_cookie("status") method to only store the cookie called status.
That is all it takes to store a cookie using Selenium WebDriver.
Loading cookies in Selenium WebDriver
In order to add a cookie to the current browser context, we first need to load the cookie from a previously saved file. In the code snippet below, the with statement is used so that we can get better file exception handling vs a try/except block and ensure that the file will be automatically closed.
|
|
Keep in mind that in the save_cookie() function, we used the driver.get_cookies() method to store the cookies. This
method returns a list of objects. That’s why we need to access the first element of the list by saying
cookie = pickle.load(f)[0].
We then use Selenium’s built-in method driver.add_cookie() to add the cookie to our session.
Lastly, we implement a simple function which will check if any cookies are available in the current browser context.
This is a simple check that tests if the length of the list returned by driver.get_cookies() is greater than 0.
|
|
Putting it all together
To wrap it all up, I created a test file which checks certain states of our demo web app depending whether cookies are
present or not based on the functions we discussed in the section before. The test file can be found in the
selenium-scripts/test.py file. Make sure to run the save_cookie() function first, otherwise the test will fail since
the cookie expiration time is set to be one hour. Simply change into the selenium-scripts directory with
cd selenium-scripts and run python3 utils.py.
|
|
Dealing with cookies has never been easier with Reflect
Setting and deleting HTTP cookies in Selenium is not too complex, but it does involve boilerplate code. This makes your tests unnecessarily longer. A testing tool with built-in support for HTTP cookies would make everything clearer. If that tool was a no-code, cloud-based platform, it would be even better. Thankfully, that tool exists and is called Reflect!
Reflect is a complete, no-code, cloud-based testing platform to intuitively build and run automated tests. Let’s see what it has to offer when it comes to HTTP cookies.
Suppose you want to launch a test with some cookies already set. With Selenium, you would have to manually load them at the beginning of your script. In Reflect, you can simply specify them in the test creation window, as in the following video:
Dealing with HTTP cookies is a piece of cake with Reflect! After configuring the required cookies, you can start the test and begin interacting with the web elements of the target web page directly in your browser. Reflect will record your actions and automatically convert them into a repeatable test.
Keep in mind that cookie support is just one of the several features supported by Reflect. Specifically, it is able to test virtually any action you can take on a browser, including hovers, drag-and-drops, and file uploads. Check out Reflect today, it’s free!
Conclusion
This article covered how to save and load cookie state in Selenium WebDriver. This can be useful for sharing session state across multiple executions of a test, which can prevent subsequent tests from having to log into the application again.
Dealing with cookies with Selenium is cumbersome, and you might be searching for a less frustrating solution. Try out Reflect, a no-code testing tool with built-in support for HTTP cookies.