


In modern web development, frontend and backend developers typically end up integrating their respective code at the API layer. While there are many benefits to true end-to-end regression tests, having test coverage that uses mocked API calls can provide a number of benefits as well, including increased stability and faster execution time.
This article will discuss how you can leverage Mirage JS to mock backend services in tests for your React applications.
We’ll provide an overview of Mirage, followed by a step-by-step guide that creates tests against create-react-app’s
example “TODO” application.
When would you mock API requests in your tests?
The main benefit of mocking is that you can decouple your tests from the API layer, which can sometimes be in a
completely different codebase. This is most effective in unit tests and component tests where, when used in combination
with tools like react-testing-library, can make it easier to test React components in isolation.
Additionally, mocking API calls will speed up running tests because you can eliminate external systems and servers. You may also run into issues like API rate limiting and network connectivity issues that are avoided with mocked endpoints.
However, mocking API requests is not without trade-offs. The main drawback of API mocking is that the behavior codified in the API mocks may change without those changes being reflected in your automated tests. For example, an API may modified in such a way that breaks a UI flow for real users, but if that API change is not updated in the mocks, the automated tests will likely still pass, effectively masking the regression introduced in the API layer.
What is Mirage JS?
Mirage lets you build a mock API server, turn it into a full-stack JavaScript application, test it, and share it. Mirage JS is unique in its ability to recreate dynamic scenarios. It is also worth noting that some mock API servers, such as JSON Server, are pretty static in their design.
The Mirage application runs in the browser. It intercepts XMLHttpRequests and fetch requests made by JavaScript
applications, and allows you to mock the response. Thus, you can develop and test your application as if it were
communicating with a real server. Notable Mirage JS features include routes for handling requests, a database and models
for storing and organizing data, factories and fixtures for stubbing data, and serializers for formatting responses.
Testing a React app with Mirage
To see how API mocking with Mirage JS works, we will build a Todo application using Create React App. So fire up your terminal and run the following command to set up the React app.
|
|
To add Mirage to your project, run the below command.
|
|
Alright, now that Mirage is successfully installed, create a file server.js in the src folder and add the below code
snippet to it.
|
|
Creating our example API
The application should store data like a real server and load existing data when the mock server is running. We’ll
create an “in-memory” todos collection in our application using the Mirage JS data layer called Model.
Update the server.js file with the code below:
|
|
The createServer function allows you to specify an environment value of either test or development. Mirage JS will
load the seed data and log all responses when the environment is set to development. In the makeServer default
parameter we set the environment to test. This ensures that every time a test runs, the mock server’s fresh instance
is created without seeds. Also, in the function createServer, we defined a collection called “todos”.
One of the best features of Mirage is that it lets you create initial data when the server loads with the help of seeds.
The server.create function enable you to create new todo records in the todos model. Unique IDs are generated and
assigned to the created seeds automatically.
Defining mock API routes
Now that you have successfully set up a Mirage server with a database and initial seeds, the next step is to create routes. Our todo application will need the following API endpoints:
- GET /api/todos to fetch all todo records
- GET /api/todos/:id to fetch a single todo record
- POST /api/todos to create a new todo record
- PATCH /api/todos/:id to update an existing todo record
- DELETE /api/todos/:id to remove an existing todo record
Update the server.js file as shown in the below snippet:
|
|
The mock server’s routes will be defined in the routes hook. this.namespace = 'api/todos' allows us to define the API
namespace, so you don’t have to repeat it across all routes in our application. Network requests are mocked using
this.get(), this.post(), this.patch(), and this.delete() methods. The schema object is used to access data from
the todos model, and the request argument to get data from our application.
You can clone the rest of the frontend app from this codesandbox link.
Mocking HTTP requests
Let’s write some tests for the todo app by mocking the HTTP requests.
Open App.test.js file and add the first test.
|
|
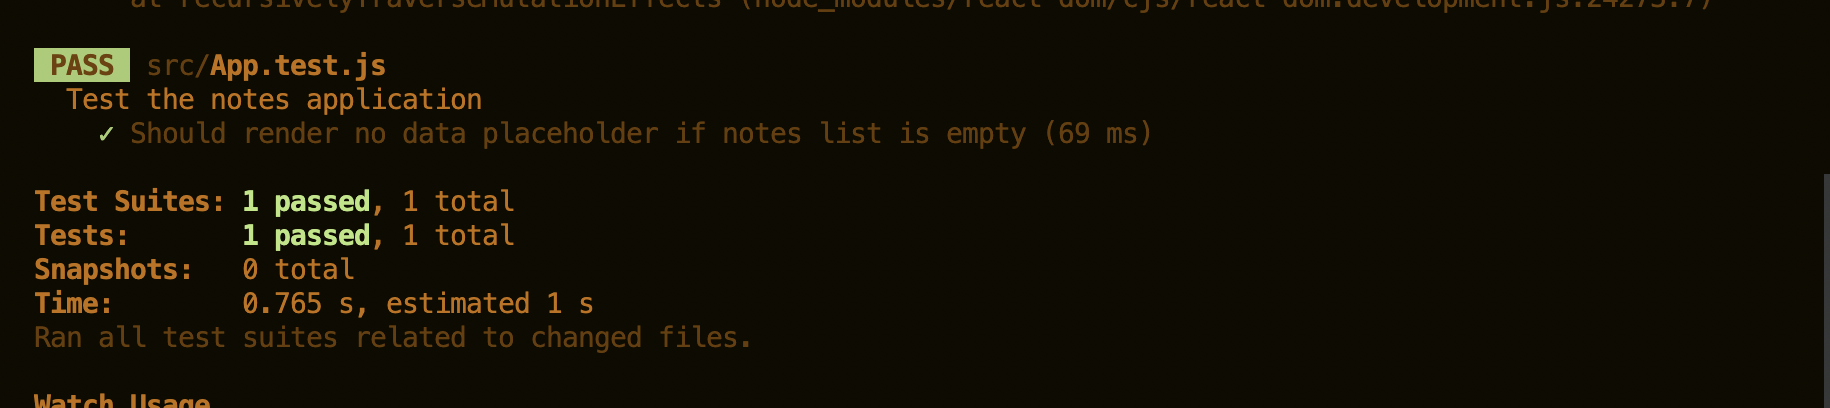
Here we are creating a mock server before each test and shutting it down once the test is completed. Initially, the todo
app will not have the data so let’s test out and check for the string "Todos are empty".
In your terminal, run the following command:
|
|
You will see that the test has passed.
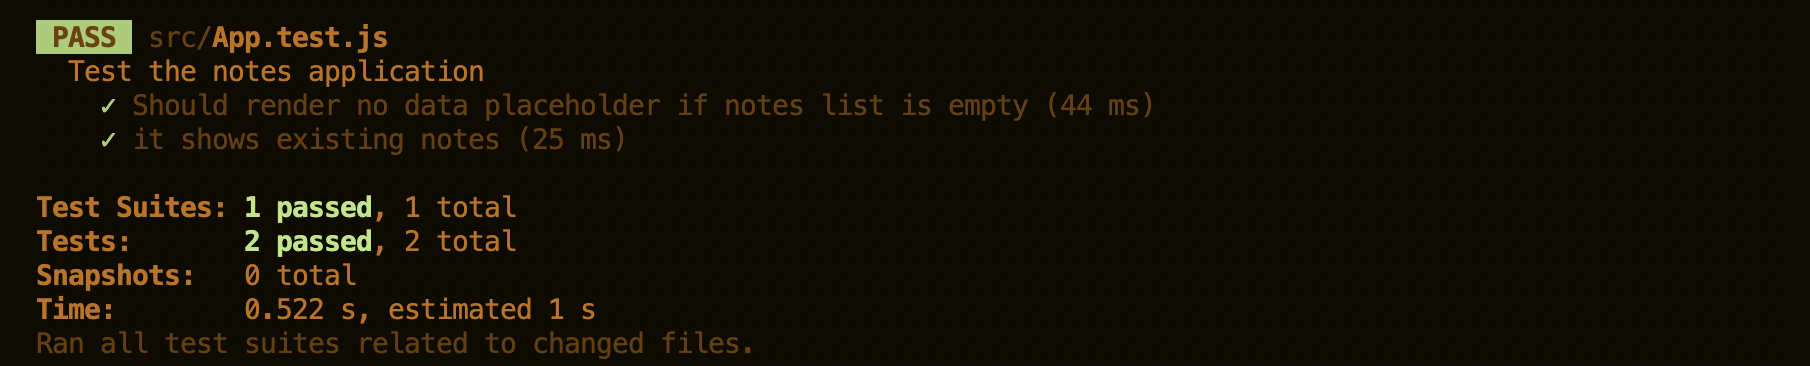
Let’s test the scenario where the application has existing todos. Add the below test and run npm run test:
|
|
Here we are creating some initial todos before we render our App component. Once we render our App component, we
should be able to view the created todos.
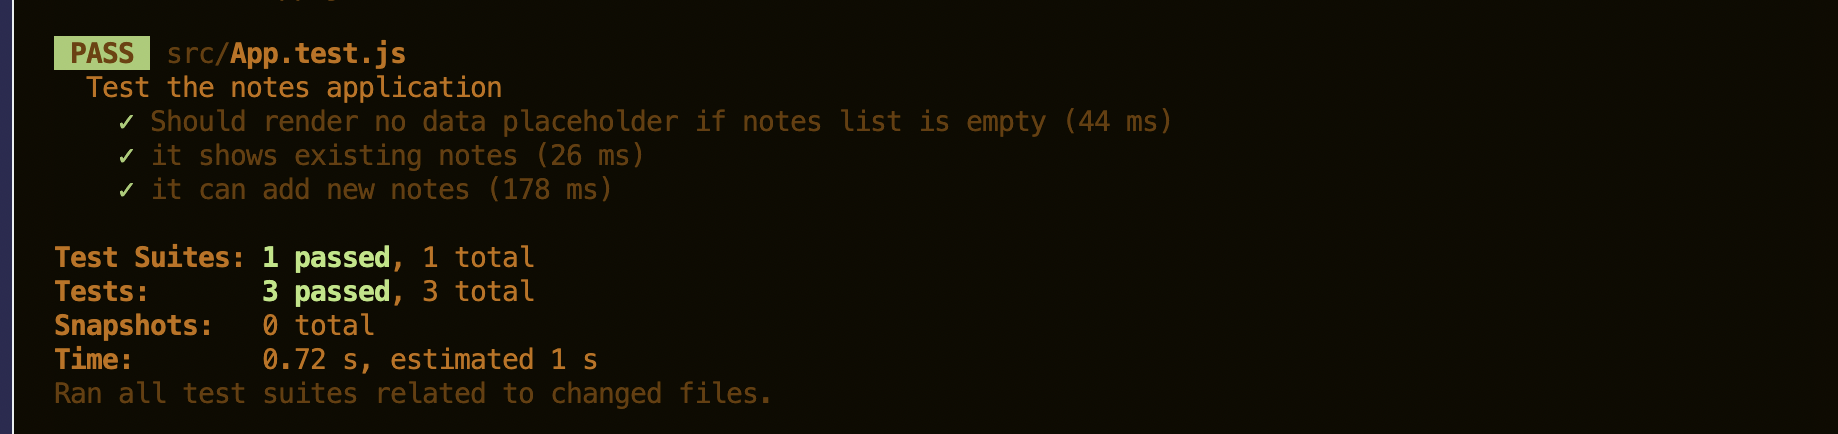
Let’s add another test which adds a new todo:
|
|
In this test, we are testing the “add todo” flow, so users will click on the Add Todo button and then fill out the
required information. Once they click on the Add Todo submit button, they will see the Todo added successfully toast
message.
After running the tests you should see that all tests are passing ✨.
Conclusion
Mocking HTTP requests in React tests can be painful, but Mirage JS makes it easy. With Mirage JS, you can quickly and easily create complex fake data structures to use in your tests, so you don’t have to worry about hitting a real API endpoint. In this article, we showed you how to set up Mirage JS and use it to mock HTTP requests in React tests. You can also check out other API mocking libraries like Nock and Sinon.
For more information on Mirage JS, check out their official documentation.