


Testing Basics
The Three “A”s
A straightforward approach to testing is what’s known as the three “A’s”: Arrange, Act, and Assert. These three concepts are the bedrock for structuring your regression tests.
-
Arrange: When writing a test, the first step is to set up, or arrange, the proper environment. Typically, this environment is a shared development or QA environment, but it could also be your local environment or even production.
-
Act: The next step, or “act”, involves an action that seeks to simulate how the user engages with the application. This is arguably the most important part of testing because we are putting the action that the user takes to the test.
-
Assert: To “assert” in a test means to test for expectation or anticipation. Take, for instance, we have a form in our application for getting user data. We can expect the said form to be submitted and then test for submission. We test to check for outcomes.
Common types of web testing
When it comes to testing web applications, there are many different types of testing that can be employed. The most common types of testing you’ll see being done on a web application are:
-
Unit tests: This is a software testing method whereby the smallest individual testable components, or isolated pieces of logic, are tested independently.
-
Integration tests: This is a type of software testing method in which modules or contracts are integrated and then tested in a group or between two or more components.
-
End-to-end testing: This software testing method spans the entirety of an application’s workflow, testing it from beginning to end.
Testing with Cypress
Cypress queries for elements similar to jQuery and exposes DOM methods that enable you to work with complex HTML structures with already known APIs.
Cypress also allows for chaining of commands. The unique nature of this is that the chained commands will return a promise chain automatically. Each command yields a subject leading to the next subject until the chain ends or an error occurs.
Cypress has support for simulating many of the actions that users may perform on a web page, but one action where it lacks built-in support is text highlighting.
How to highlight text in Cypress
Cypress has no native API support for handling text highlights. However, workarounds do exist. We’ll cover two workarounds in this article: simulating text highlighting by triggering the ‘mouseover’ event, and highlighting text via the use of the Selection API. As a bonus, we’ll also cover how to utilize the native Clipboard APIs to test workflows that require highlighted text to be copied to the clipboard.
Setting up a Cypress test
To start the application, run the command below to bootstrap a new application:
yarn create react-app
The next thing to do is to get Cypress working on the application. Navigate to the terminal and run the command below
npm install –save-dev cypress
This will install Cypress as a dev dependency. You can now run the command below to start Cypress:
npx cypress open
The above command is the quickest way to access Cypress. As an alternative, you can add a command as an npm script in
the package.json and then use npm run e2e-test in the terminal.
|
|
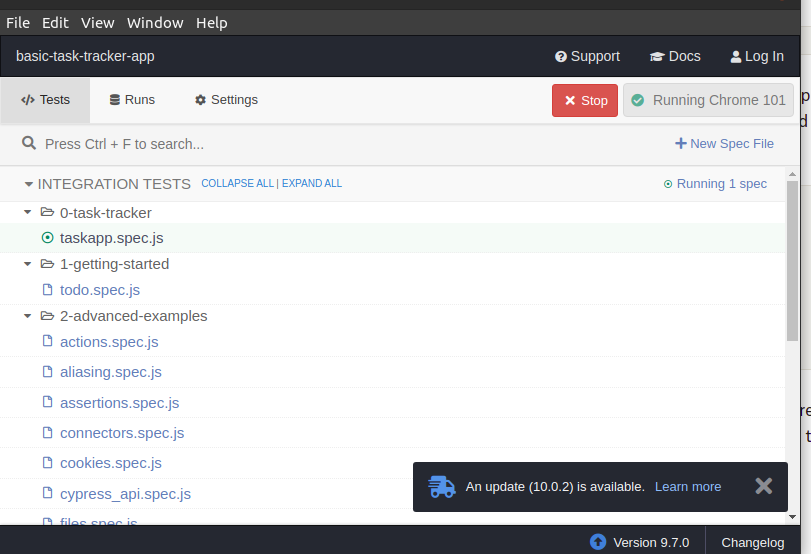
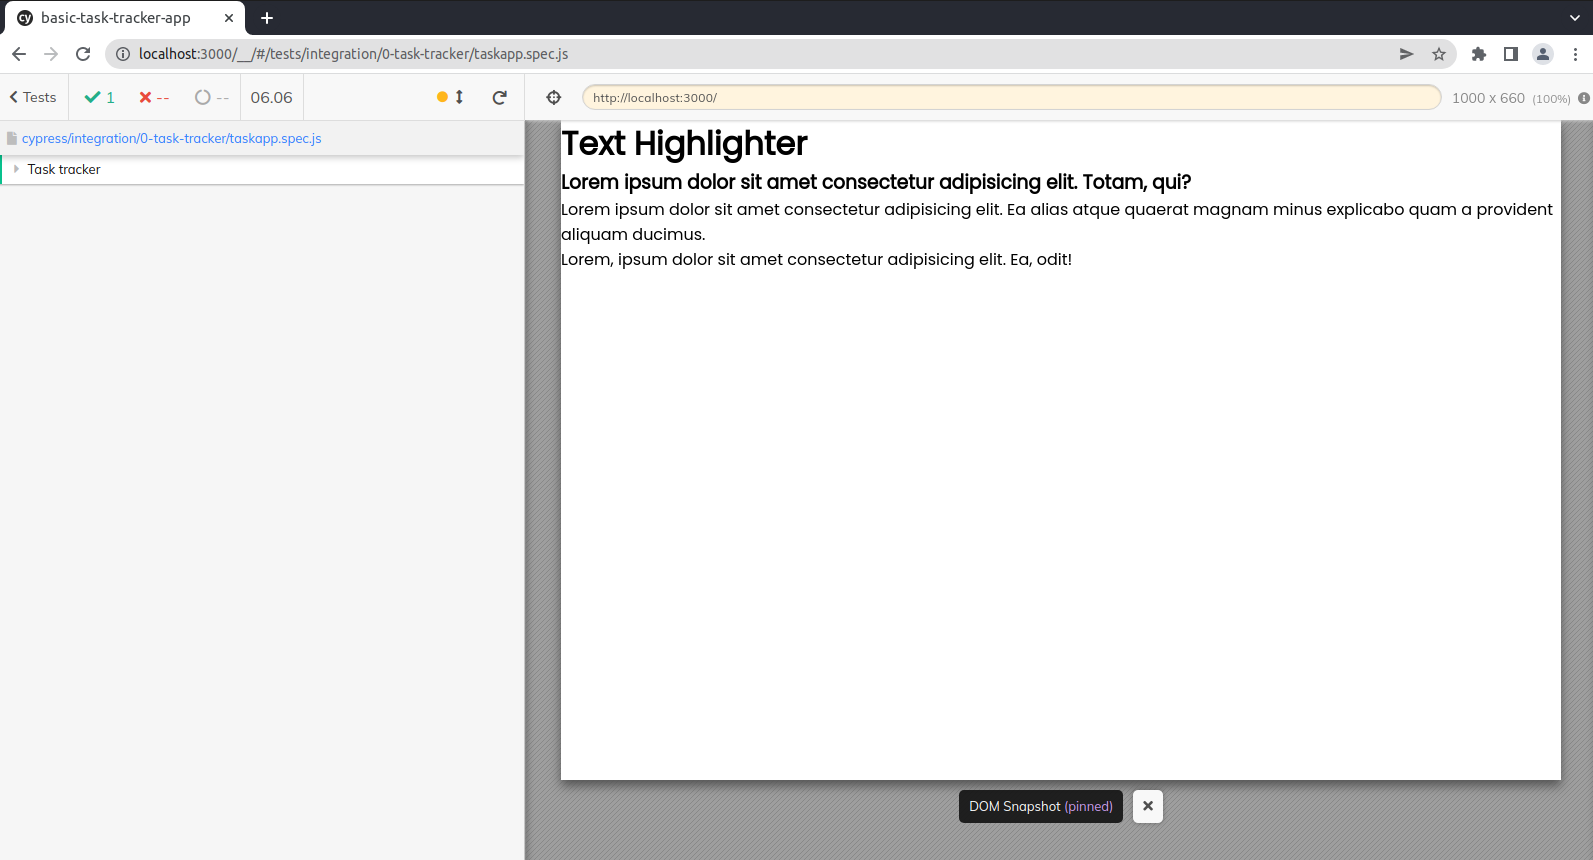
When you run the command to start Cypress, a new Cypress window pops up and presents you with some pre-loaded tests that can be used as a reference.
Cypress also took the liberty of creating a folder in the project’s root directory, which has lots of examples. You can either keep them or delete them, depending on their relevance.
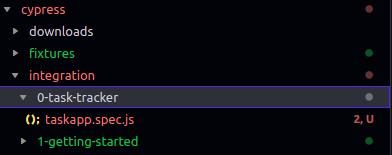
The initial step in Cypress testing is to load your application. To begin, we will create a new test folder. Inside the
folder, we will create a file ending in .spec.js
This file will hold running tests for the application and automatically appear in the Cypress GUI.
The next step will be to start writing tests for the application. To do this, we first have to start up the application. Clear out the code in the App.js file and paste the code below into it:
|
|
The purpose here is to test different elements of the applications, and to see if they can be highlighted with the same tests.
In the taskapp.spec.js file, we will create the first test. Copy and paste the code below in the file:
|
|
The describe keyword is used to organize tests that are related and take two arguments: a string that describes the
test and a callback function.
The it keyword describes individual tests and also takes two arguments: a string representing the test and a callback
function outlining the test steps. cy.visit is a Cypress command telling the browser to go to the address.
One good thing about Cypress tests is that they are easily readable. The code block above can be easily read as: visit
the page at localhost://3000 if the page loads successfully.
Option 1: Triggering the ‘mouseover’ event to simulate a text highlight
The trigger method makes triggering events easier than creating and dispatching the events, and its primary use is handling mouse events.
|
|
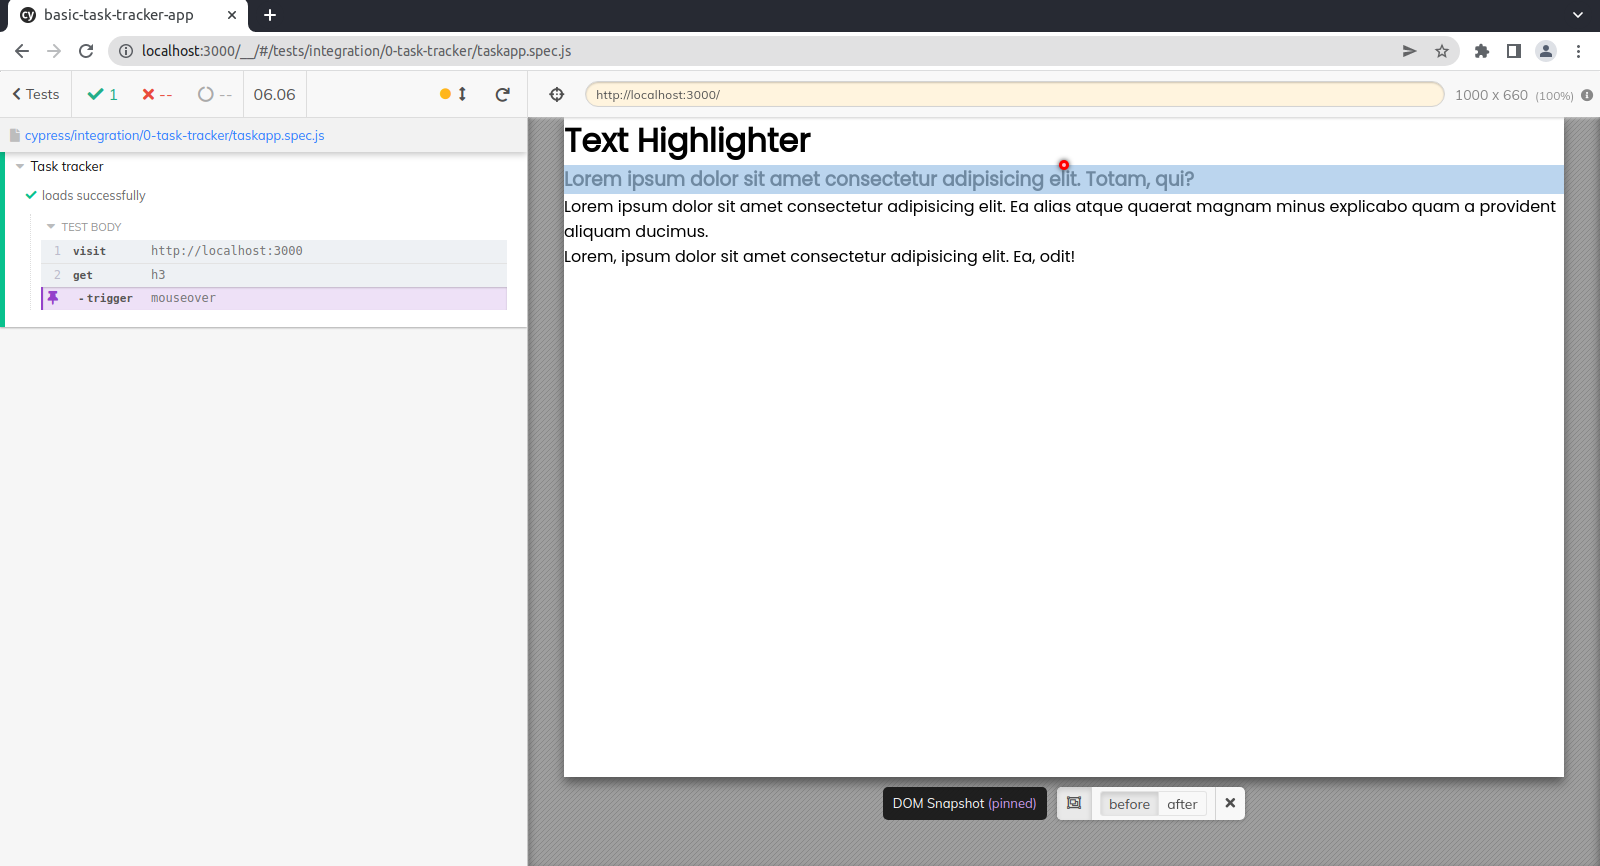
In the example above, we use the .get method to select the h3 element in the code, and then trigger a mouseover
event on the element or component.
From the image above, we see the h3 element being highlighted.
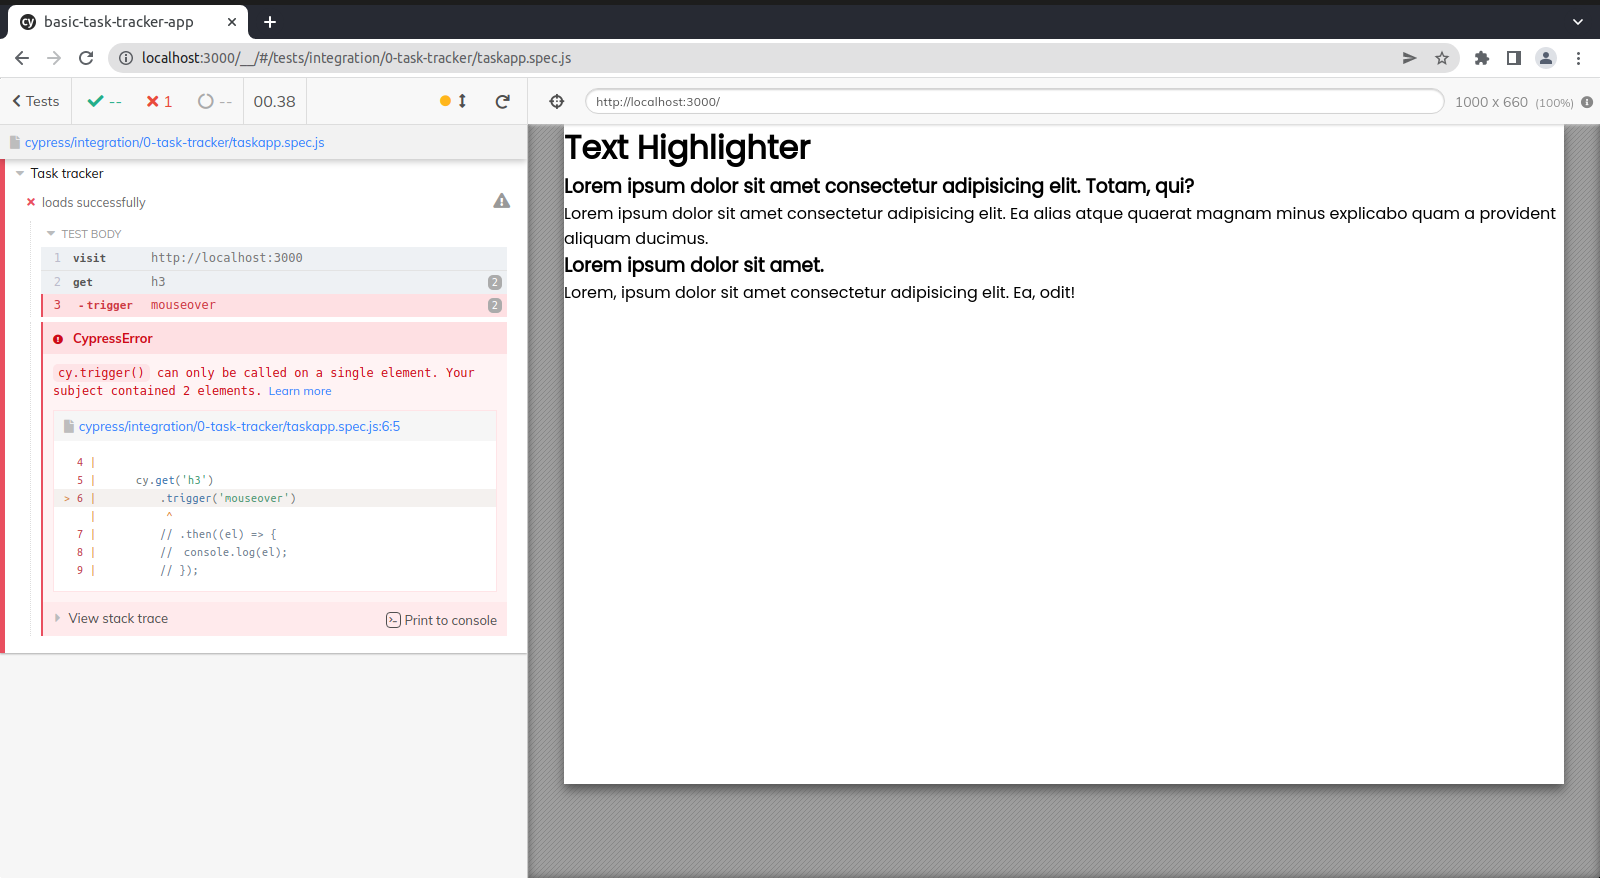
One downside of using this method is that it triggers an error when multiple element tags are selected, as we will see
below. Add another h3 element to the code in the App.js file and refresh the browser to see what happens when we
select more than a single element.
The error shows that you can only use this method on one element at a time.
Option 2: Using the Selection and Range APIs
Another way of highlighting text is using the Selection and Range APIs. Basically, we create a pair of boundary points using the Range API with range start and range end. Next, we select the elements inside the specified boundary points.
In the taskapp.spec.js file, copy and paste the code block below:
|
|
In the example above, we got the element that we want to highlight and also defined the boundary points. Head over to the browser where Cypress is running, and you should see the effect shown just like the image below:
Copying highlighted text to the clipboard
The trigger method is a nice and generic way to test text highlight in Cypress, but the shortcomings of using it are that you can only select one element at a time to avoid triggering an error.
The second way to approach this is to use a workaround. In this case, we are not highlighting the text per se, but
instead, we are opting to manually select and copy the highlighted lines of text. Add the code below to the
taskapp.spec.js file, and we will get into what it does in a minute.
|
|
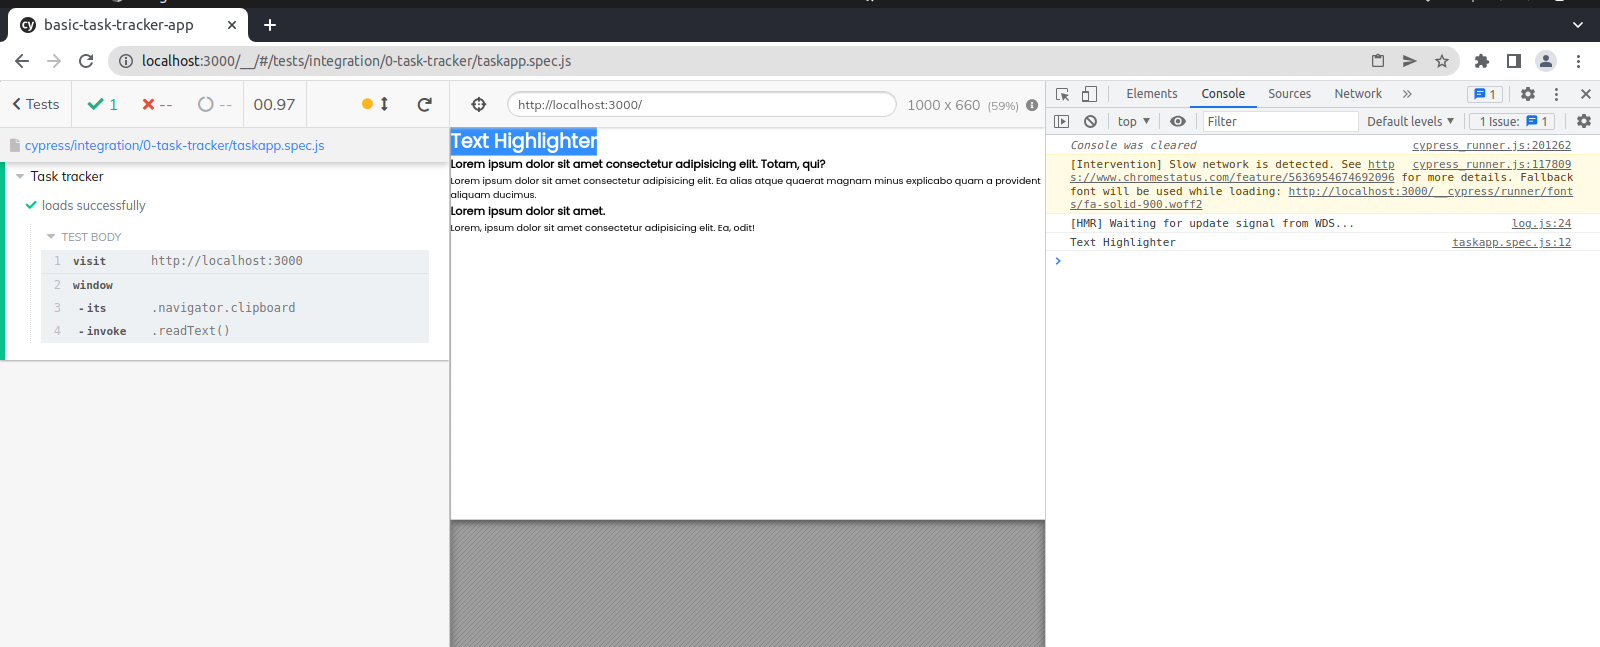
cy.window will get the window object of the currently active page and then gets the clipboard API which returns the
Clipboard object that is used to copy and paste features in a web application. We will invoke the clipboard.read
permissions, which read the text in the clipboard and then logs the text to the console.
With this solution, we are effectively testing two things: the ability to highlight text and the ability to copy text.

As seen in the image above, the highlighted text is copied, the application is refreshed, and we can see the text on the clipboard logged to the console.
Conclusion
Cypress has a low learning curve for new developers, but there are some features that it does not support with ease and which require a bit more effort to implement. In this article, we outlined how to highlight text when testing with Cypress, using JavaScript natively and the Cursor API. We also covered another method for highlighting text when testing with Cypress, which enabled highlighting multiple elements at once. The trigger method is most effective when used to highlight a single element while the clipboard method is most effective when you want to highlight multiple elements. You can read more on Cypress on the official documentation.
Reflect: A testing tool with built-in support for highlighting text
Reflect is a no-code testing tool that can test virtually any action you can take on a browser. In addition to testing workflows that require a user to highlight text, you can also test actions like drag-and-drops, hovers, and file uploads. Creating a test in Reflect is easy: the tool records your actions as you use your site and automatically translates those actions into a repeatable test that you can run any time.
Get automated test coverage for your app today — try it for free.