


Getting Started
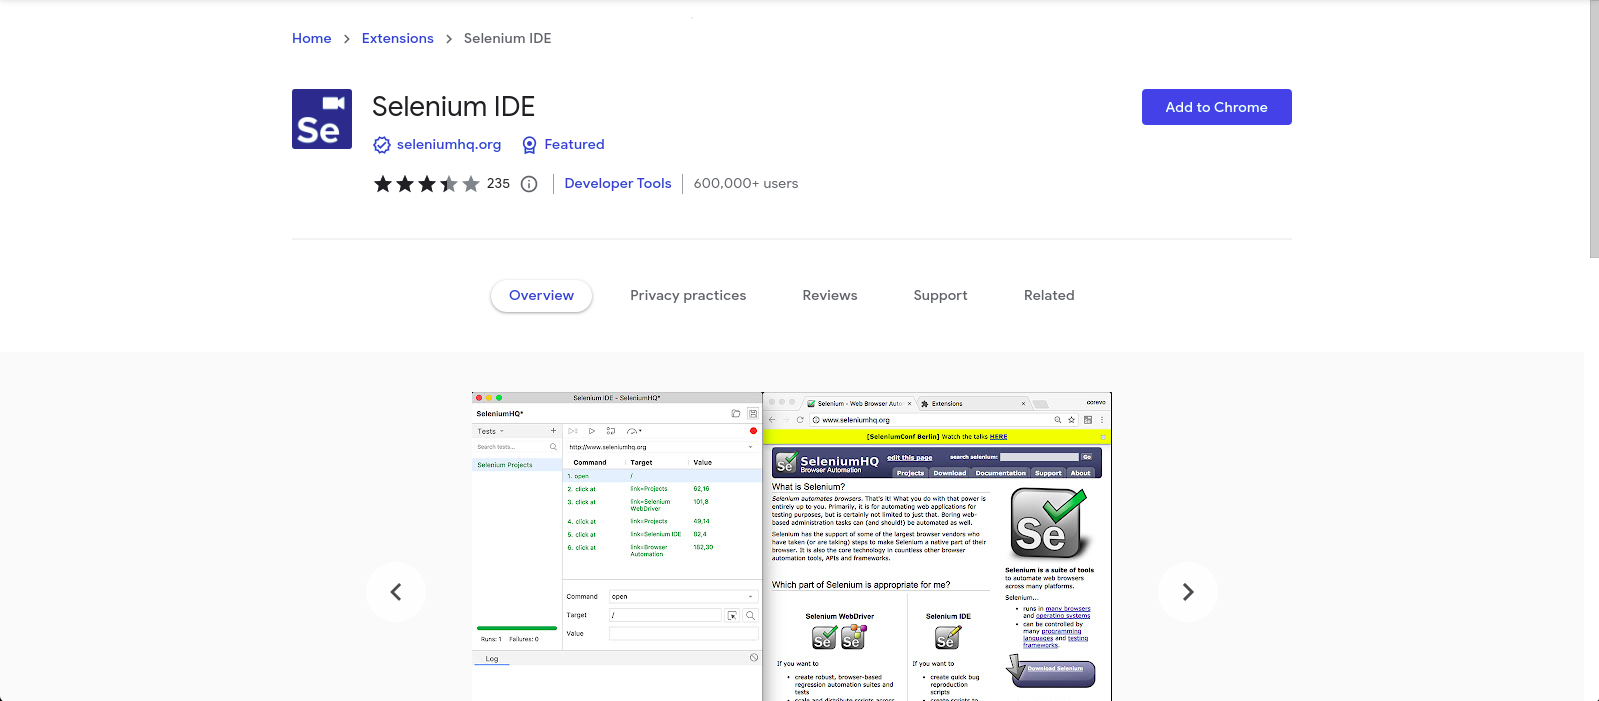
Selenium IDE is a record-and-playback tool with a simple interface that helps in building automated test scripts.
As you interact with a website in your browser, Selenium IDE records those same actions so they can be replayed later as part of an automated test. Selenium IDE is available as a browser extension for either Google Chrome or Mozilla Firefox, however, the next major release will be a standalone Electron application, although there is currently no published release date for this upcoming version.
Tests recorded using Selenium IDE can either be run directly within the browser extension or can be exported as a Selenium script. Currently, the following languages are supported as export options:
- C#
- Java
- JavaScript
- Python
- Ruby
Selenium IDE is one of several components created under the Selenium name. Other components are Selenium WebDriver (a set of APIs and language bindings that are used to automate actions in a web browser), and Selenium Grid (a solution for running Selenium test suites in your own infrastructure).
In this article, we will focus on Selenium IDE, specifically, we will learn how to set up and use Selenium IDE and cover the advantages and limitations of the tool.
Why Selenium IDE — what problem does this solve?
End-to-end testing can be a very time-consuming process if done manually. That’s why many organizations try to automate at least a portion of their tests. Code-based tools like Selenium and Cypress are usually the first option that organizations turn to when automating test cases. However, they can be a poor fit due to the time it takes to build and maintain tests in a code-based framework, as well as the fact that they require development knowledge in order to use them.
Record-and-playback tools like Selenium IDE can be helpful in a situation where a no-code approach is preferred, or where you want to create automated test cases for your website but you do not have programming skills.
Prerequisites
To get the most out of this article, the following prerequisites are required:
- Node.js version 8 or above should be installed on your system
- Basic knowledge of testing
- Selenium IDE command line runner — also known as the selenium-side-runner package, should be globally installed on your system. We will learn more about this package in a subsequent section.
- Required browsers such as Chrome, Safari, and Firefox should be installed on your system.
Installing Selenium IDE — Step-by-step guide to setting it up Selenium IDE
Selenium IDE is currently available as plugins for both Chrome and Firefox browsers. Below are instructions to install Selenium IDE on these browsers:
Install Selenium IDE on Chrome
To install Selenium IDE on Chrome, follow the steps below:
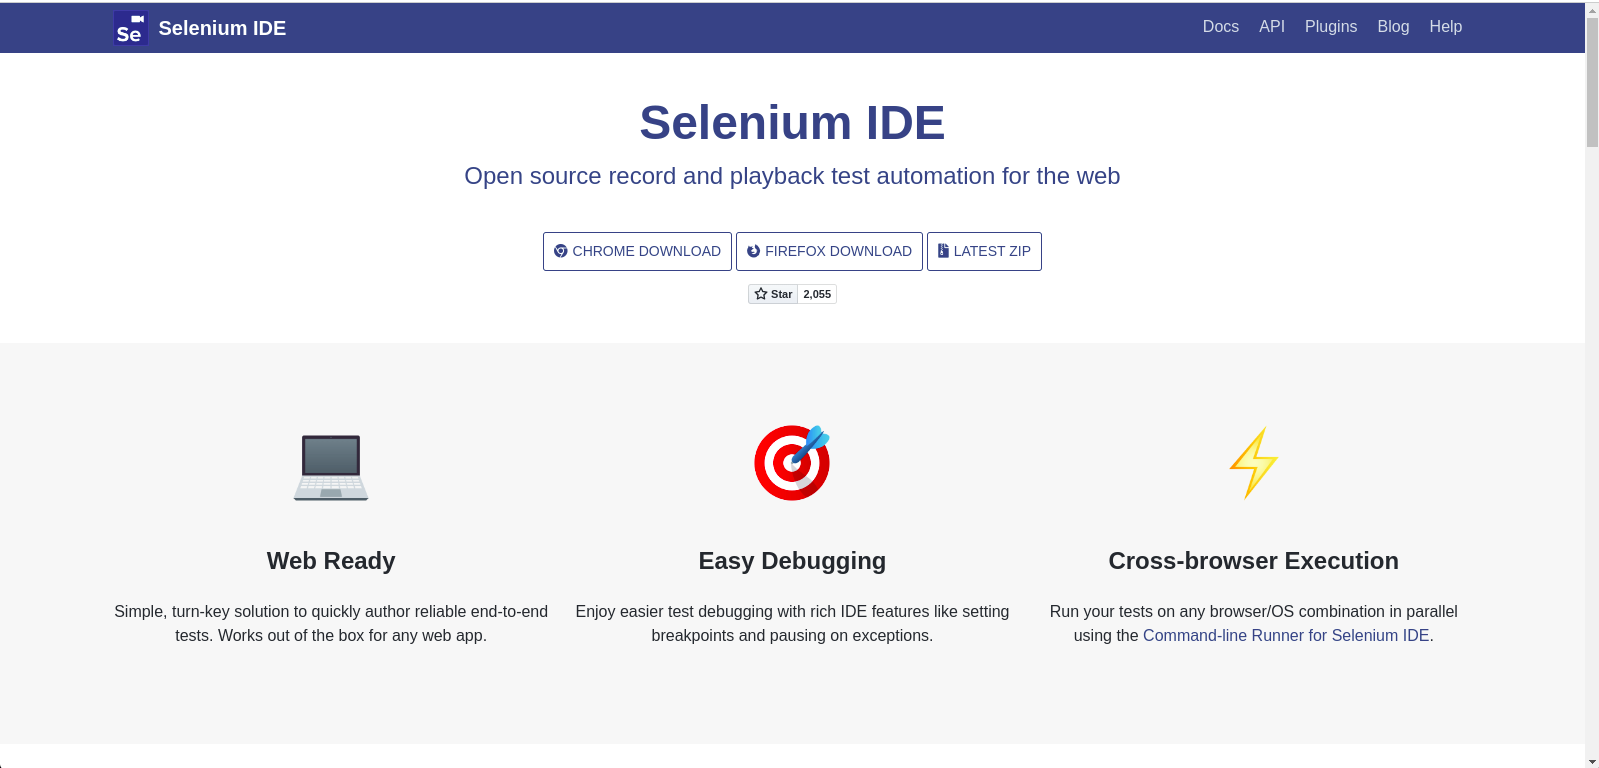
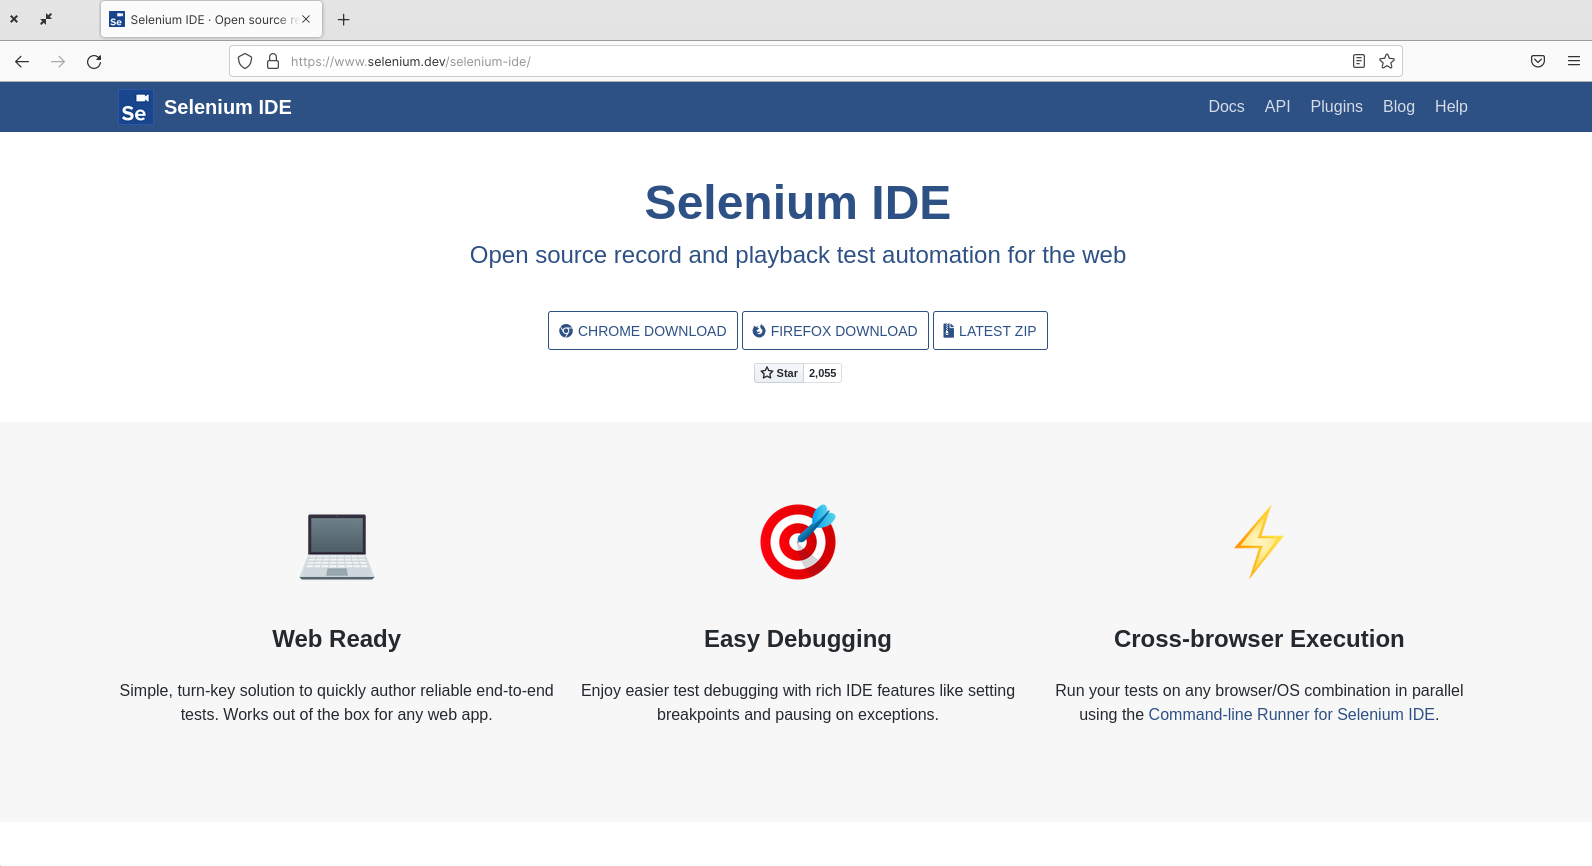
- Visit the Selenium IDE website https://www.selenium.dev/selenium-ide/.You should see some information about the Selenium IDE project, along with a link to download the browser extension.:
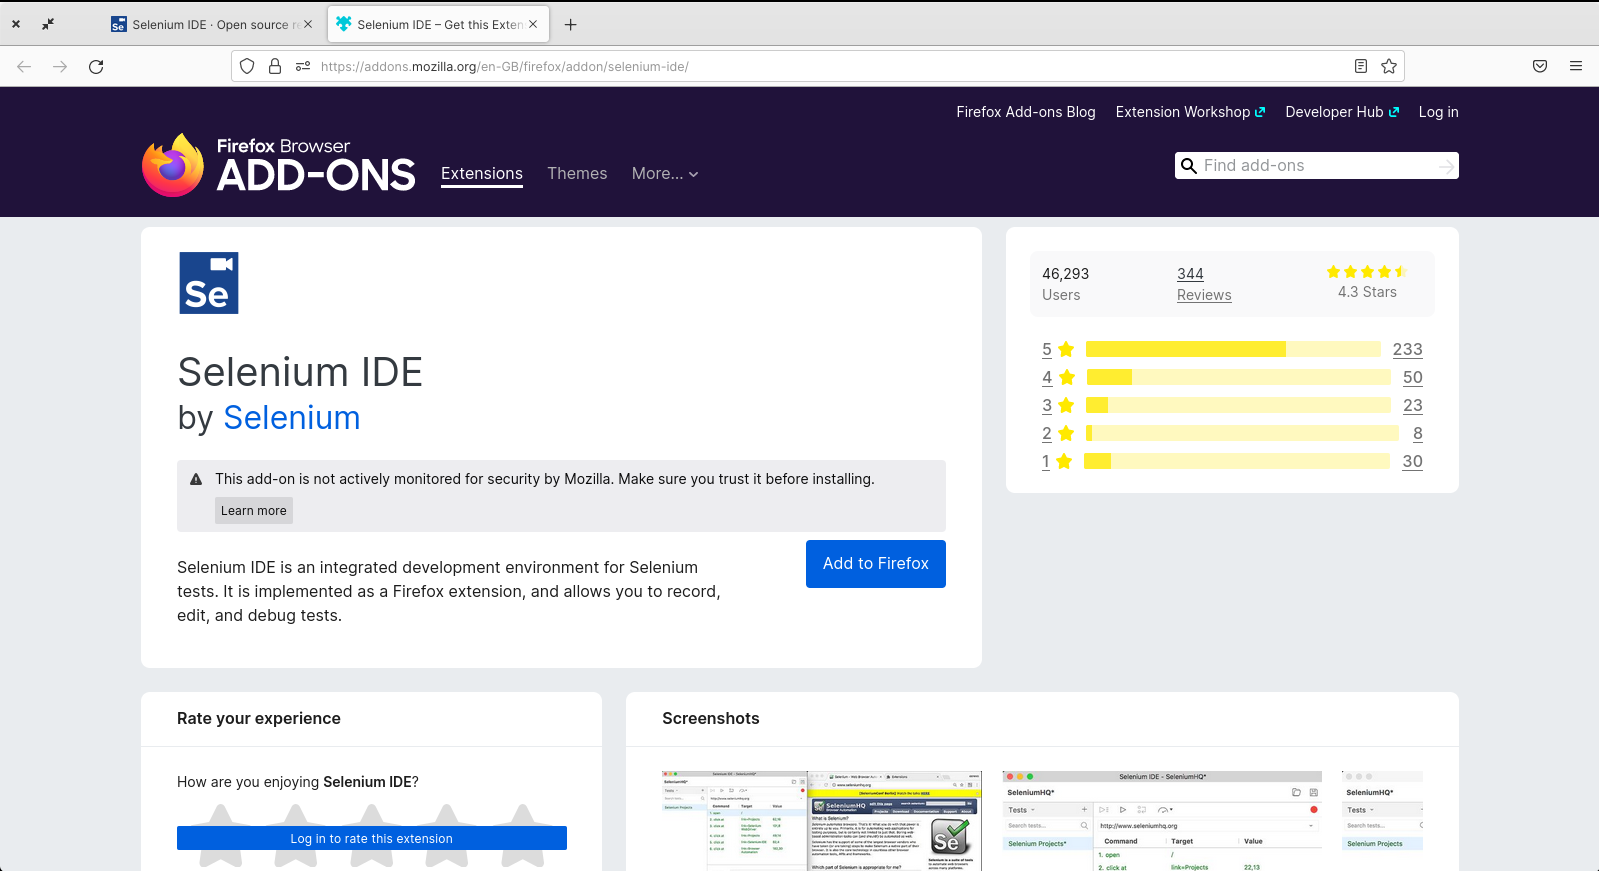
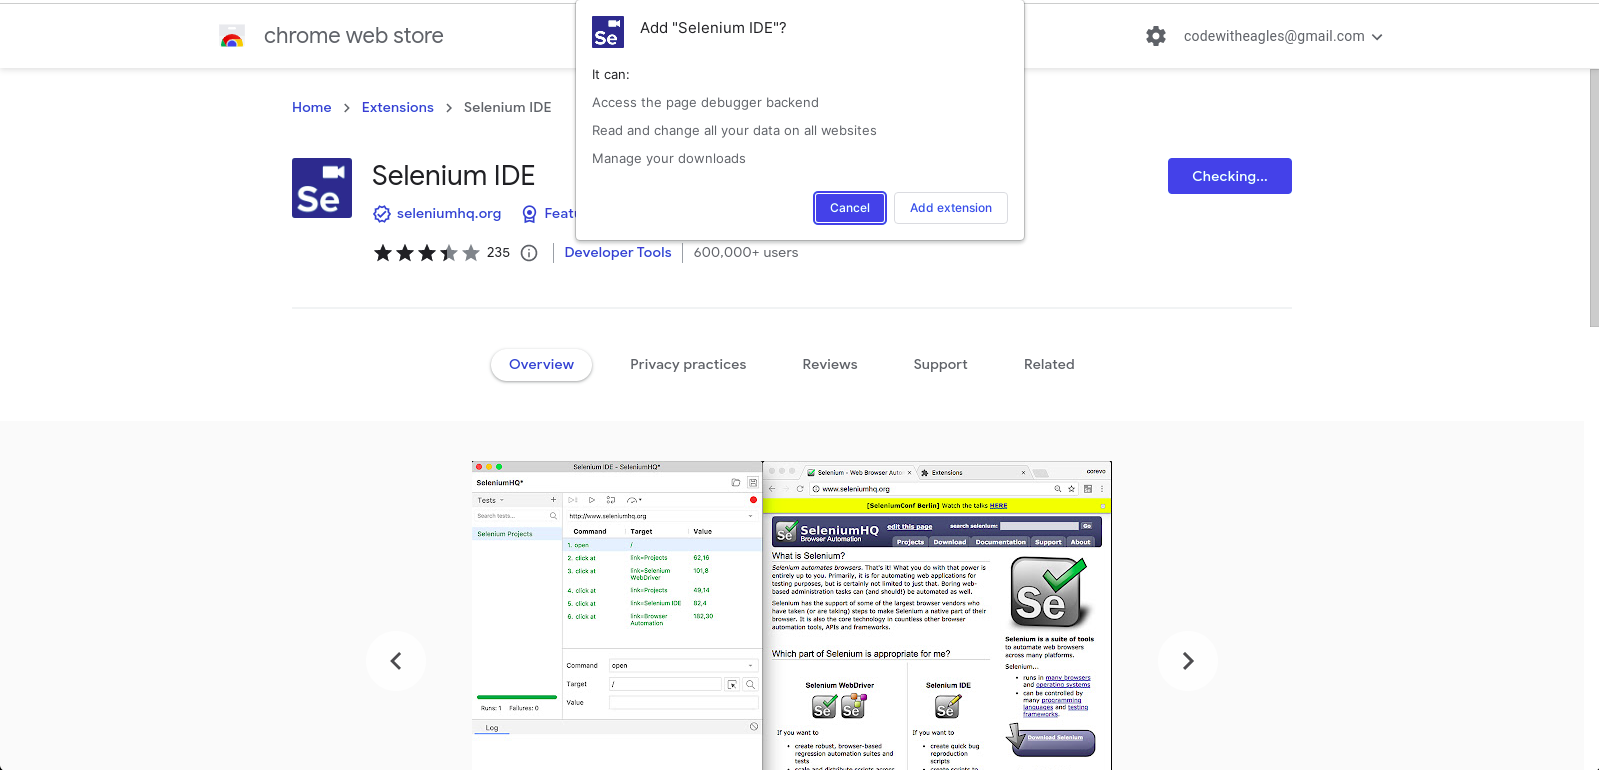
Click on the “CHROME DOWNLOAD” button. The Selenium IDE extension within the Chrome App Store will be displayed in a new tab.
- Now click on the “Add to Chrome” button, and you get a pop-up as seen below:
- Click on the “Add extension” button on the modal to install the Selenium IDE Chrome extension. You should now see a new icon in your toolbar for the Selenium IDE extension.
Install Selenium IDE on Firefox
Installing Selenium IDE on Firefox involves similar steps as seen above. To complete this installation, follow the instructions below:
- Launch your Firefox browser and visit the Selenium IDE website https://www.selenium.dev/selenium-ide/.
Click on the “FIREFOX DOWNLOAD button”, and the Selenium addon for Firefox webpage will be opened in a new tab.
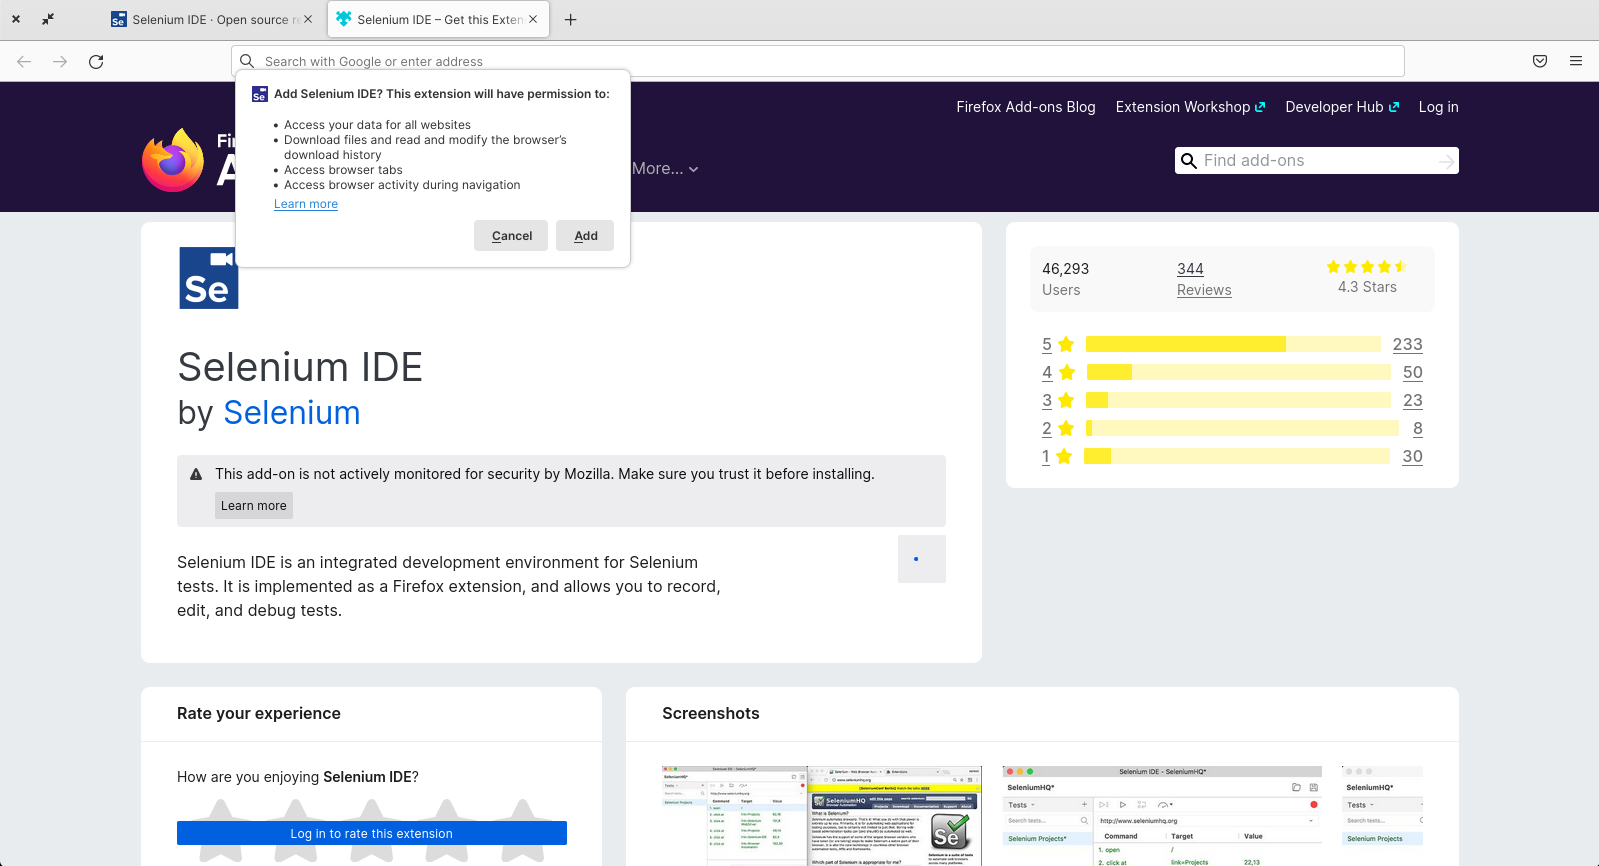
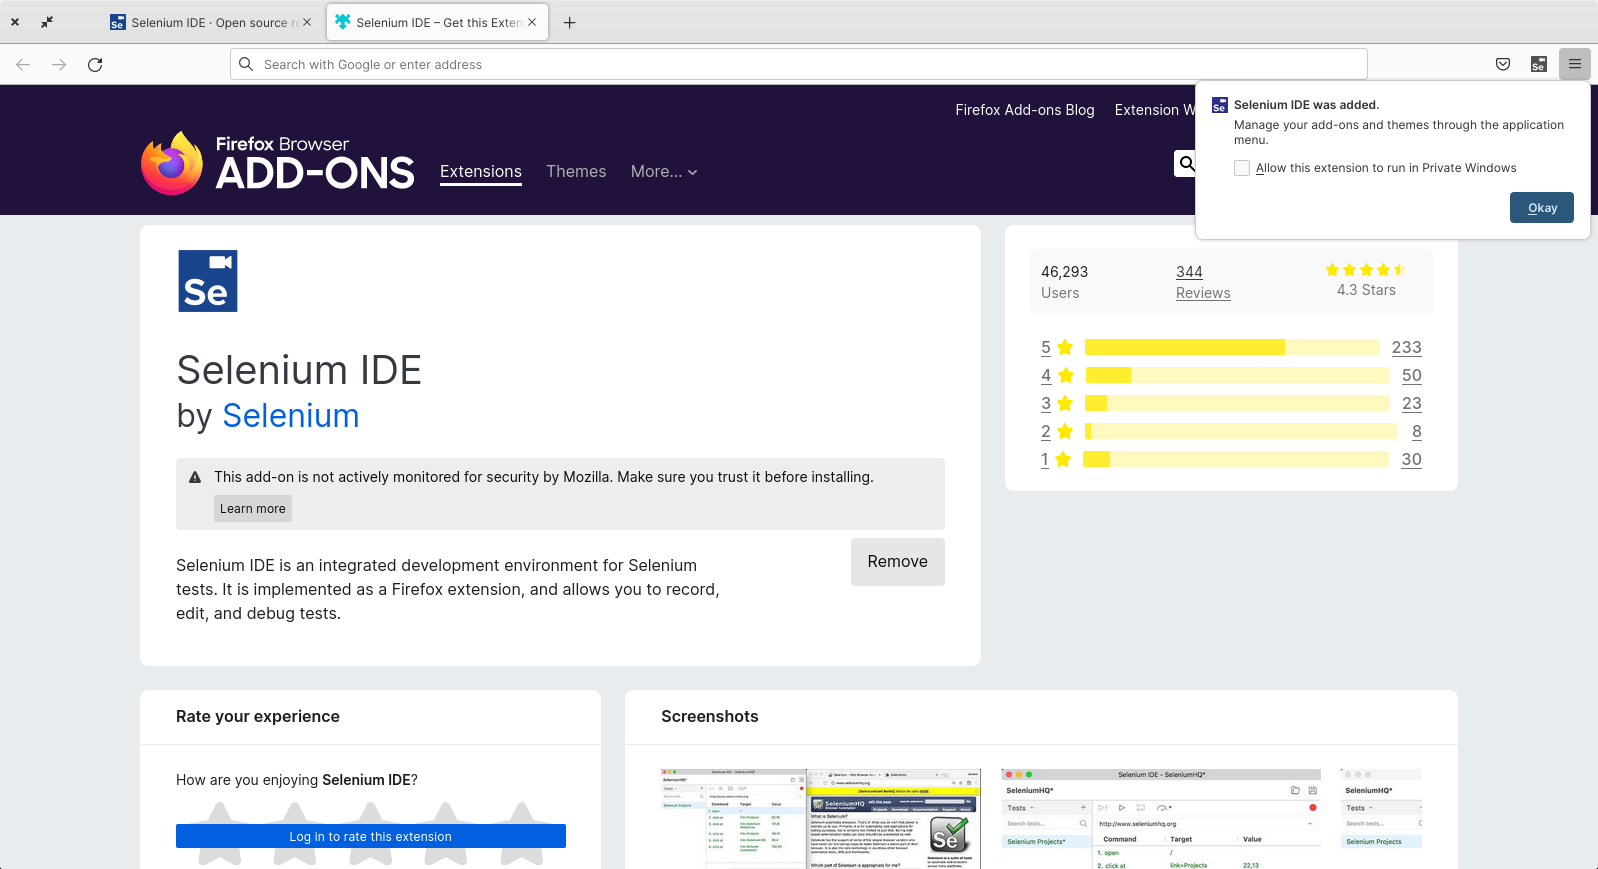
- Now click on the “Add to Firefox” button, and you get a pop-up as seen below:
- Click on the Add button to add the Selenium IDE Firefox addon.
Check the box that says: Allow this extension to run in Private window, and click on “Okay”.
At this point, you have Selenium IDE installed in your system.
Creating your first test case with Selenium IDE
To perform cross-browser testing, you need at least a test case. So we will create a test case in this section and test it across multiple browsers in the next.
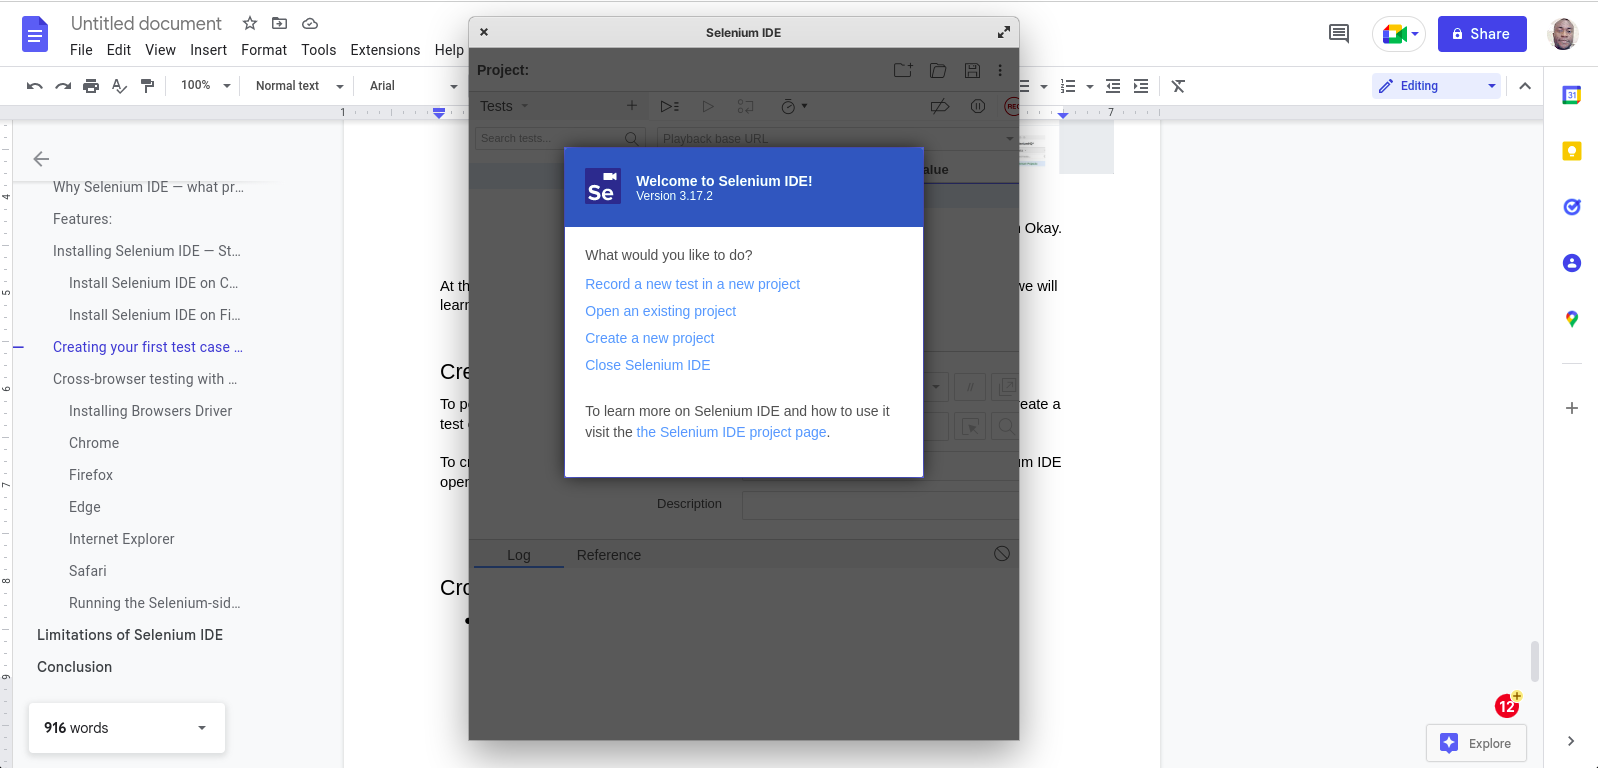
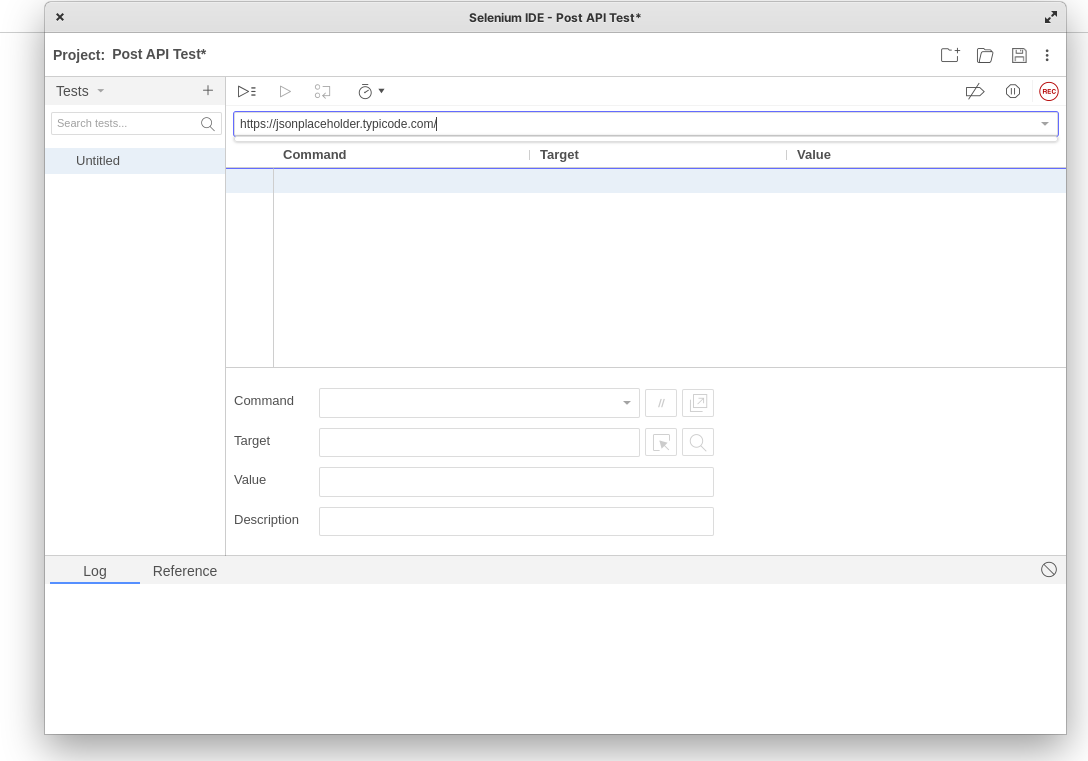
To get started, click on the Selenium IDE icon on your browser’s toolbar. Selenium IDE will launch in a new browser window as seen below:
Click on “Create a new project”, enter a project name, and click OK to open the IDE. Next, enter this URL in the input section that says: Playback base URL as seen below:
Since the test case in this article involves interacting with the posts API of JSONPlaceholder your base URL will be https://jsonplaceholder.typicode.com/.
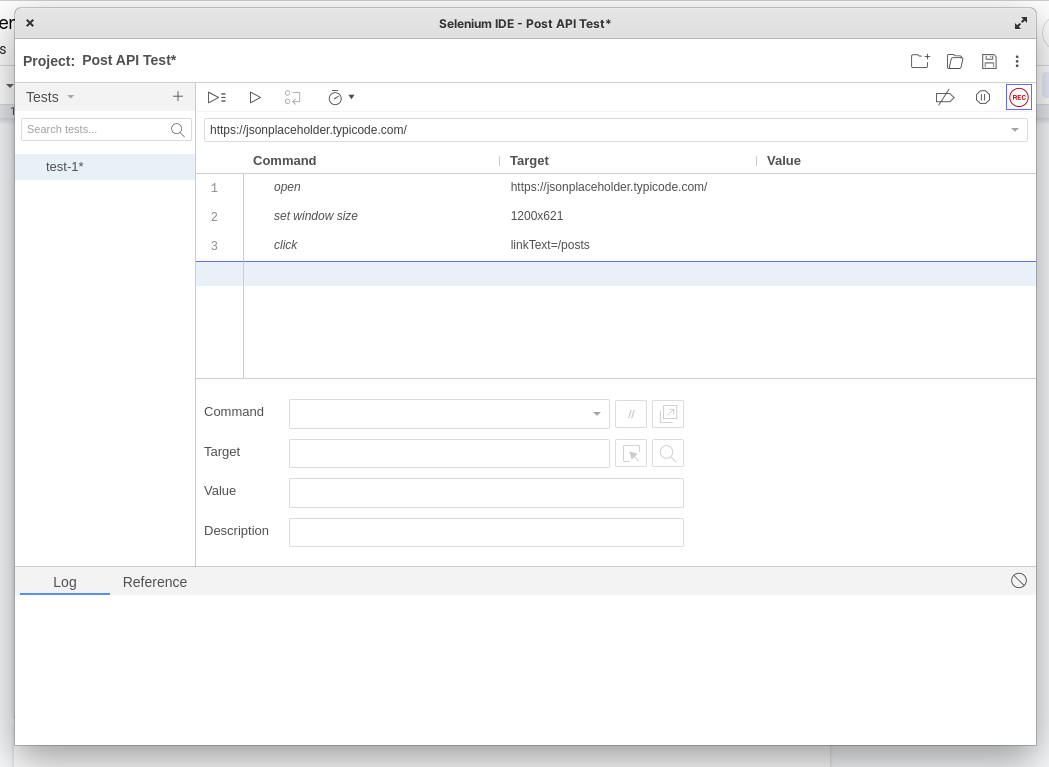
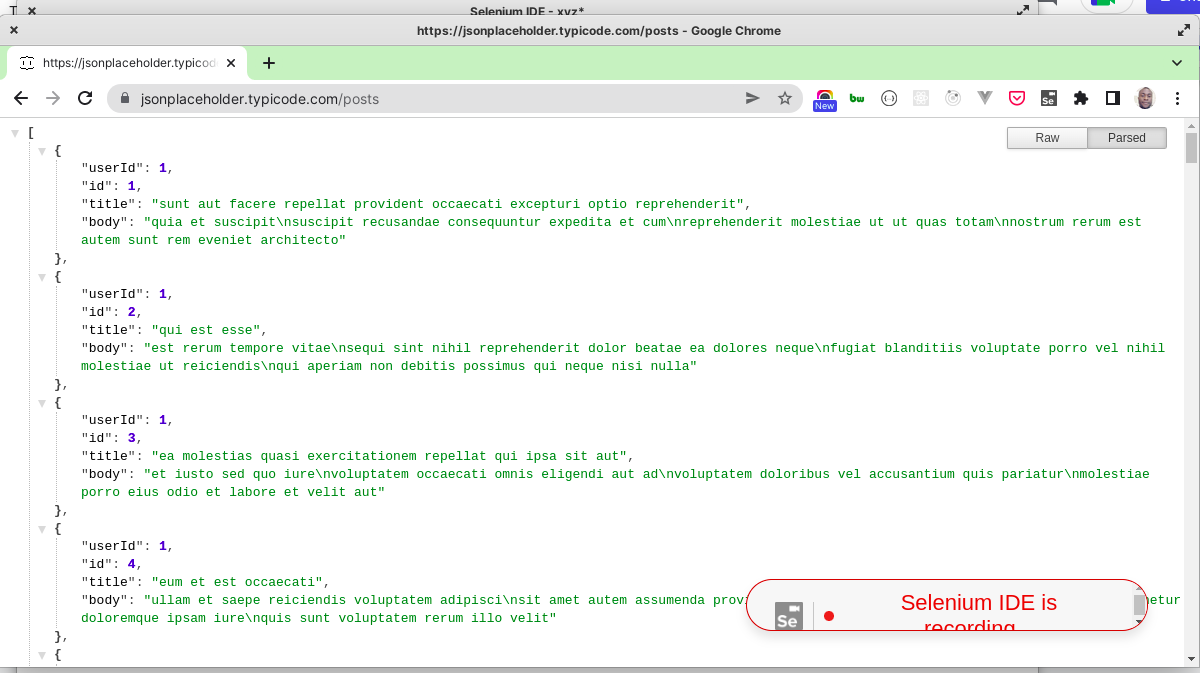
Now click on the Record button — the red button with rec to start recording your interactions on the JSONPlaceholder site. Once the JSONPlaceholder site is launched on a new window, scroll down to resources and click on posts. And this would return a list of posts in the browser, as seen below:
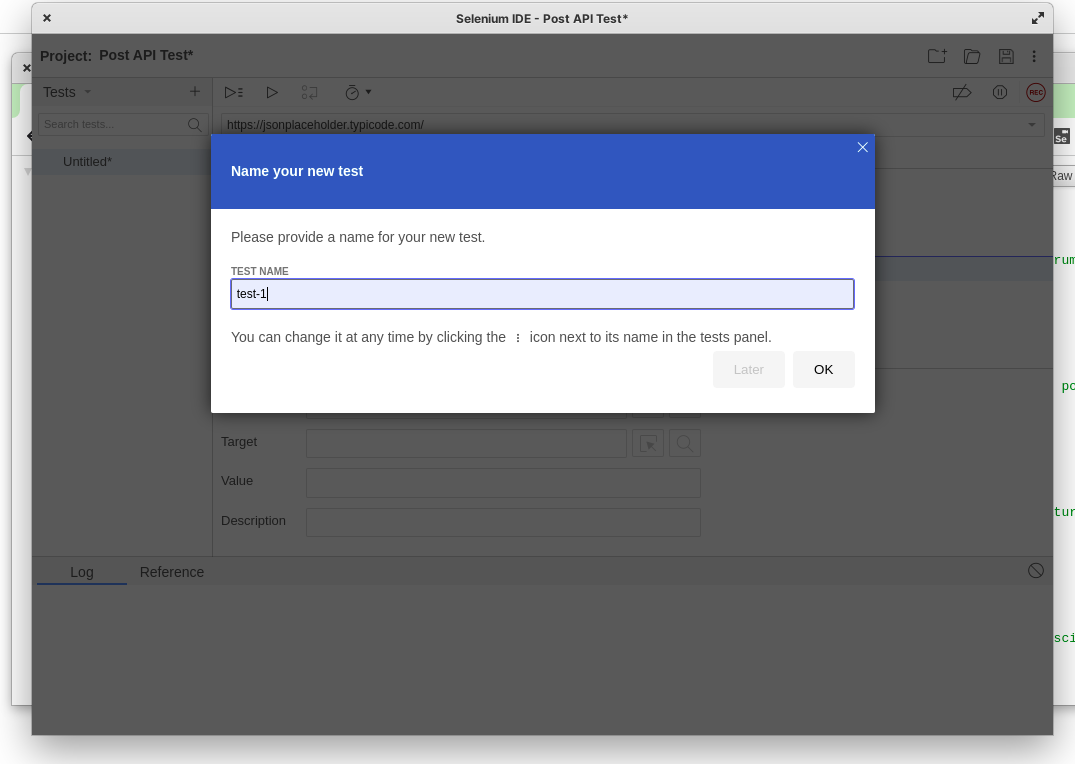
Now stop the recording by clicking on the record button again, and you will be prompted to enter a test name as seen below:
Enter a test name and click ”OK”. Also, close the JSONPlaceholder browser window.
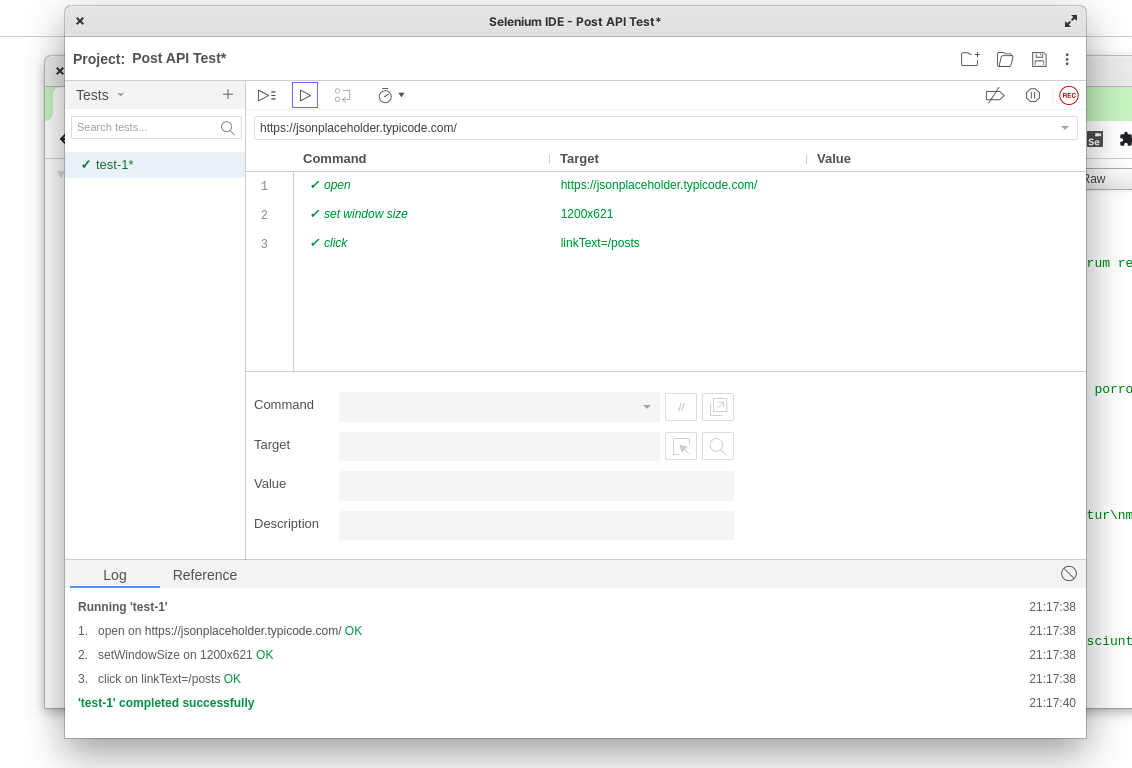
You should see a test similar to what is displayed below:
From the image above, we see that Selenium records all your actions on the JSONPlaceholder site and saves them as commands. We can run this test at any point by either clicking the play icon or using the keyboard shortcut Ctrl+R. You should see that after running the test, all steps execute successfully in the browser window, and all test steps are marked with a checkmark to indicate that they are passing.
You now have a test that you can run in a single browser.
However, in this article we are interested in running this test in multiple browsers, so we still have more to do. Click the Save icon to save the test.
In the next section, we will learn how to run cross-browser testing with Selenium IDE.
Cross-browser testing with Selenium IDE
Cross-browser testing with Selenium IDE is only possible via Selenium IDE’scommand-line runner — also known as the selenium-side-runner.
To use the selenium-side-runner, you first need to install the NPM package globally by running:
|
|
Next, you need to install the WebDriver packages for all the browsers that you want to run your test on. These browser drivers are also NPM packages, and in this article, we will run our tests on Chrome and Firefox. However, I will add instructions for installing other browser drivers besides Chrome and Firefox.
Installing Browser Drivers
Google Chrome
To run Selenium IDE tests on Chrome, you need the ChromeDriver.
Mozilla Firefox
To run Selenium IDE tests on Firefox, you need the GeckoDriver.
Microsoft Edge
To run Selenium IDE tests on Microsoft Edge, need the EdgeDriver.
Internet Explorer
To run Selenium IDE tests on Internet Explorer, you need the IEDriver.
Apple Safari
To run Selenium IDE tests on Safari, you need the SafariDriver.
Note: If you are on Windows, some of these drivers may require additional settings such as setting a PATH. You can refer to this documentation for more information.
Running the Selenium-side runner CLI for cross-browser testing.
With the required browser drivers installed, you’re now ready to run your tests using the Selenium side runner.
To use the selenium-side-runner package, you can run the following code in your terminal:
|
|
But for cross-browser testing, you need to use the capability flag in the CLI that enables you to specify different browsers, as seen below:
|
|
So to test for different browsers, you simply use the command with the appropriate browser name.
Now you can run the test created earlier on different browsers using the selenium-side-runner.
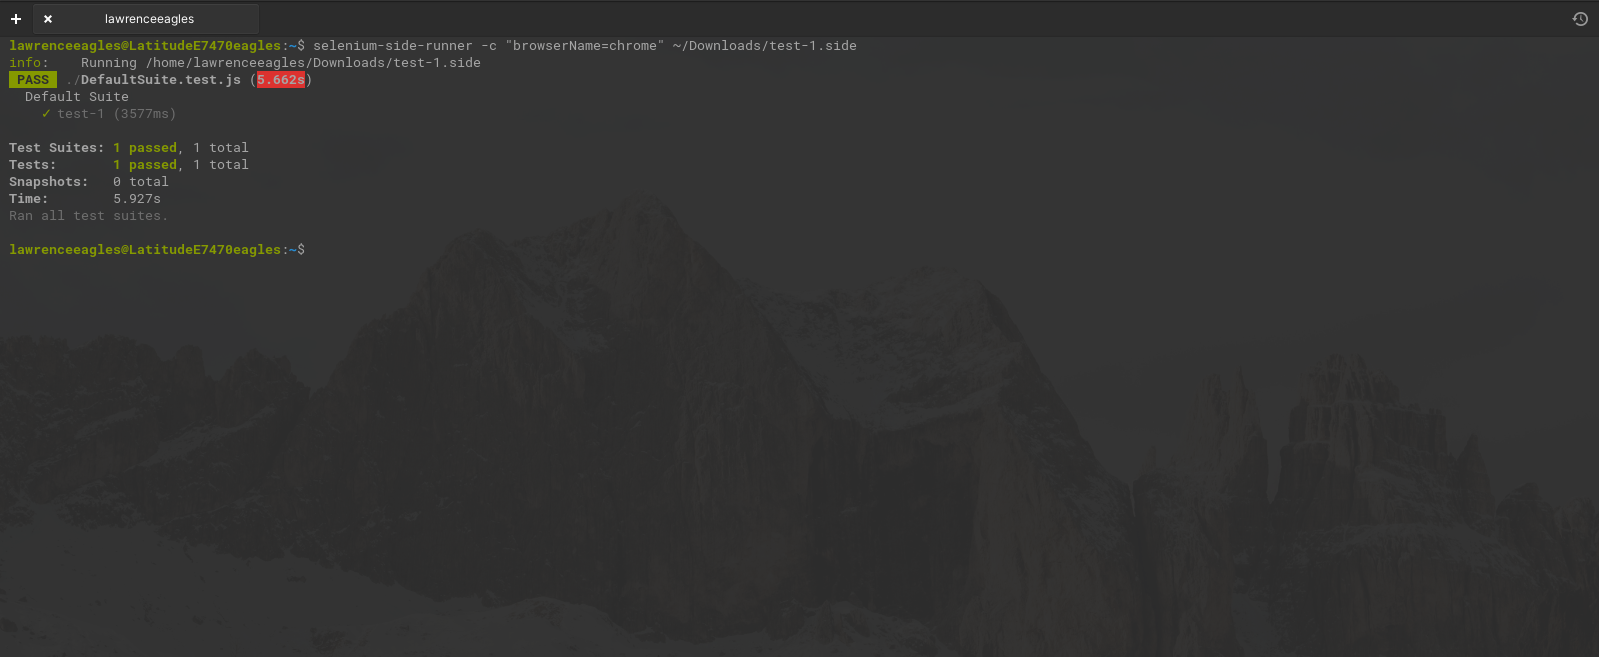
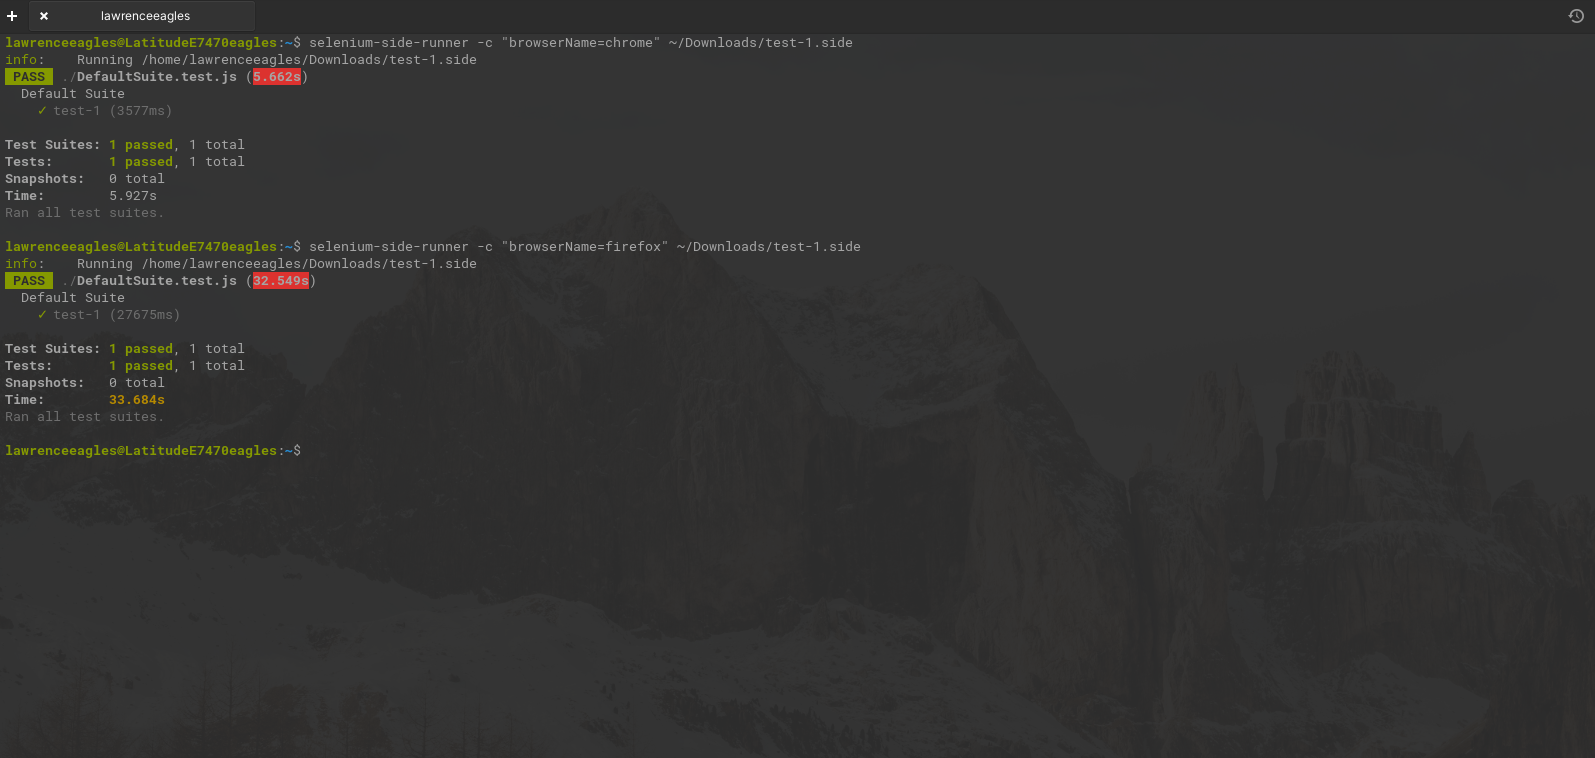
To run this test on Chrome, run the following code from the CLI:
selenium-side-runner -c “browserName=chrome” /path/to/your-project.side
You should see that the test has run successfully.
To run the test for Firefox, run the following code from the CLI:
selenium-side-runner -c “browserName=firefox” /path/to/your-project.side
You should see a similar result as what you saw when running for Google Chrome.
You can continue the test for other browsers using the code sample given above.
Limitations of Selenium IDE
Despite being an easy-to-use tool for getting automated test cases up and running, Selenium IDE has a number of limitations:
- Tests exported from Selenium IDE are not compatible with Selenium 4, which is the latest version of Selenium. There is a Github issue that tracks adding this capability into a future version of Selenium IDE.
- Selenium IDE does not support testing all actions you could potentially take in a browser. Some actions that are not supported include drag and drop actions, file uploads, and text highlighting.
- Other actions, such as hovers, are not automatically recorded. Instead, the user must manually add the command and selector as a new test step.
- There is poor support for running Selenium IDE tests as part of a Continuous Integration pipeline. You’ll need to export your tests as a Selenium test in order to be able to run tests automatically after every deployment.
- Data-driven testing, which is the process of running a test multiple times with varied inputs and outputs (which are usually defined in a spreadsheet) is not supported. There is a Github issue that tracks adding this feature in an upcoming release.
Conclusion
Selenium IDE is a feature-packed record and playback testing tool for creating automated cross-browser tests. Selenium IDE provides an easy-to-use GUI making it ideal for rapidly creating automated tests. In this article, we learned about Selenium IDE, and how to install and use it. We also learned how to do cross-browser testing using the selenium-side-runner package.
Try Reflect: A modern cross-browser testing platform
Reflect is a no-code testing platform that lets you build and run tests across all popular browsers. Reflect doesn’t just make it easy to record tests; it also has robust support for modifying tests and extracting common test steps to be shared across multiple tests. This means that it’s much easier to scale your testing efforts in Reflect compared to other tools.
Looking for a great alternative to Selenium IDE? Try Reflect for free.